Showing posts with label 28mm. Show all posts

Sunday, 18 April 2021

A Sunday Stroll into 28mm Territory

 Really, while planning and designing my next figures and trying to use up the last of a PLA filament spool, I decided to experiment with scaling down my normal 50mm designs. I was intrigued to know how scaling would effect the detail that I had on my peg sized soldiers - would it disappear or deform beyond recognition? ...One way to find out (I thought)...

So, I reduced my 3D Steampunk figure using TINKERCAD to what I considered an equivalent of 28mm scale (according to a web search that is 30mm form foot to eye level of the figure)...


As I said, I made no concession to the effects on detail by shrinking the existing model so I had no idea whether some of the finer detail would simply disappear during printing. Also, I have never printed out a 28mm scale miniature using my Flashforge Adventurer 3 so that was a bit of an unknown too (although I know a lot of gamers regularly print out 28mm miniature using such a 3D printer and are happy with the results).

In any event, I was sort of pleasantly surprised by the what was spat out! Bear in mind - because I like to tinker - that I decided to print this small figure out in one-piece (the body anyway) instead of three pieces like I did with his big brother. The arms and the sword I printed the usual way and separately...

28mm Version of Normal Peg Model

Not too shoddy eh? (But it did need a clean up.) 😁

Here's a comparison photo of the 28mm fig with the original 50mm soldier. I haven't worked out the percentage reduction of this but it looks like it's about a 50% down-scale-ish...

As you can see, it's a little rough round the edges of some of the smaller detail I created for the 50mm fig. But it's not too bad and would probably look better once painted. If I'm honest, I've actually had worse plastic soldier figures from commercial companies and not complained! (I'm looking at you Airfix!) 😉

So, what have I learned here? Well, I do have to make some concessions to the smaller scale, perhaps by making some of the finer detail a bit chunkier so that it holds itself in the reduction. There has to be a balance in robustness of the design when I think I might be doing both a 50mm and 28mm version of the same figure.

Useful experiment.

Wednesday, 6 June 2018

First Molatero Warplane Painted

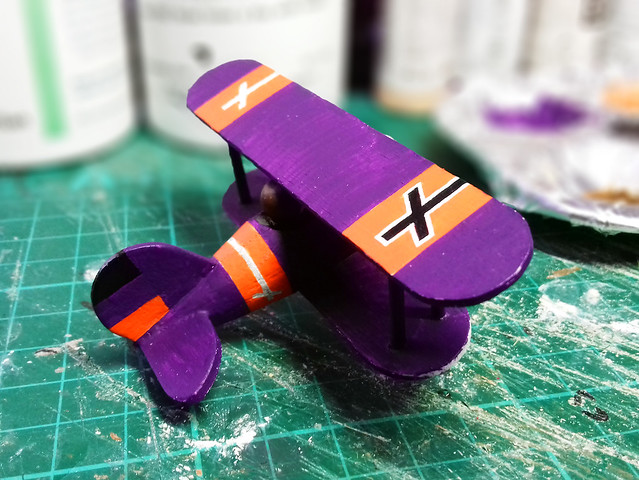
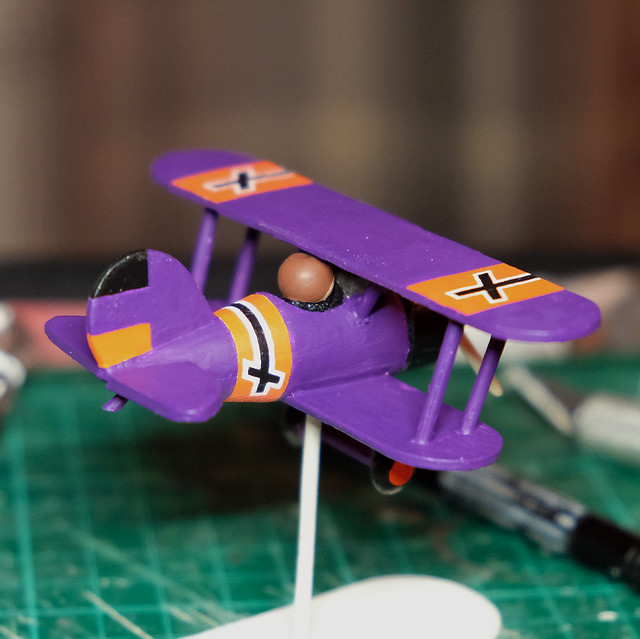
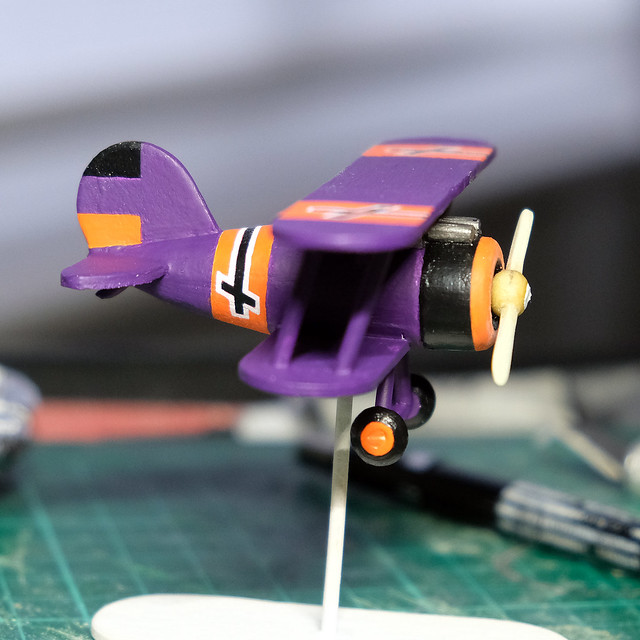
Just some quick snapshots of my little peg bi-plane as it nears completion.

I'm pleased as I thought I might be with the purple colour scheme, though it did take a couple of coats  as it's a bitch of a colour to get good opacity. Also, I decided to paint the 'Royalist' emblems (the crosses) freehand, so lots of painting with my tongue out!


You can probably see how streaky the first boat of purple was in the above picture. But it all came together nicely with the application of a second coat...


The photos make the crosses seem neater than it actually is! SO, I'm pleased...Hee hee.

Sunday, 4 March 2018

28mm Pawn Starts - Part 3

Painting...
As you can imagine, this is pretty straight forward and not highly intensive. Unlike other types of wargaming or figure painting there's no thought of shading or highlighting or other special effects. It's just nice blocks of flat colour, which delights the graphic designer in me!

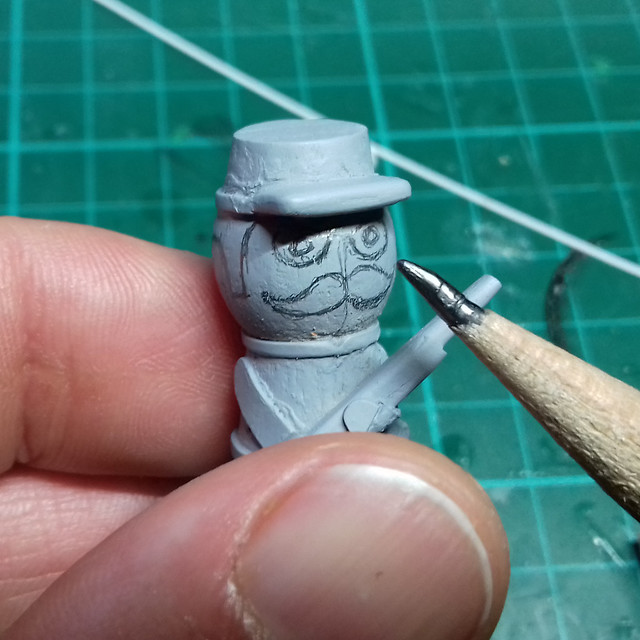
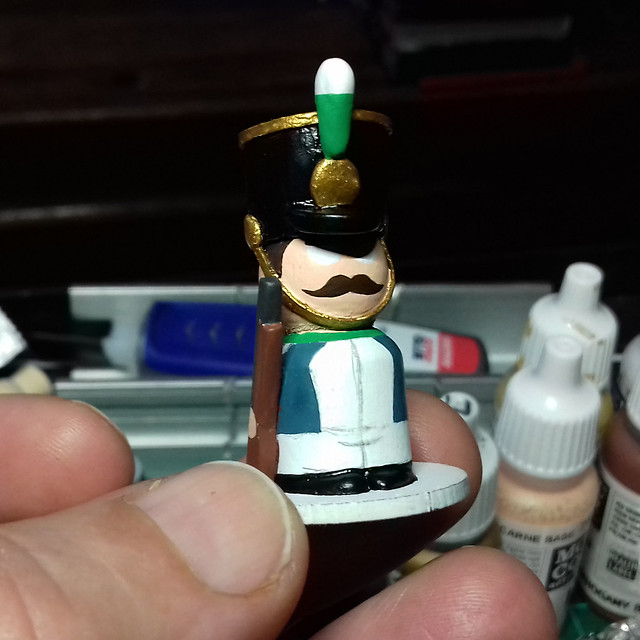
But, even before that, there's the priming (grey for the Confederate and white for the Napoleonic) and then onto the sketching of the features...


I'm still using my normal modelling acrylics, but I'm looking at other more cost effective alternatives. Next model I do I may try furniture paint, which comes in bigger pots. But anyway, in the meantime, it's on with the small pots...


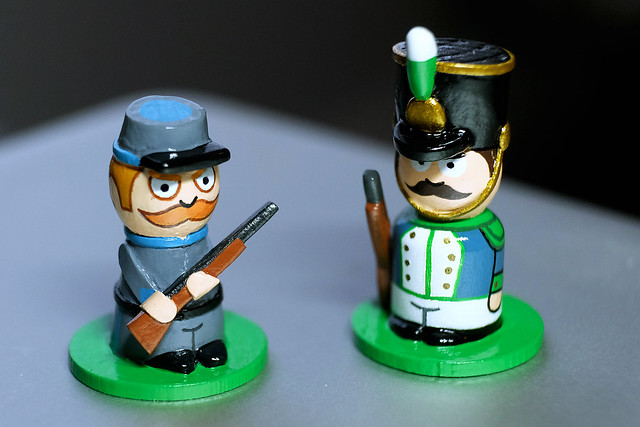
As you can see, there's a great chance to compare the 'arms versus no arms' technique for making these mini-figures. I still haven't made my mind up yet, but - obviously - the 'arms' do make a greater amount of poses viable. The 'no-arms' technique limits you a little to what you can realistically (or rather 'believably') represent without the gun just magically hanging on the body without being visibly supported by something...I'm a bit 'OCD' like that. Still, 'no-arms' is a simpler and quicker and if you have to make a 'regiment' of these figures that might be the better solution.

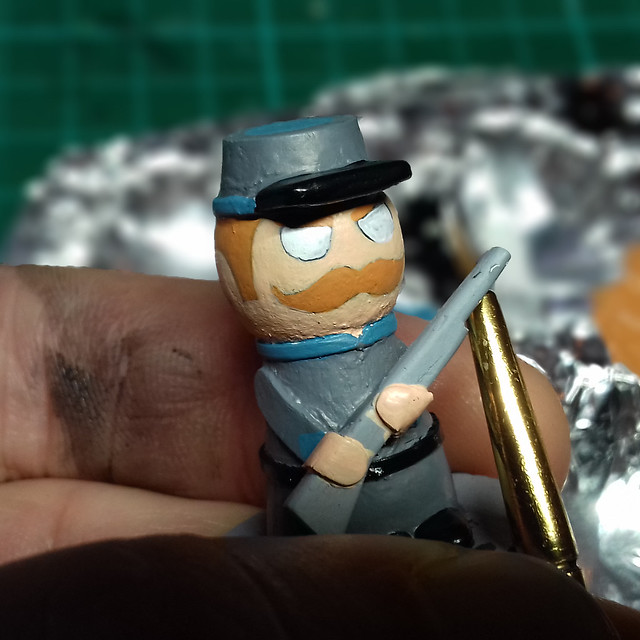
Back to painting...I was a bit disappointed wth the the-nibbed black Sharpie I bought, it still had trouble drawing cleanly on top of acrylic paint. I ended up outlining with a paintbrush, so back to wobbly lines again.

The Sharpie Metallic pens worked great, though, for buttons. I don't know if it's a different type of ink, but they don't seem to have any problem with the acrylic paint at all.


So...Looking at the finished figures, which do I prefer?

Well, as much as I think 'Johnny Reb' is a more dynamic and believable pose - and as much as I cringe at my wobbly line drawing - I think I like the simplicity of my little Frenchman.

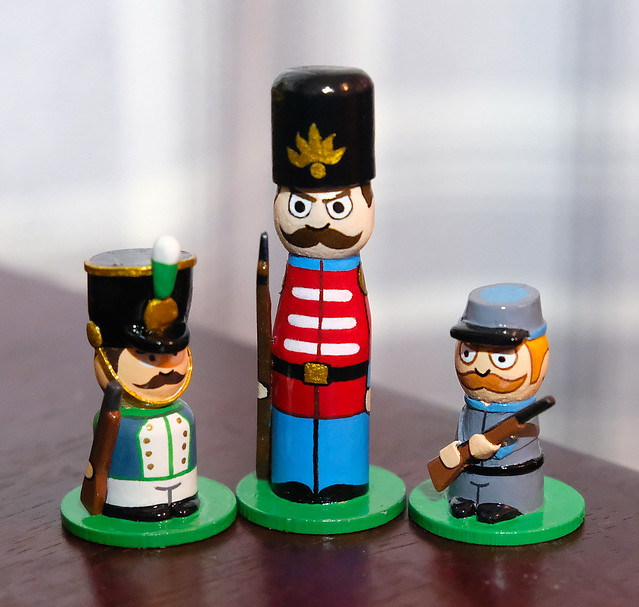
This all seaways quite nicely into the next of my peg projects - the Christmas Nutcracker soldier - as the French soldier has a lot more of the techniques that I will use on my next peg figure.

One last thing, I am pleased with how the feet turned out BUT I will have t remember to mount the peg a little further back on the circular base so that the figure looks central. And of the two, I like the way I did the Frenchman's shoes better.


Friday, 2 March 2018

28mm Pawn Starts - Part 2

I should have gotten these done in one sitting really, they are that simple...But wives and lives, ah well. Anyhow, on with the mini-pawns and I have to figure out how many details I will be adding.

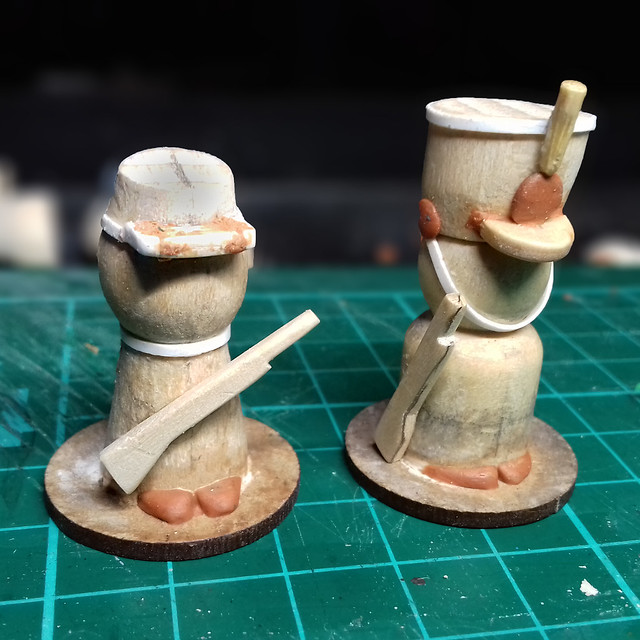
Two details that I definitely want to add are guns and 'feet'. After my last peg soldier I felt a bit unhappy with the way I had done (or rather not done) the feet, as I just painted them on. So I wanted to see if there was a very simple way I could give the impression of feet without spending too much time. I considered small rectangles of matchsticks or bits of cocktail sticks, but in the end had a play with some small pieces of Milliput modelling putty...


This sounds a bit more labour intensive than it really is. I like Milliput, and moulding a couple of tiny balls of putty into little 'toecaps' didn't take me very long at all. Obviously, if I can find a simple pre-fabricated alternative to this then I will go for that in the future, but for these prototypes this will do.

Next, guns. though I was pretty happy with the simple wooden musket shape I made for my last peg soldier. But I wanted to see if I could simplify that design even further, so I tried cutting the gun shape out of a lolly stick, in one piece...


This is just a few cuts with a craft knife, then a quick rub over with some fine sand paper to round off the edges. The lolly stick wood is quite hard really so the end product is quite sturdy and shouldn't break. I'm pleased with the look, but - as was pointed out to me - I might not be so pleased having to make the guns for a full regiment!

Call to Arms!
What to do about arms...Not weapons, but the dangly things that hang from your shoulders! Do I try to make some simplified limbs or just paint them on like I did with my first peg soldier?

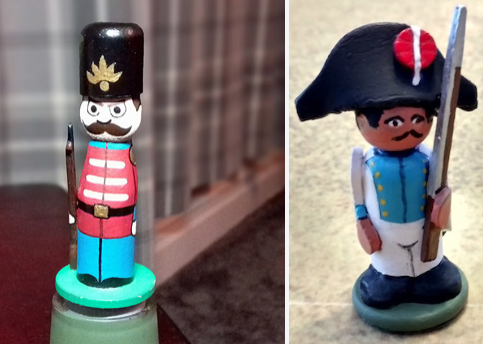
On the left is my peg soldier with minimalist painted on arms, and on the right
is a lovely peg soldier by Dale at Wooden Warriors with some simplified arms.
In the end, I decided that my 'mini-pawns' were just a little too small to justify separate arms and that the painted on approach would suit my mini-pawns better. (Though, I think I will try arms on my next  larger peg soldier experiment.)

This, then, left me wondering about how I should attach the musket. I fixed the gun in an 'at ease' position at the side of my first peg soldier (a simple solution) but I wanted to try something different. So, for my Confederate infantryman I thought I might have a go at 'port arms', with the musket held across the chest...


This will make it very interesting when it comes to my painting his arms in! (Fingers crossed I can pull this off.)

Finally, prior to the actual painting, you'll notice that I have experimented with adding extra bits of detail using Milliput and styrene strips. Nothing drastic, just some extra decoration.

Next: Painting.

Thursday, 1 March 2018

Pawn Stars in 28mm.

Sorry about the title! Actually, this isn't the post I meant to be next in this series on 'peg doll soldiers'. But I couldn't resist having a go at these little chaps as they are so quick and easy to produce.

The term 'pawn' or 'pawn doll' came to me from Dale, over at Wooden Warriors, and it's such an appropriate description of these diminutive peg doll variants that I think I will pinch it. :)

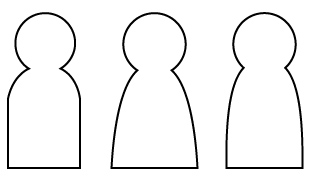
Variations in the 'pawn' shape. If you search online you will find ready-made
'peg doll' blanks in many different sizes which adhere to this style. Some are
quite big and others have over-sized heads.

Essentially, all this model is is a 'sawn off' (literally) peg doll, roughly 28mm in height - although I'm not sure I would say it was '28mm scale' because of the stylised cartoon proportions. Graphically, it's a very simplified style, again very 'cartoony' but would be a lot of fun for tabletop gaming (particularly RPG).

Anyway, on with the show...

First of all, I cut down a couple of pegs of two slightly different designs, one a true 'dolly peg' (slightly tapered) and the other a custom peg doll blank (with a higher, more rounded, 'shoulder')...

Two 28mm 'pawns' (front) with one of my other 48mm style peg blanks for
comparison. Of course, these don't really adhere to standard scales.

So, onto the basing. Again, I am using a 25mm MDF gaming base, not just because that's what I happen to have to hand, but also because I want to use something that's a 'standard' size. I might have just got away with standard 15mm circular bases, but I like a bit of 'breathing space' around my based models. Going for a standard size also means I can take advantage of the available accessories, like unit movement trays...

(I could also consider whether I might want to make my bases magnetised...But, that's not important at the moment.)

Unlike my last 'peg soldier' - which was a fantasy 'toy solder' - I fancied trying to create some mini-historical figures. I want to see how minimalist I can go and yet still have a viable gaming piece. So, still no arms and other additional 'realistic' features, but I will give some emphasis to the hats.

Military hats have always been an important way of identifying particular regiments, therefore, if I do little else, a nice big hat should set the right martial tone! So, let's make some hats...


The historic uniforms I had in mind are a French Napoleonic and an ACW Confederate soldier (just because I have never painted these types of soldier before). Obviously, these won't be museum quality renditions, they will be more like cartoon versions with the details grossly simplified.

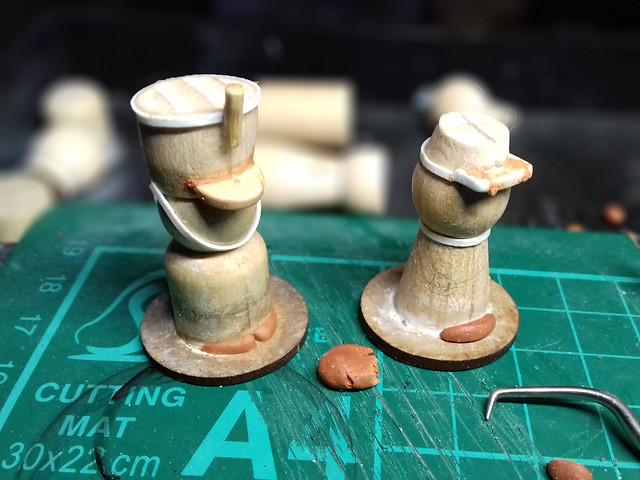
The most immediate issue is how to make the hats a little more accurate. As you can see I have made the principal shapes of the two hats out of basic geometric shape (made of parts of my left over pegs). But, what they need now is some peaks and the easiest way I can think of to make these is to glue wooden peaks on which I will make out of sections of popsicle sticks...

Left: The Confederate kepi hat. Right: French Imperial Guard hat.
To ensure that the join is strong I drilled a small hole in both hat and peak and popped in a small piece of brass rod. I then superglued all the parts together, once dry they seemed quite sturdy.

Next: Arming my soldiers...