Showing posts with label aircraft. Show all posts

Monday, 14 September 2020

Peg Monoplane No. 1 - Props & Stuff

 Next up on the wee plane to-do list is the stand. I want my little peg planes to be displayed in the flight mode - for possible use in tabletop gaming - and so I am adding some transparent flight stand (by Dropzone Commander and available from WaylandGames.co.uk). This entails fitting a small socket component into the underside of the fuselage of my model...


I drilled an appropriately sized hole and then inserted the socket into it on top of a blob of Green Stuff putty. I chose Green Stuff as it is slightly flexible even when dry so will allow the socket to flex a bit when the end of the flight stand is inserted into it (it's quite a tight fit)...

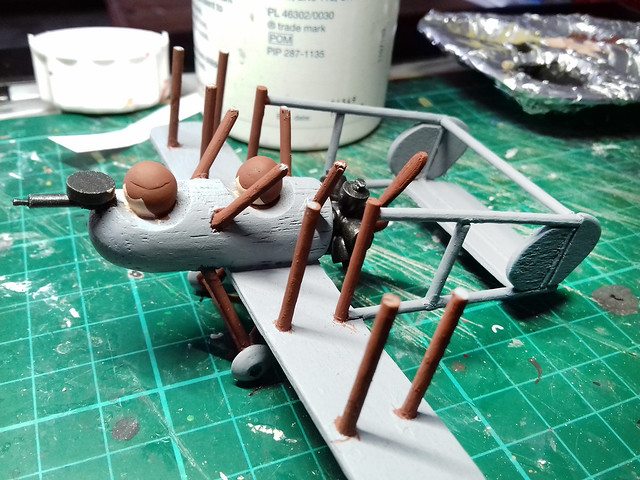
Next I primed the plane ready for painting using my usual Grey acrylic spray primer. At this point I usually notice any problems with any joints I have made or if there are any major bumps or dents in the model as the flat grey paint tends to make these easier to spot. If there are any dinks (and there was a couple) I filled and sand them and reapply a bit of primer.

That done and dry it's time to think about the plane's 'engine' and propeller. I left these until this point as I won't be able to fit them - or, at least, it would be perhaps better to fit them - once all the rest of the model is painted.

Unlike previous peg planes I fancied having this prop spin freely so I had to put some thought into how I was going to make this work. I had to think back to when I used to make plastic Airfix aircraft and how they went about making a spinning prop unit, and then I devised cunning plan...

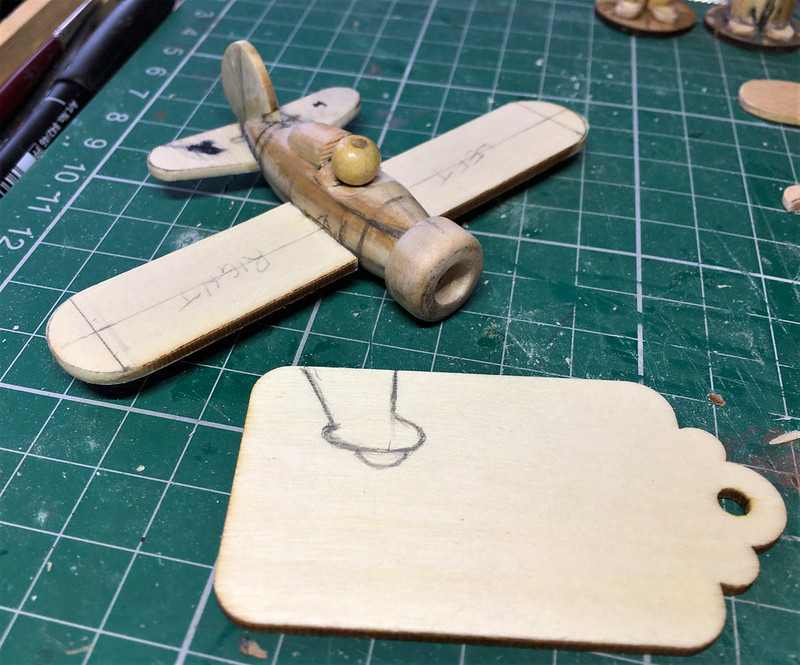
I assembled all the little components I thought I might need to make my prop and sketched out a rough shape on a lolly stick!

The next bit was slightly tricky as I wanted my model propeller to have that slight twist in it that they do in real life. So what I did was to drop my lolly stick into a cup of warm water and leaf it to soak for a while, then I removed it an *carefully* twisted it and held it in place for a while (wish I had some sort of desk clamp to help with this). After a while - and as the wood dried out - the stick retains the twist...

Job done! Though I'm sure I could have done this more easily and made a better job if I had rigged up a pair of clamps... Sitting watching TV for an hour holding the lolly stick in this position wasn't the most entertaining way to spend your evening! 😆

Anyway, once I had the shape I wanted it was just a case of cutting out the propeller...

I was quite pleased with the result. My only misgivings were - ironically - just how nice the wooden propeller looked!  I couldn't help but thinking how nice it would have looked if treated with just a simple coat of clear varnish, which would have really brought out the grain. Had my plane been a WW1 fighter this would have looked superb, but - a little sadly - my 1930's P.26 inspired monoplane has a silver painted prop. 😟

Anyhoo... Prop made, now to start putting together the bits that will make it free spinning once attached to the fuselage...

I decided to add a brass rod for a shaft as this would result in less friction and so would make free spinning much easier. The prop would be glued to the shaft and the faux engine piece would be glued to the inside of the engine cowel, in this way the shaft and propeller would spin freely around with the 'engine' holding the whole thing in place...
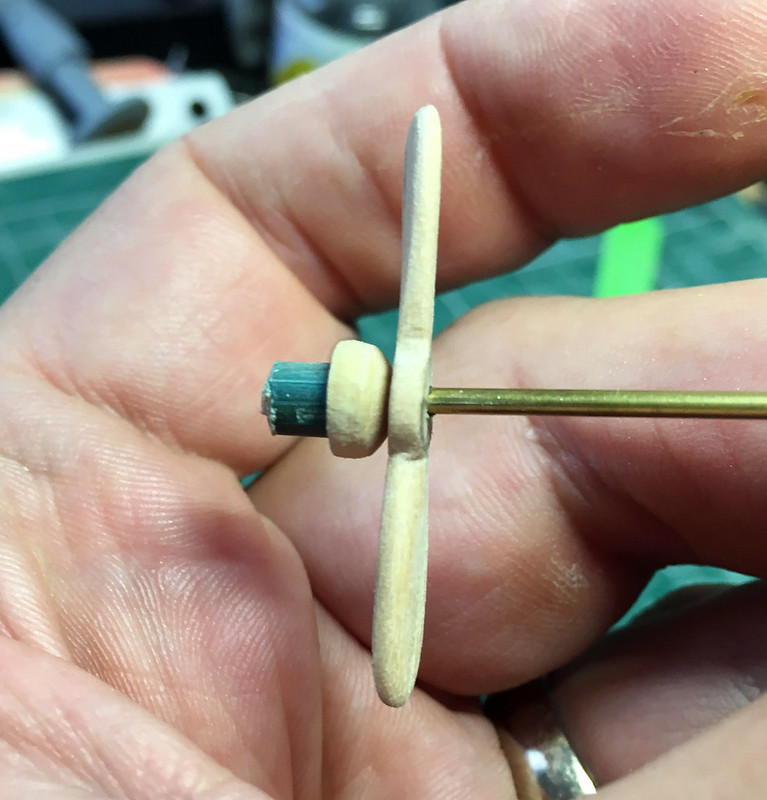
The shaft will be trimmed and a propeller spinner or cap glued in the end. However, all this will have to wait until the plane is painted, then we shall fit my contraption and see if it actually works. Fingers crossed, eh? 😉

Edit: Could't resist - had to test fit the prop (minus spinner) and I think it looks rather spiffing! 😆

Next: Choosing a paint scheme and painting the model.

Sunday, 6 September 2020

Peg Monoplane No. 1 - Progress Update

It's been a long week and a busy weekend, but I managed to reach my goal of getting the main construction of my monoplane done by Sunday evening (before I settle down to watch a movie)! 👍 

This project has been completely problem free - so far - and went together really quite quickly (for me). Obviously the model is a simplified - almost cartoonish - take on the aircraft which inspired the design (the Boeing P. 26), but even so I am quite pleased with the progress... Particularly because I have so many projects on the workbench at the moment.

I really like making my self-imposed 'Sunday night deadline' as it give me a real sense of achievement and I feel like I have actually done something before I return to work on Monday morning.


There's not much I can tell you about the construction really as the accompanying photos say it all, I think. However, I should point out that I have not made the engine and propeller part of the model yet as I want to install this after I have painted the rest of the aircraft. [I'm working out how to make the prop free spinning.]

Well, that's another weekend gone. I am starting to think seriously - though - about my peg model hobby and how it's kinda starting to take over everything. I've almost totally ceased a couple of my other hobbies and their associated blogs and I am aware that peg model making has hijacked this blog as well.

I have NOT lost interest in Molatero and the idea of creating a Funny Little Wars army, but at the same time the making of funny little peg soldiers seems to fit into this blog quite nicely. Though, I may stray slightly off-topic on occasion with my tenuously related non-military peg project - such as my Lovecraftian Horror based figures and Pop Culture characters. O hope you - my audience - will forgive their trespass! 😁

Tuesday, 1 September 2020

New Project - Peg Monoplane No. 1

 So much going on at the moment and it seems I am a bit of a victim of my own success! Yes, the requests for peg figure commissions have begun. In truth, I have already had a few enquiries about purchasing custom peg  models but so far I have kinda ignored the thought of this becoming a cottage sideline... The thought of a relaxing hobby becoming a business has not really appealed to me.

Anyway, that's my problem to figure out. In the meantime, I'm starting a new little plane model - as if I didn't have enough going on! 😉

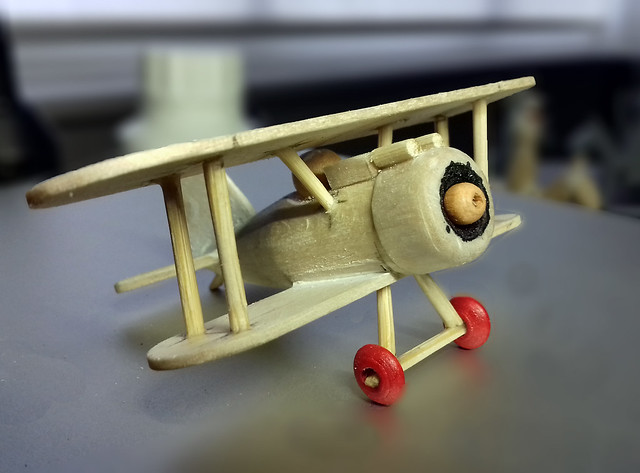
It'll be in the style of my previous little cartoon style bi-plane fighter - my 'Purple Baron'...


But this time I fancy trying out a different period. I have a particular liking for the aeronautic history of the early 1930s as it was a very exciting time, foreshadowing - as it did - the next World War with the Great Powers trying out their latest technological advances. Yet, at the same time, it was still a time of the romance of air travel and adventure!

In 1930 the bi-plane fighter was still queen of the sky and monoplane warplanes were still something of a novelty. Designs were quaintly crude and still included features that were soon to become obsolete - like open cockpits and fixed landing gear - but which lent these war-birds a certain cuteness. 😃

For my first attempt at a peg monoplane I decided to use a particularly endearing American design as a template for my little model...

The Boeing P-26 "Peashooter" was the first American all-metal
production fighter aircraft and the first pursuit monoplane to enter
squadron service with the United States Army Air Corps. [Wikipedia] 

Making a Peg Plane...

Calling this a 'peg plane' is a little bit of a fib as I am starting the main bit of construction - the fuselage - will be done using a length of dowel rather than one of my usual beech dolly pegs. This is due to my decision to try out dowel as an economic alternative to pegs as dowel also offers the posibility of less waste cut-offs.

I begin by roughly sketching out the basic shape of the body of my plane on a section of dowel...


This is then roughly shaped using my rotary sanding machine, thinning the tube down to a point to create the tail of the plane. The length of the fuselage will be about 60mm, the effect being to shorten the overall size by squeezing it into a cartoon version of the real aircraft's dimensions (I believe the Japanese call this caricaturization of vehicles 'chibi' which is Japanese slang for 'something short).


Once I have the underlying shape I want it's time to work on some of the detail, like carving out the cockpit and adding the elongated flared headrest and the engine cowel...


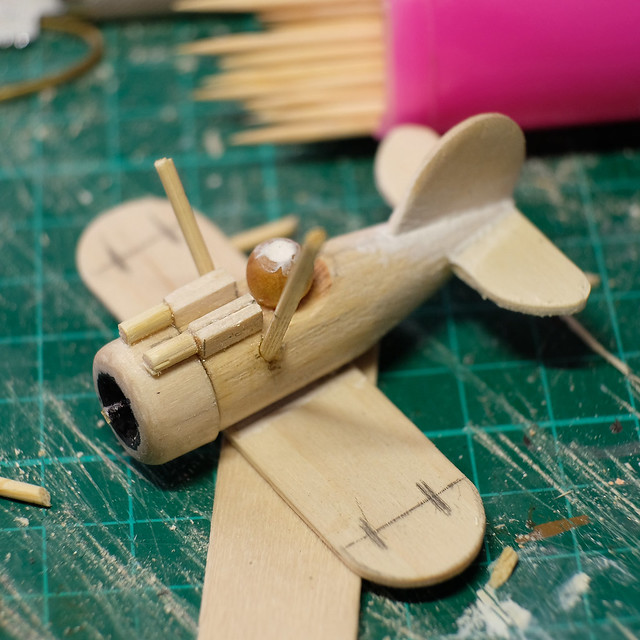
With these rough shapes added they can then be smoothed down into their final shapes, blending them into - hopefully - a seamless and aerodynamic appearance. Additionally, I created a little pilot - or at least his head - using a small wooden bead, which I pinned in place...


It's starting to look like the P.26 now! The next job will be to work on the wings, but I'll leave it here for now and get on with some of my other 'production line'! 😂

Monday, 30 July 2018

Peg WW1 Light Bomber - Part 5

Painting Check...
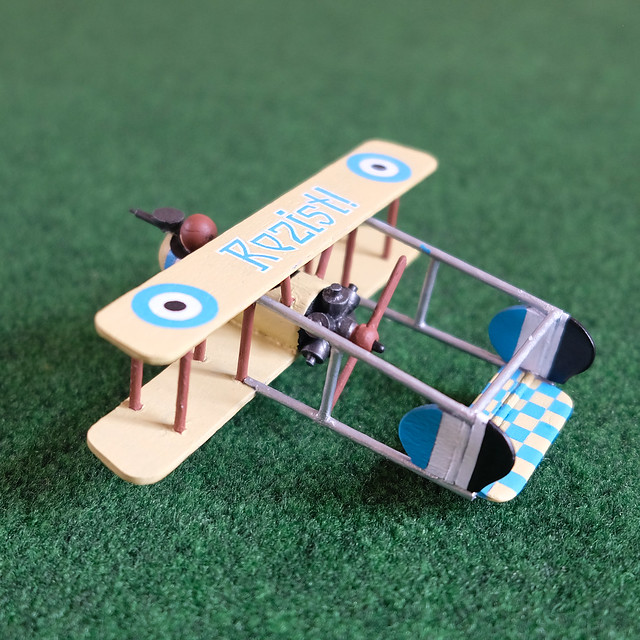
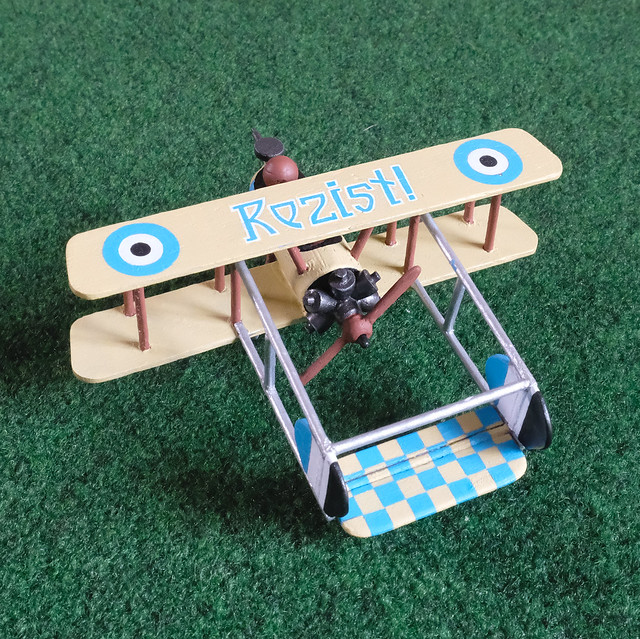
I've been a little unsure about my paint scheme for my little bomber aircraft so I've taken some test photos just to reassure myself that everything is going OK. Sometimes you need to see some photos, which seem to give you a little 'distance' from which you can assess your progress in a more detached way (that probably makes no sense to you whatsoever)!

Anyway, here's where I am so far...


I *think* this is going in the right direction..?

Sunday, 22 July 2018

Peg WW1 Light Bomber - Part 4

And so, the painting begins...

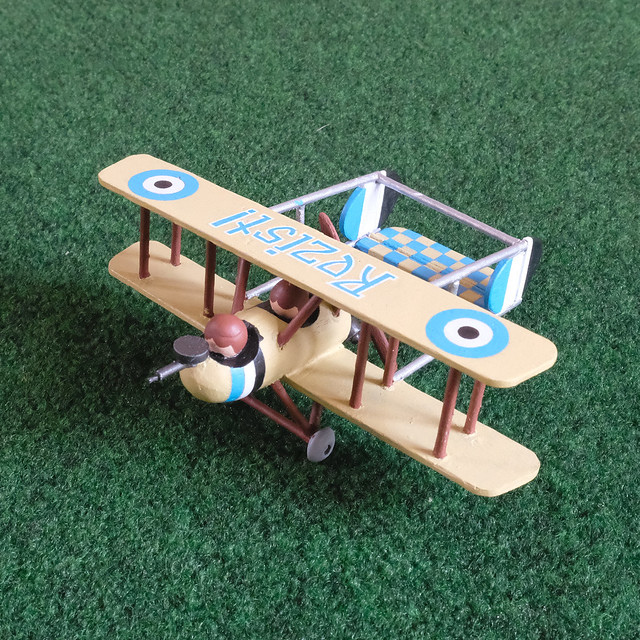
I've decided to go with a pretty plain and widely used colour scheme for my bomber, a 'canvas' buff. While this was associate with earlier WW1 aircraft - from, say, 1914-17 - I'm imagining that my Molatarian Rebels of the 1918 uprising might be using older aircraft (I'm making this up as I go along - like everything else I do).

I thought the overall buff colour went nicely with the older 'pusher' design of aircraft. But will be adding a rather novel rebel slogan to the upper wing to add some interest to the scheme. The faction colour will be the blue, white and black scheme that I have designed for my rebels.

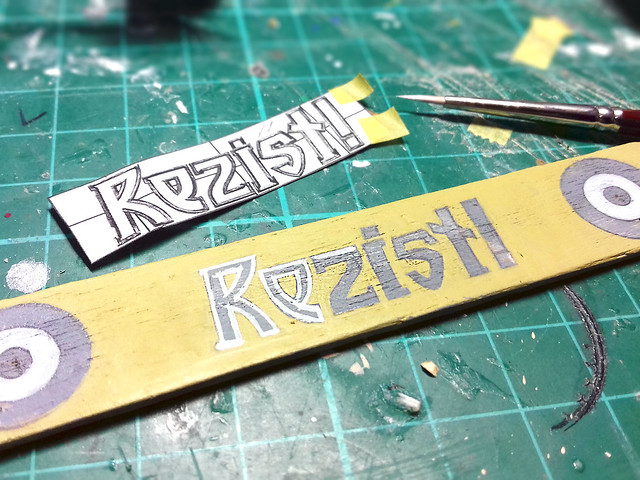
I designed my revolutionary slogan in Adobe Illustrator using a
vaguely Romanian/Cyrillic looking font. Then I printed it out
and traced the design onto the top wing...
My imaginary nation of Molatero is loosely based on Romania (ish)
and so I have used the modern political slogan of 'Rezist' as it
seemed so apt for a catchphrase of a civil uprising.

Otherwise, the rest of the painting is very straight forward and pretty easy. Being a simplified and stylised model detailing is pretty much non-existent and there will be few colours used. I'll start 'inside' and work 'out'...


To be honest, this paint job - being family plain - shouldn't take too long finish...Hopefully!

Tuesday, 17 July 2018

Wednesday, 6 June 2018

First Molatero Warplane Painted

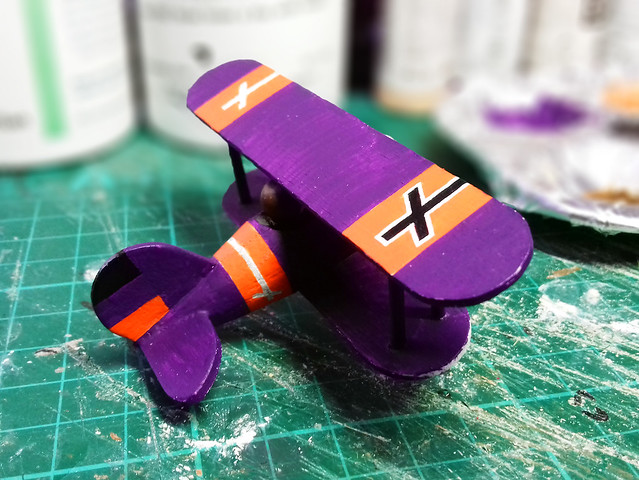
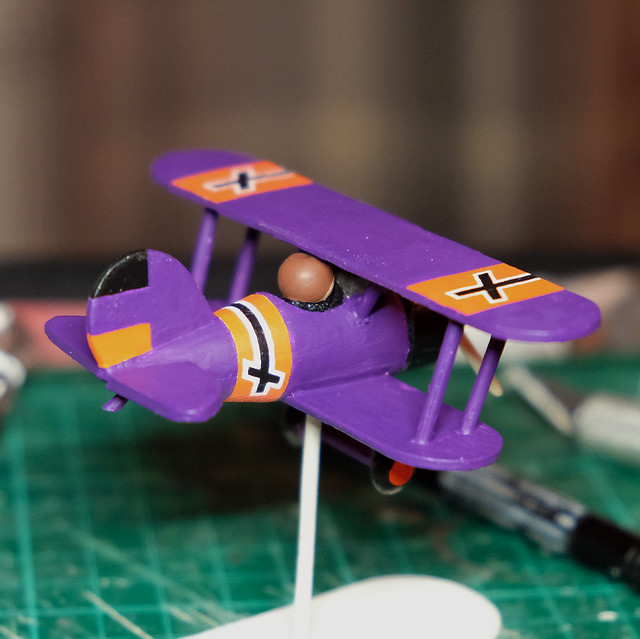
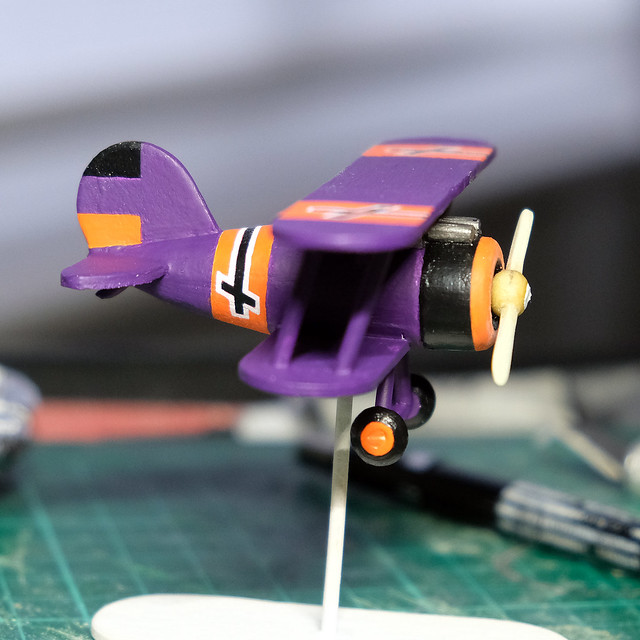
Just some quick snapshots of my little peg bi-plane as it nears completion.

I'm pleased as I thought I might be with the purple colour scheme, though it did take a couple of coats  as it's a bitch of a colour to get good opacity. Also, I decided to paint the 'Royalist' emblems (the crosses) freehand, so lots of painting with my tongue out!


You can probably see how streaky the first boat of purple was in the above picture. But it all came together nicely with the application of a second coat...


The photos make the crosses seem neater than it actually is! SO, I'm pleased...Hee hee.

Sunday, 3 June 2018

Sunday Morning Tinkering

...I got a bit sidelined today. I was supposed to be catching up with some of my painting projects, but instead I made a little bi-plane!

The idea was to see what else I could do with wooden pegs as I am really enjoying working with wood. It's a very forgiving medium, but also very warm and organic (it's the 'arty' inner me coming out). I'm also enjoying making my own model designs from scratch (rather than buying someone else's models).

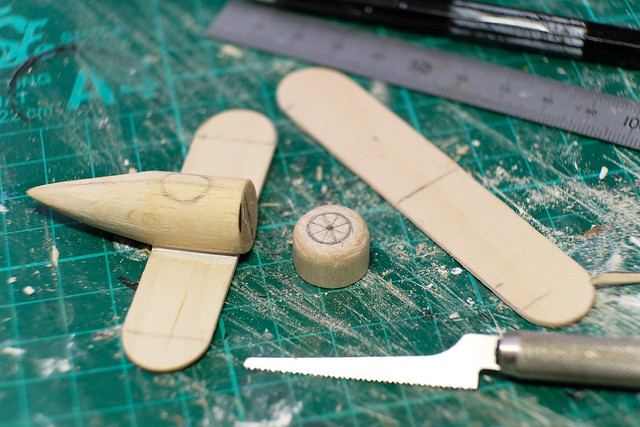
What started as aimless tinkering turned into a days exploration with wood and some of my new woodworking tools. And here's how it went...

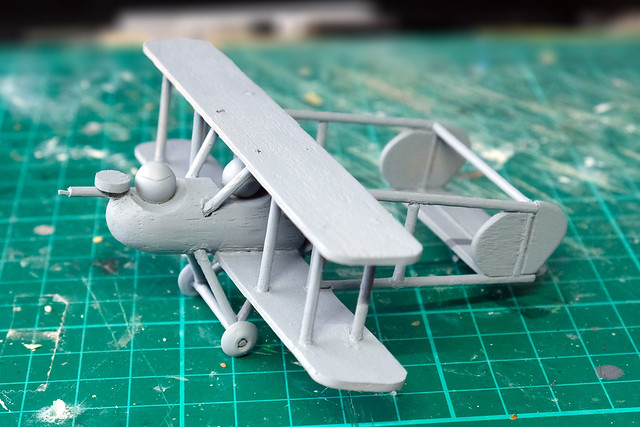
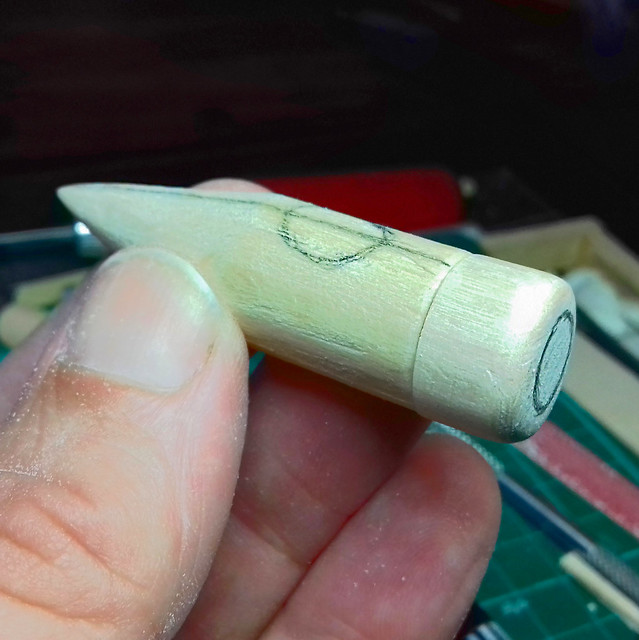
The basic shape of a dolly peg, sanded to a point and a
cylinder of wooden dowel stuck on as an engine cowel.
The basic shape of the dolly peg lent itself quite nicely to a fuselage shape. So, the design kind of created itself really - there was no real forward planning...


All the component parts were either pegs, parts of pegs or commonly available wooden craft components (dowelling, beads, 'lolly sticks', cocktail sticks, etc, etc). I'm not as far as fabrication of parts from 'raw' wooden stock yet, but as I get more electric woodworking tools I may explore full-blown wooden toy making.


An amusing day - if a little 'off topic' - but, then I suppose this could be one of the first recruits for the 'Molatarian Air Force'! :D