Showing posts with label scratch build. Show all posts

Friday, 29 January 2021

Poor man's 4.7 Naval Gun Part 6

 Now here's a blast from the past! The continuation of a long 'dead' project, reanimated due to my new 3D printer acquisition...

It all began way back in 2013, when I was first beginning to dip my toe in the murky waters of scratch-building model conversions. My intension was simple - I could not initially afford to buy the classic Britain's 4.7inch Naval Gun model as the prices were stupidly high on eBay, so I decided to see if I could make a cheaper 'look-a-likely' artillery piece for my Funny Little Wars collection.

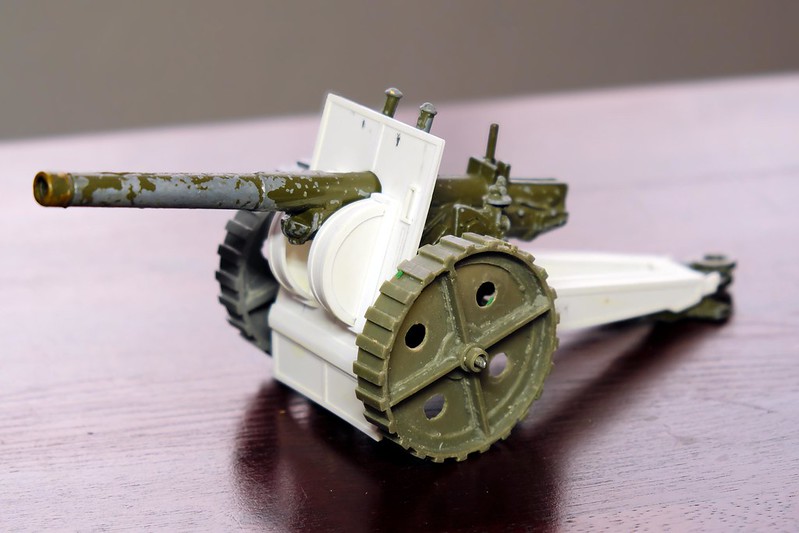
Above: Britains' 4.7 Naval Gun model the classic FLW artillery
piece. Now out of production and limited in supply, this die-cast
model much sought-after and prices can be astronomical!

You can read all about the project and how it initially progressed by following this link (opens in new window): Poor man's 4.7 Naval Gun Project Series

Anyway, to cut to the chase, a couple of things happened that put this project into moth balls, so to speak. First of all, my reach out exceeded my grasp as back then my scratch building skills were pretty basic and I got stuck when it came to the - for me - trickier building. And secondly, a change in my personal finances meant that affording the real Britains 4.2 gun model became less of an issue (in fact, I ended up buying two and so my need for a fake copy became somewhat redundant)...

Fast Forward Eight Years! >>
First of all, I can't believe I started this project eight yeas ago! But having dusted off this old job (literally) I now feel a lot more confident that I can actually complete the thing - thanks mainly to my new 3D printer!

What makes the difference is being able to model design ideas in virtually before committing to a build. Whereas before my scratch constructions were very much 'suck it and see' affairs I can now - thanks to the TINKERCAD software - experiment with objects and components to see if they are viable...

Above: The result of a short session in TinkerCad, playing about with
shapes and ways to connect shapes together... No cut fingers here!

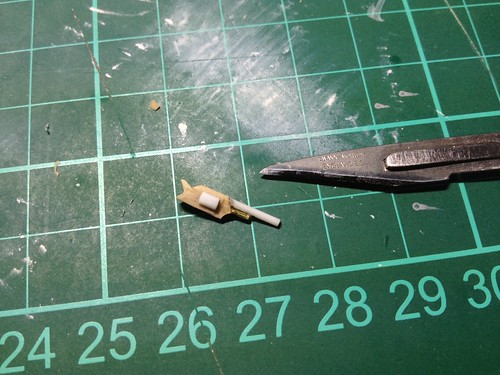
As the name suggests, I can tinker away to my hearts content - never worrying about spoiling a laboriously crafted wooden or plastic component and then having to start all over again! I soon had a collection of small parts which solved the quandary I originally had with my faux-Naval gun - how to attach the modified plating to the die-cast model.

Yes, I could have probably - eventually after lots of trial and error - have produced exactly the same components the traditional way with pieces of styrene cut to shape, but being able to model these shapes and alter them on the fly in the software meant I ended up with a more accurate end product in a fraction of the time.

Everything fitted together exactly how I wanted them and if something was slightly wrong it was ridiculously easy to tweak the dimensions and run off another component. This also solved another of traditional modelling's great bug-bears - 3D printing kinda kills the 'carpet monster'! I no longer have to worry about losing some small component as I can simply print off another. 😁

NEXT: Parts now assembled it's time to strip off the old paint!
Sunday, 18 February 2018

Featured Work - Lead Soldiers

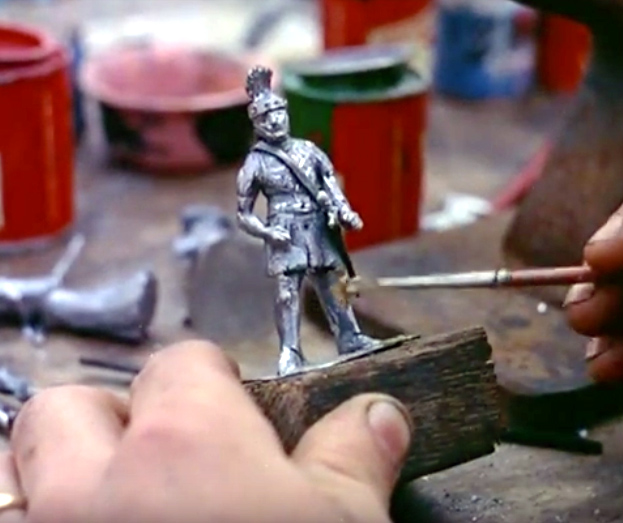
Sorry, I couldn't quite catch the name of this modeller (James something), but this is superb. Though, Health & Safety might baulk at the idea of carving raw lumps of lead by hand!


British Pathé News (or some of it's producers at least) seems to have a bit of a love for toy soldiers as it seems to be a popular and recurrent them for their news segments. :)


Wednesday, 16 September 2015

AiP 1/32 Gatling Gun carriage re-made - Part 4

Gun complete...


I've given it a coat of gloss varnish to match my glossy soldiers. I didn't use anything expensive, just Wilkos Hobby Lacquer. I have to say, I've tried to do some research on what's best to use as a overcoat but - as usual with these things - there isn't a consensus. In fact one of the FLW bloggers that I admire - Mr. Tim Gow - swears by Ronseal Outdoor Gloss Varnish!

(With my figures I am just experimenting with a light protective coat of varnish followed by a generous painted on layer or two of Pledge Klear Multi-surface wax!)


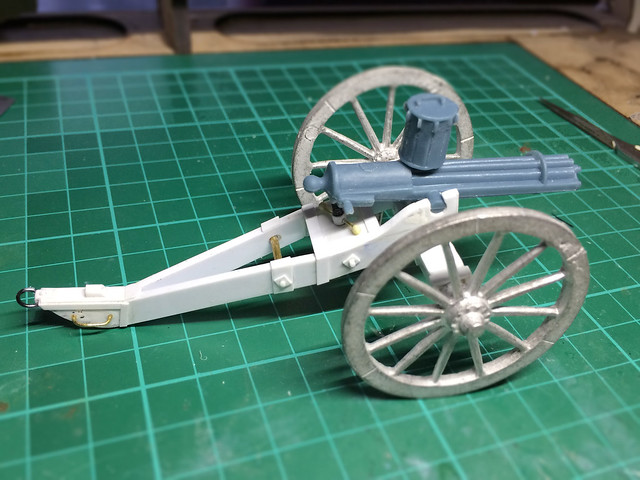
In the end I was pleased with the black and white colour scheme. It does suit my period (late 19th century) aesthetic very well. And I also think that my scratch-built gun carriage compares quite favourably with the original AiP one.


Well, it's nice to have made some progress in this particular hobby again. I have to say I find painting FLW figures and models far more relaxing than 'modern' plastic scale military models. None of this fretting over authentic colour schemes or weathering or shading or what-not!

NEXT: I finish off the gun's crew and then put the two together for the final completion photography.

Sunday, 13 September 2015

AiP 1/32 Gatling Gun carriage re-made - Part 3

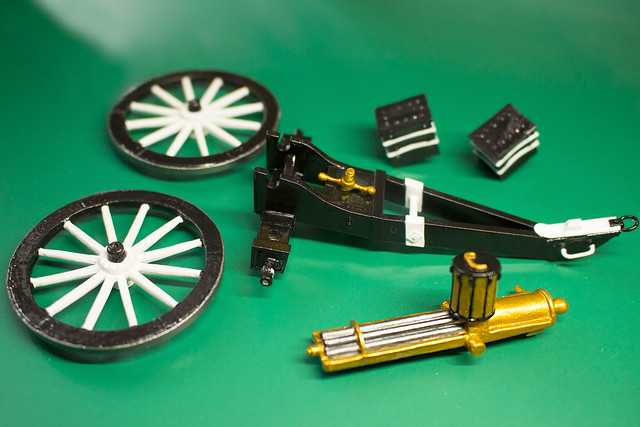
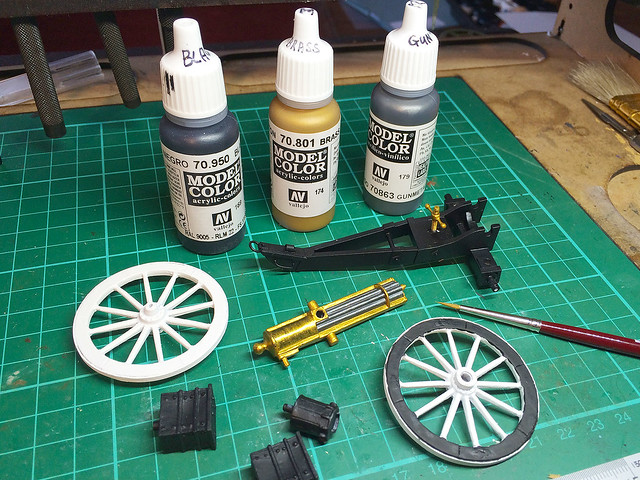
Having got the basic modelling of the Gatling done it was onto the painting. The carriage is going to be predominantly black - with some small details picked out in white - and the wheels are going to be white with black hubs and wheel trim.


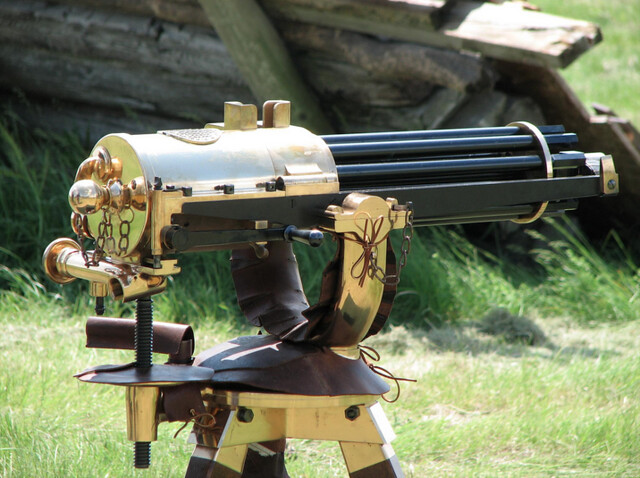
The gun itself will be one of the older style brass Gatlings with steel barrels. Here's an example (although this one has black barrels, which I think would be too much)...


And so, it's on to the painting. I'm using Vallejo acrylics (to be honest I rarely use anything else these days, I seem to have settled on Vallejo) with special prominence to their metallics - 801 Brass and 863 Gunmetal Grey.


I've just started applying coats in the above photo, I mention this because the Brass colour, in particular, needs several thin coats I have found (you'll notice it's a bit streaky after just one coat). But I was very pleased with the Gunmetal Grey, it has given me exactly the dull steel look I was after.


It's a bold colour scheme and as it came together I wavered a bit. But I wanted something that would stand out and be immediately identifiable as 'Molatarian' on a table-top or carpet battlefield. Hopefully it doesn't look to much like a zebra!

I'm really pleased with the brass Gatling, in fact if I had known it would turn out so striking I might have even toned down the carriage scheme and gone plain black. I'll have to get everything finished off and assembled before I am convinced.

Next: Hopefully a finished gun!

Tuesday, 8 September 2015

AiP 1/32 Gatling Gun carriage re-made - Part 2

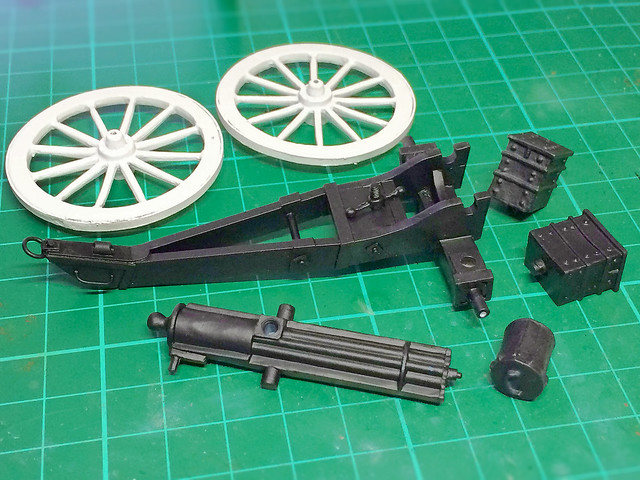
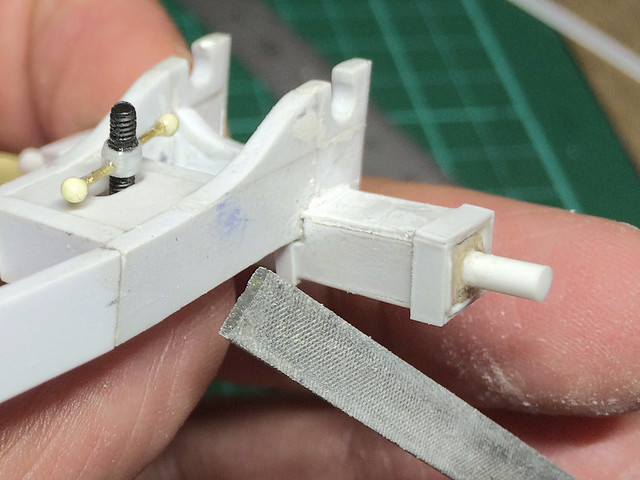
I pretty much played it by ear when I made the new gun carriage for this project, it was all a bit slap dash and therefore there was quite a bit of tidying up to do before I moved on to the detailing...

There were a lot of sloppy joins to fix...At least I have a template for any further
gun carriages I make.
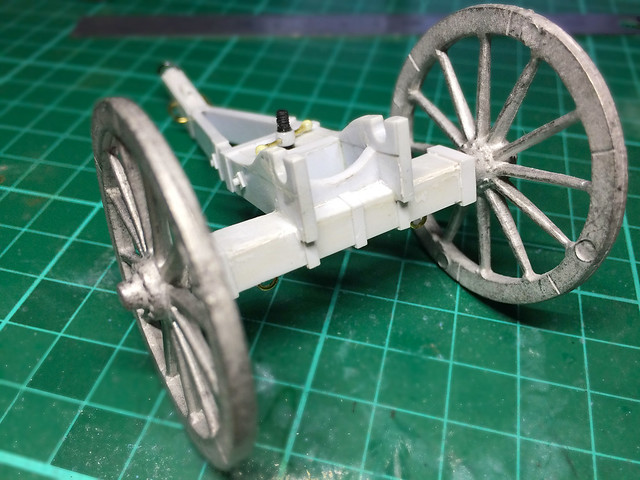
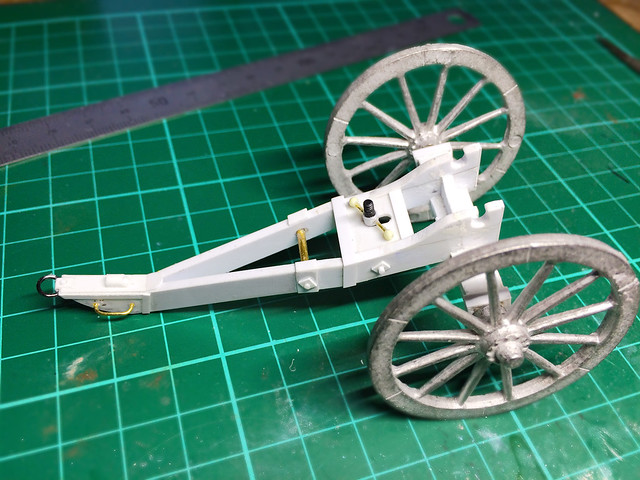
Having gotten the house keeping out the way I started adding some extra detail to the front end of the carriage. It's all very cosmetic, I'm not basing my additions on any particular historic reference...


Just enough extras to make the carriage look as if it might be based on something real! (Which it isn't. Any resemblance to something real is purely coincidental.)


It's all going to be painted black anyway (more about the colour scheme in a minute) so I didn't go wild with the amount of detail that I added. But I think it looks OK?

Quick check to get a feel for how it'll look like when done...


The carriage paint scheme
I had a good think and I decided I wanted something that stood out a little and would be uniquely 'Moletarian'. I didn't want something bland like field grey or natural bare wood and metal so I picked a colour scheme for my Molatarian artillery pieces that would look smart and unique.

I toyed around with colour combinations based on the national colours of Molatero - black, purple, orange and white - and out of these I decided black was a good choice for the main base colour. It's a practical choice, quite 'tactical' and seems a feasible in the context of late 19th Century military artillery. But what colour to choice for the contracting colour? (Plain black would be a bit boring.)

Purple was a immediate 'no' for me (yuck), and orange didn't seem right either. Which left white. Hmmm, black with white detailing - that sounded pretty attractive and sort of believable for a circa 1870 military artillery scheme.

So, I'll start with a base coat of Humbrol black matt acrylic...

Next: Carriage painting completed and onto the painting of the Gatling Gun itself.

Monday, 23 September 2013

Pants

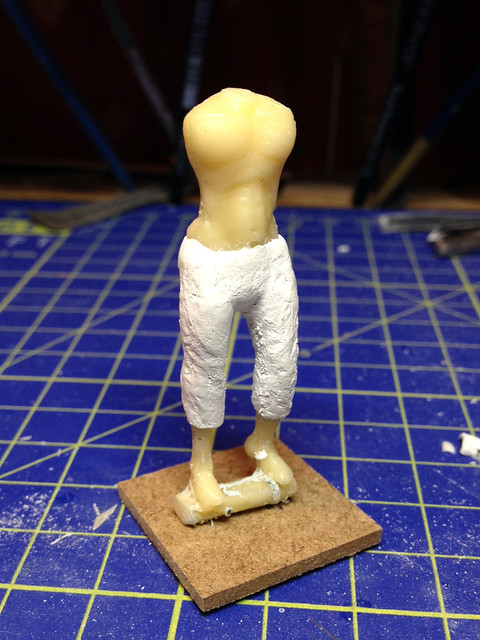
Well, hopefully not pants when I'm finished. Here we go...The start of my first complete 1/32 full figure sculpt. I just slap on a basic layer of Milliput to begin with, then carve and sand the shape back to how I want it.

As with the previous stages in this project I'm playing things rather by ear. I haven't really found a good manual or tutorial that sets out the sculpting process in depth. But in a way I would rather see if I can work it out myself.

...Fingers crossed!

Wednesday, 24 July 2013

1873 Krupp 9cm field gun build

It seems I have passed on the FLW bug to my brother! While he has been casting resin bits and bobs for me it seems he has also been working on a little project of his own...


He's decided that he wants to produce a model 1873 Krupp breach loading field gun in 1/32.

It's a very interesting gun as it is suitable for a large number of the European armies in the late 19th century. So I will be keeping an eye on this project as I may have to nab one of these for my Molaterian army!

Friday, 12 July 2013

Wheely useful resin wheels

Poor man's 4.7 Naval Gun Part 6
I've put this project on the back-burner while I wait for my brother's resin casting experiments to bear fruit. Well, I received a intriguing little parcel from my bruv this morning full of little resin goodies...


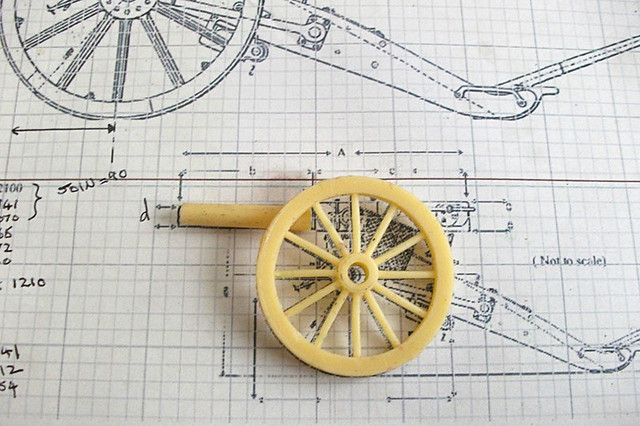
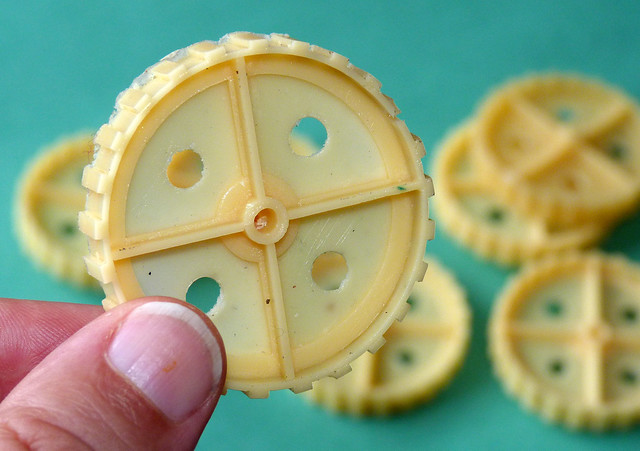
To recap, I'm converting a diecast Cresant gun into a mock 4.7 Naval Gun and part of this was my scratch build of the early 1900s era solid wheels. However, I wanted to duplicate the originals as I knew I would need them again in other projects I have in mind.

My brother is experimenting with resin casting and very kindly duplicated my scratch built wheels - as well as some other items - and I think he's done a terrific job (easily comparable to some commercial resin models I have bought).


What else will I use them for? Well, aside from the gun itself, I am thinking about scratch building a steam gun tractor.

In the mean time this access to resin duplication opens up all sorts of possibilities - for example, I have just sent up a couple of heads with custom hats I have just made for my Molaterian infantry project.

This post is part of my 'Poor Man's 4.7 Naval Gun' project - the complete series of posts can be seen here.

Photo from my brother of the casting process.

Tuesday, 11 June 2013

A little bit of a gun nut!

My Burkish officer needed a revolver, so I made one!


...It's supposed to be a Smith & Wesson .38 (I chickened out of doing a Mauser)! I must be mad. :)

...Oh, it has no trigger or grip because it has to fit on top of his hand - which used to hold binoculars.