Anyroads... I have made a start! The current experiment (I won't call it a project as I'm not sure if it will go through to the painted stage yet) is mucking about with new ways to put together my wooden peg figures... And incidentally, I should say that I haven't completely abandoned plastic or metal figures - every so often I will bang out some of them if the mood takes me... BUT...
I have clearly found, in peg figures, a style that I can really call my own and that suits my peculiar sense of humour and aesthetics. So, this blog will mainly be covering my journey in the wacky world of wooden toy soldiers.
Wassup! OK, this...
My first thought was to add accessories and limbs using styrene strips. This was because styrene is so easy to work with AND it's flexible enough to form over shaped profiles. I can wrap styrene strips around objects to make belts and collars and if I cut out an arm shape...

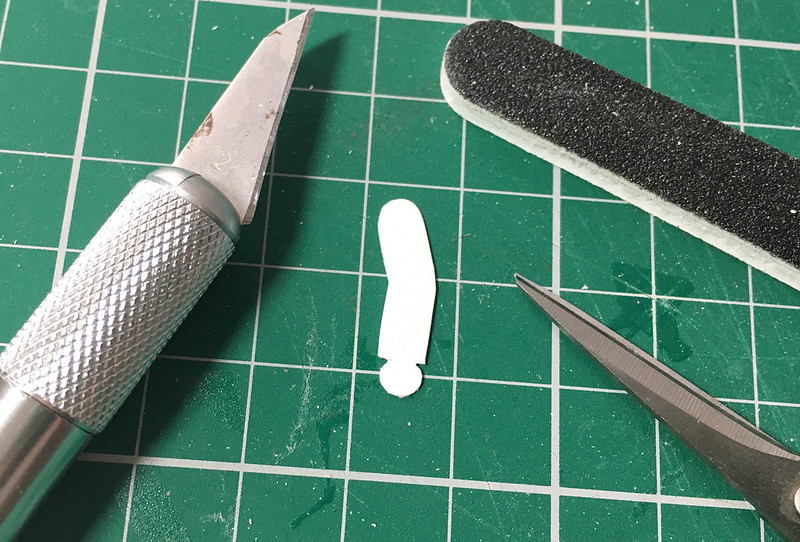

Styrene does work very well BUT I kinda feel a bit uncomfortable straying from my original idea that these figures would be 'all wood' (as far as I can). Therefore, I started playing about with other ideas using bits of lolly sticks - this was my Mk. II design...

Not so flexible, but that's OK as I guess it looks 'toy soldierish' just hanging off the side of the figure like that. Obviously, I can't make things like belts and collars BUT I had a thought and think that inscribing, carving and wood-turning on a small lathe may be the way to go to add some of the detail on the body of the figure.

Out on a Limb...
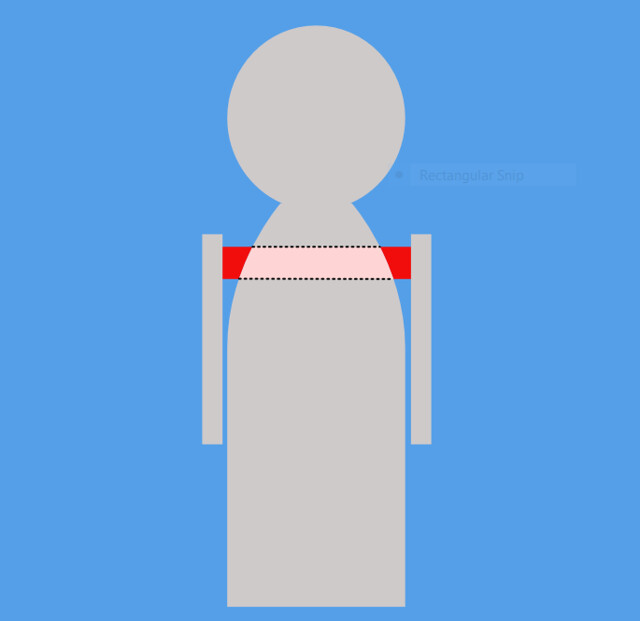
I was umming and ahhring about the odd angle of the arms because of the flared shape of the peg 'body' and wondered if there was anything I could do when my sister (or all people) gave me a good idea. 'What about drilling a hole through the body, running a rod through it and hanging the arms off that?' 👉
Luckily, my Dremmel drill press is one of the tools that I have unearthed from my man cave junk pile. So, let's do a little drilling shall we? 😃 First of all, let's try and make an accurate job of this...


Having drilled through a pilot hole - checking it had cone through level and come out on the other side at the right point - I then changed to a thicker drill bit to crate the hole through which I will thread my dowel...

This might be a bit on the thick side, but this is an experiment and I'll change the drill diameter for the final version of these figures IF the idea works out OK.
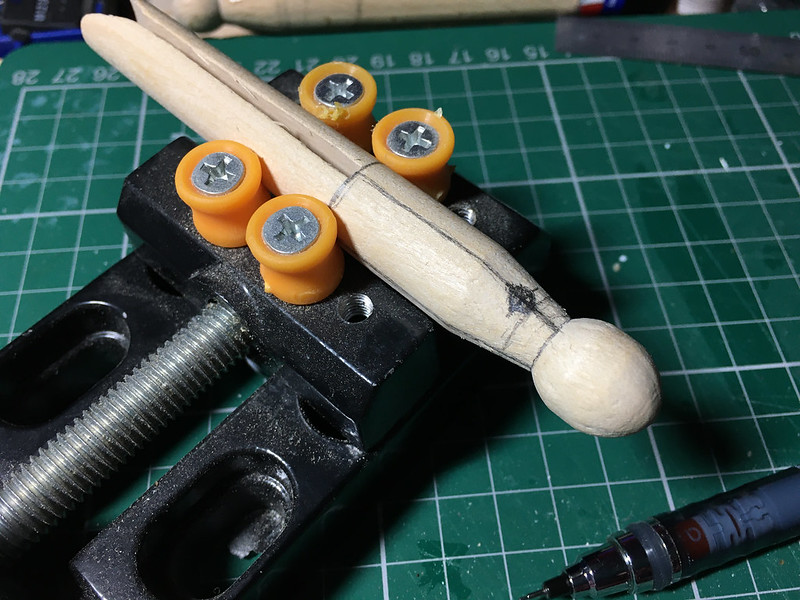
I pushed the dowel rod I had - some spare garden cane - and it was a fairly decent fit, though I might have to use some wood filler. I'll make sure to get the exact sized wood dowl to match the drill bit the next time...

I just need to cut down the dowl before I attach my lolly-stick arms. Do I use some pins to secure them in place or will glue be enough? We shall see.
OK, I'll end things there for now. Next time I will be fitting the arms.
Coming along nicely.
ReplyDelete