Showing posts with label Molatero. Show all posts

Wednesday, 27 May 2020

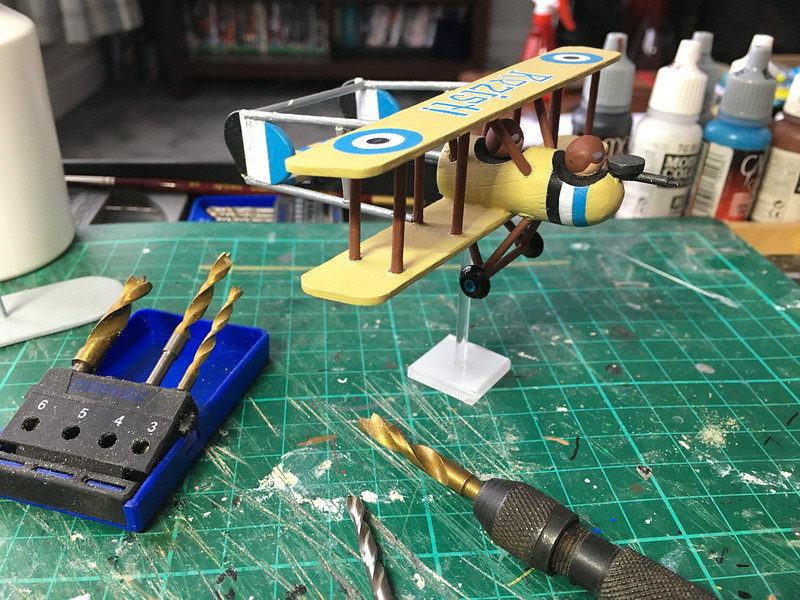
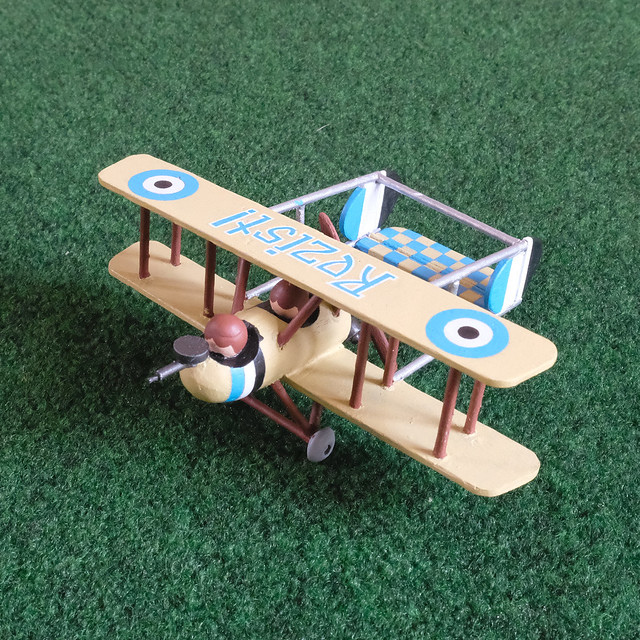
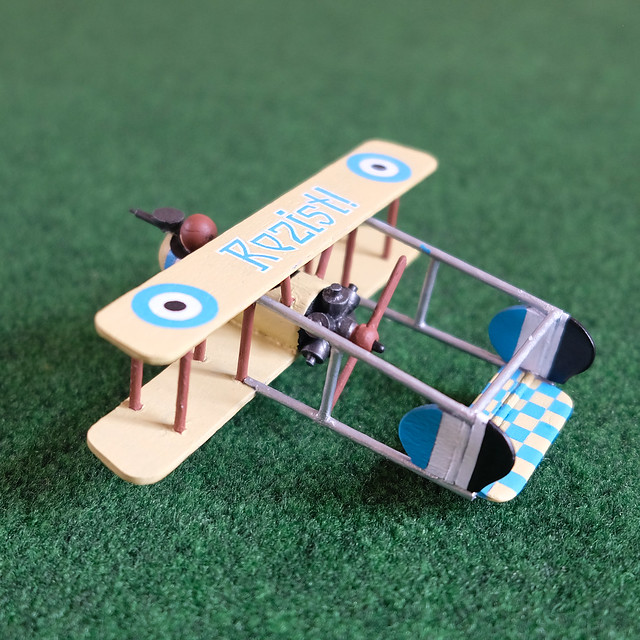
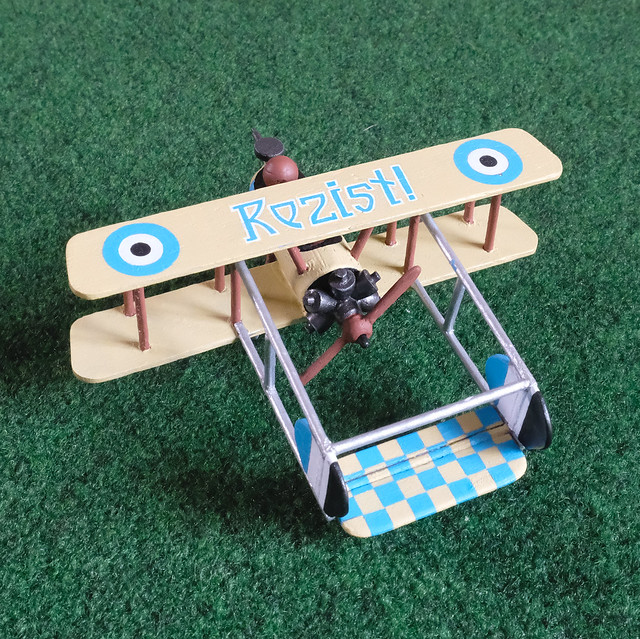
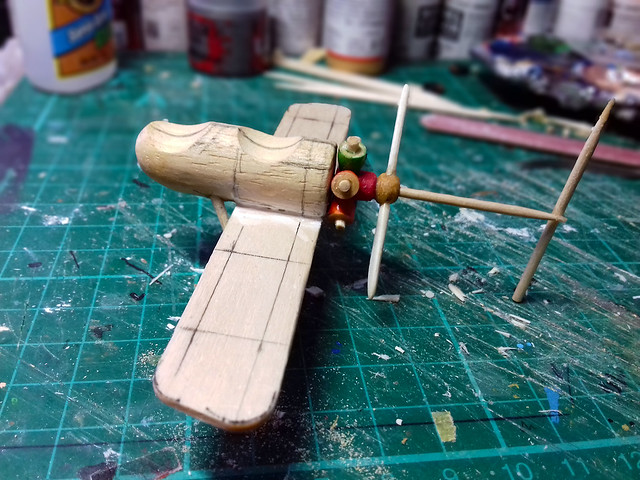
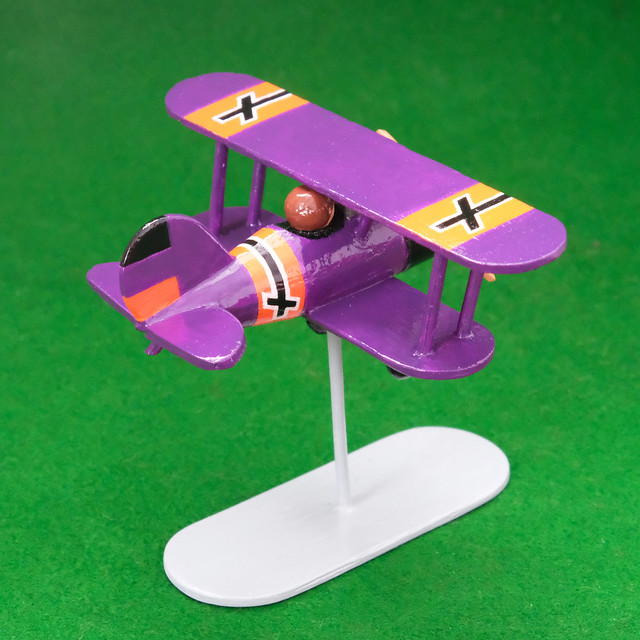
The Resistance! Molatero Free Air Force

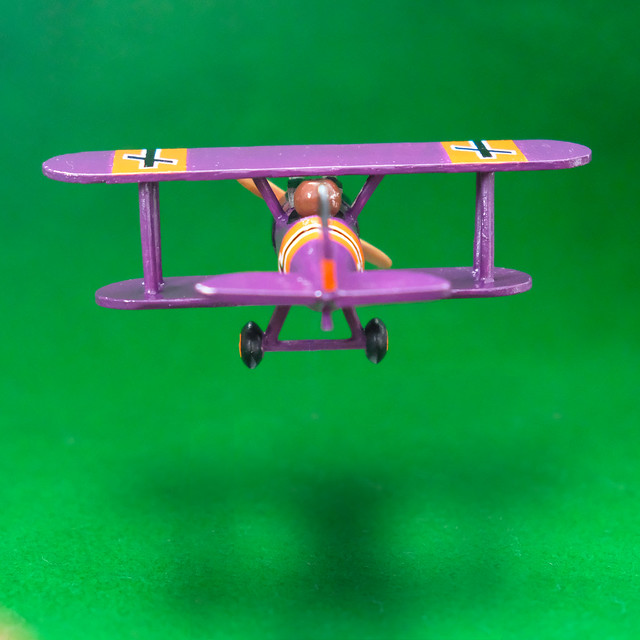
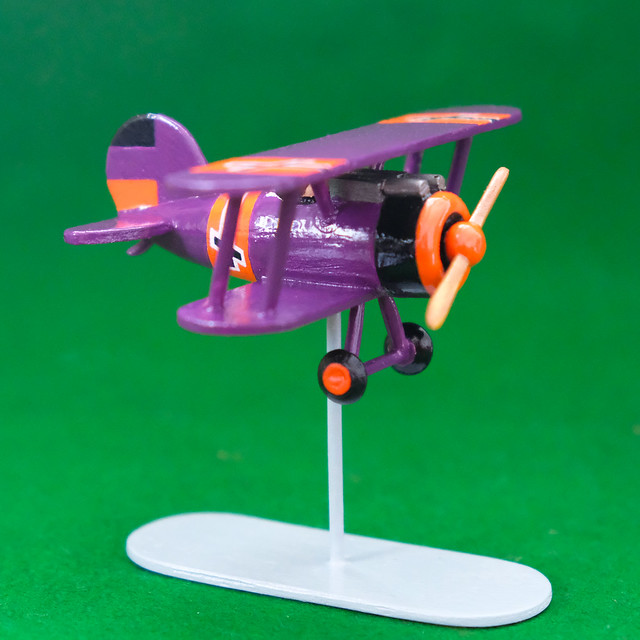
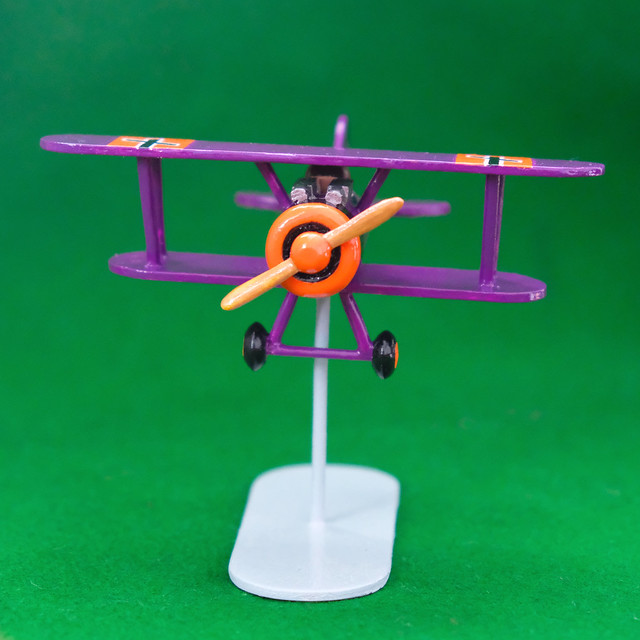
Light bomber and reconnaissance machine of the revolutionary coalition.
Backstory: "After the upheaval of The Great War many sections of ordinary Molaterian society
were in ferment due to their dissatisfaction with the ruling elite and their military support for the Northern Alliance. The cost of that affiliation for the ordinary populous was great, particularly on the agrarian working classes who were relied upon to fill the ranks of the army during the war.

Liberal dissatisfaction with minimal representation in a parliament that was still overwhelmingly dominated by the aristocracy was bolstered by a growing proletariat movement. What started as a demand for political reform quickly became an actively militant anti-monarchist and anti-government sedition.

With outside support, an armed resistance movement was formed to counter what was an increasingly draconian suppression by the Royalist Army. Rural areas quickly fell to various anti-government militias and regional regiments - who were largely made up of conscripts - and in 1920 descent turned into full-blown revolution.

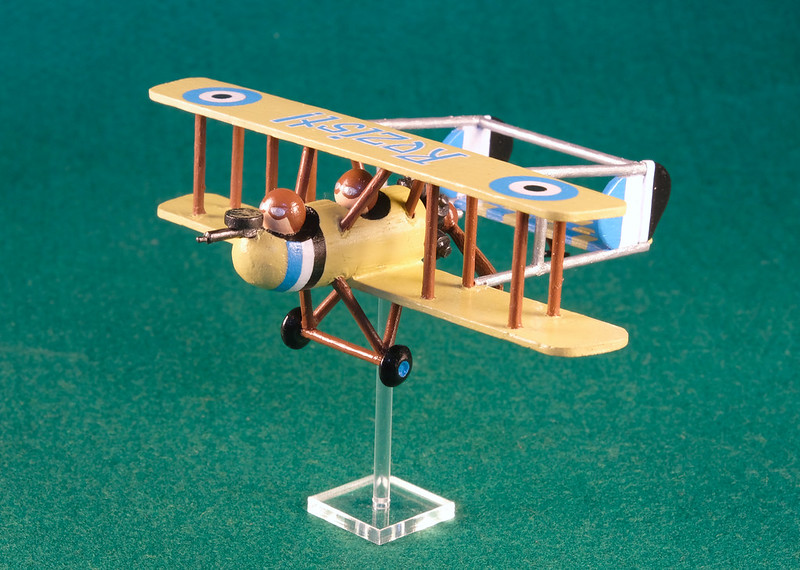
This plane represents one of the handful of aircraft the revolutionary coalition managed to put into the air in support of its military campaign. What aircraft the rebels had were largely obsolete models left over from the Great War and were no match for the more up-to-date machines of the Royalist Air Force."


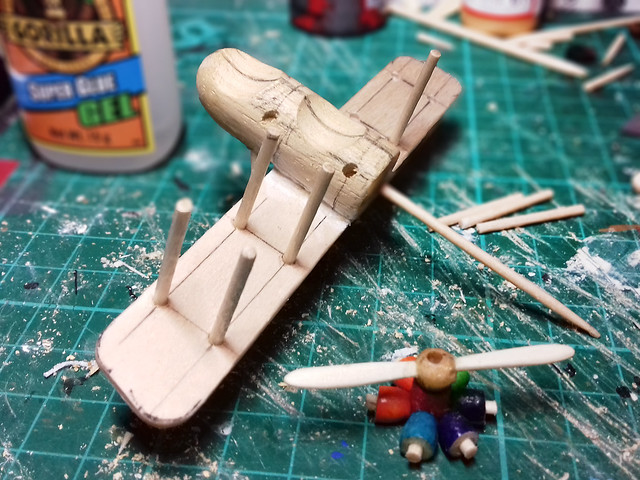
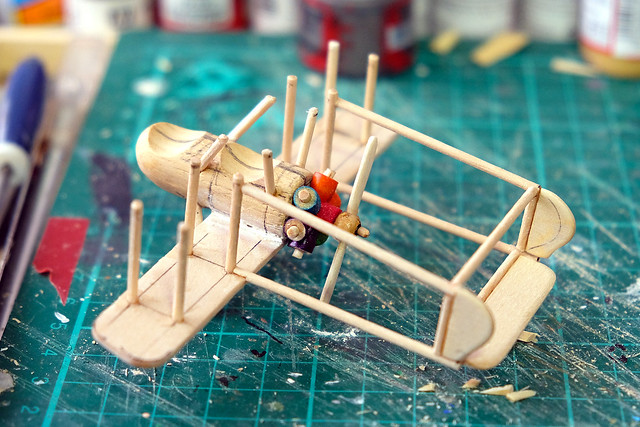
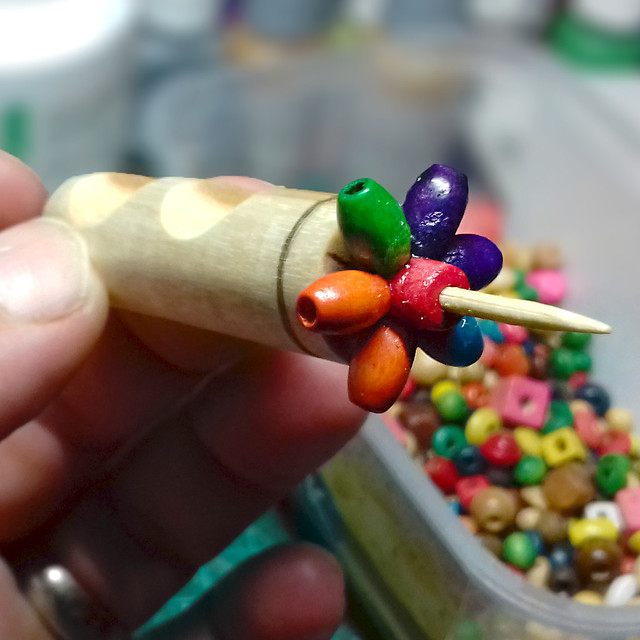
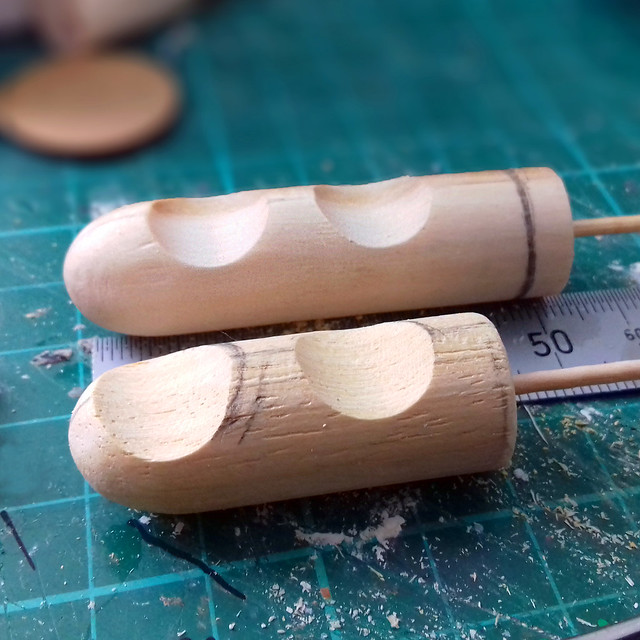
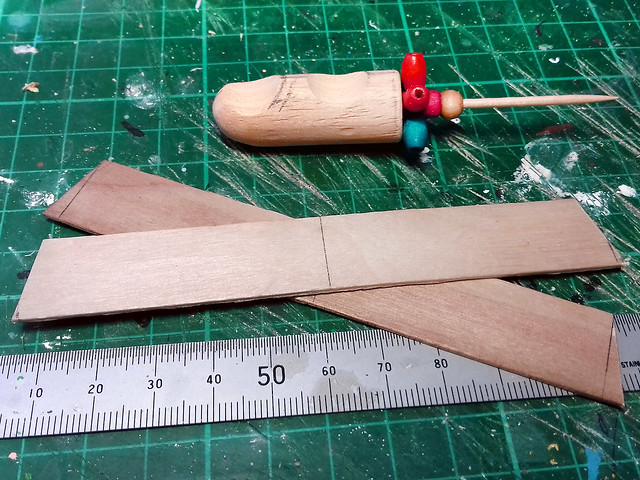
Model information: This is the second of my 'peg' aircraft models. In this case, the peg - or part of the peg - forms the main fuselage, with the other wooden parts made up from cocktail sticks, lolly sticks (popsicle sticks for our colonial cousins), wooden beads and tongue depressors (of all things)!

Thursday, 21 May 2020

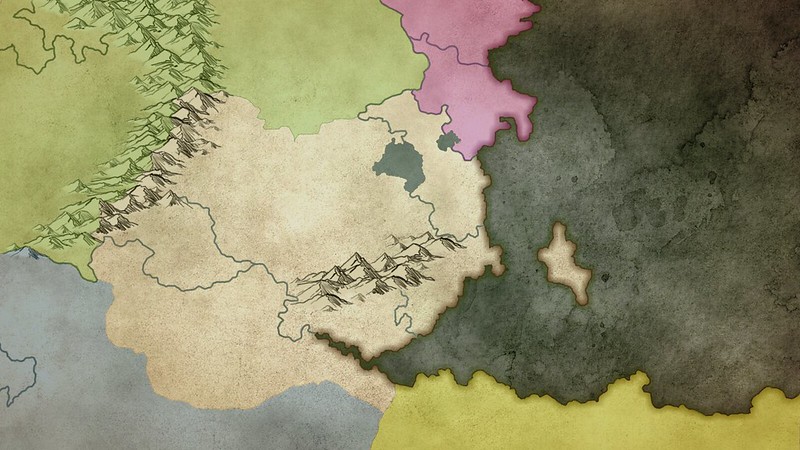
Small Update - Map of Molatero

I'm (very) slowly working on my Molatero backstory and maps in the background, but I have made some progress and am happy that I have the basic geographic shapes finalised...


I'm also please with the graphics style, even if it does look a little Lord of the Rings meets Pirates of the Caribbean! 😂

Now I have the base outline I can start work on making a pictorial history of Molatero using maps which trace it's formation and development. I'll use these to pin-point important periods in the county's history so that I can give my story some character.


As I say - this is a small update but I'm enjoying creating the maps.

Sunday, 17 May 2020

Peg Bomber Flies Again!

The little problems I left behind me when I had my break from modelling have now come home to roost. I had forgotten that I had decided to change the way I would display my little peg planes, moving from my thrown together cocktail stick stand to a proper commercial plastic one.

I had bought a set of square acrylic flight stands - made tabletop game aircraft and space vehicles - because I think they look a lot better than a 'stick'. Actually, I think they look better because they are less noticeable than my cocktail stick contrivance...


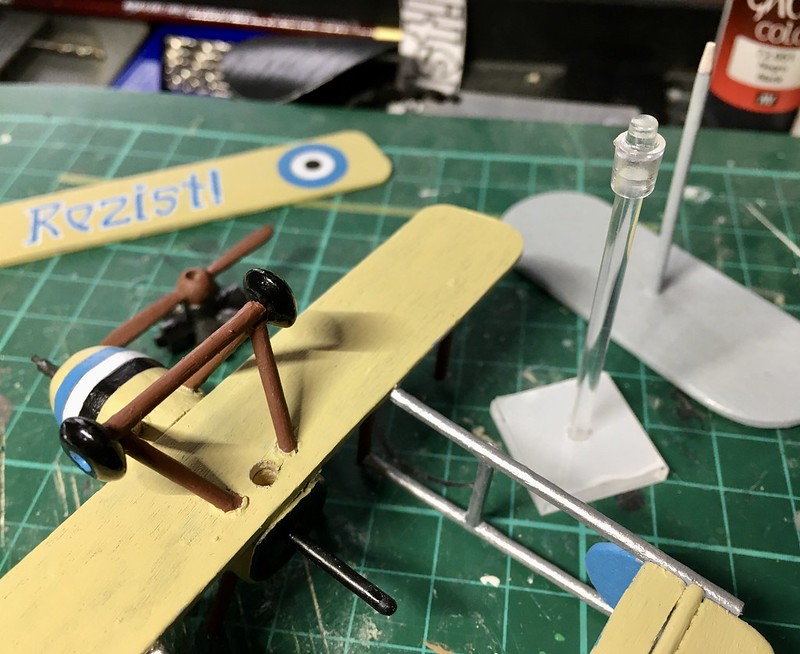
The problem with this change in direction was that I had already nearly completed my peg model, so I've had to go back and make a suitable hole into which I could fit the new stand's socket. All I could think of doing was to re-drill the smaller hole I had made for my stick-stand so that I could fit the larger diameter plastic socket into the underside of my plane.


It was a wee bit tricky as I had to use a relatively large drill bit and I was quite worried in case I damaged my model during the handling. I took things slowly and carefully and eventually had a hole into which the plastic stand slid.

What I intend to do next is superglue the socket part of the stand into the hole, that way I can take the plane off the stand if I want. I was a little worried that the small diameter of the square base might not support my plane, but it does (at least it does at this height - 4cm - though if I want to increase the 'altitude' for a game, say, I would have to get a wider base). 👍


Well, job done - and with all the touching up of the model complete all I have to do now is a apply a couple of coats of glass varnish and the job's a good 'un.  That's next.

Saturday, 16 May 2020

A Slow (Re-) Start...

I've been finding that getting back into a hobby that I have neglected for so long isn't quite as straight-forward as I imagined and it's just not a case of re-finding my enthusiasm.

One of the main hurdles I have had to overcome is simply finding all the modelling gear and paints I had - lots of stuff has either been 'borrowed' or stored (in the infamous 'safe place') or just plain lost! And my work area in my 'man cave' had become a dumping ground for all the household brick-a-brack... I had to excavate my desks from under a small mountain of boxes of junk and Christmas decorations!

So, this re-start has been slower than I would have liked...BUT...I seem to be getting somewhere now.

My first job was to find the selection of paints I had been using for one of my
last projects. Eventually - and much to my relief - I managed it!

One of the greatest worried after neglecting this hobby for so long was the state of my paints collection AND exactly what paints I was using for the several half-finished projects I had.

The good news is that acrylic paints seem to fair quite well after a period of hibernation. Being a old-time modeller I had terrible visions from my long past experiences with 'old school' enamel paints and what they were like if they had been opened and then neglected.

The next issue was a good news and bad news situation. First of all, I managed to locate some of the sets of paints that I was using for a couple of my projects - Huzzah! - BUT then I realised that a another project was one for which I was mixing a specific colour, oh dear!

In the case of the colour mix, I may have made some notes of my colour recipe in a past bog post, but I haven't found that yet. This has made me determined to record my project's progress in even more detail in future so that I can recreate creative modelling techniques again more easily. In fact, it has meant that I have had to reassess my project documentation method and I am considering a fundamental change from mainly photographs to video.

Anyway... Onwards!

So, having found the paints I was using for my little peg light bomber I got my handy portable work tray up and running (as I still haven't cleared enough junk off my attic desk for it to be usable) and I tentatively began to process of working out what needed to be done to the model...


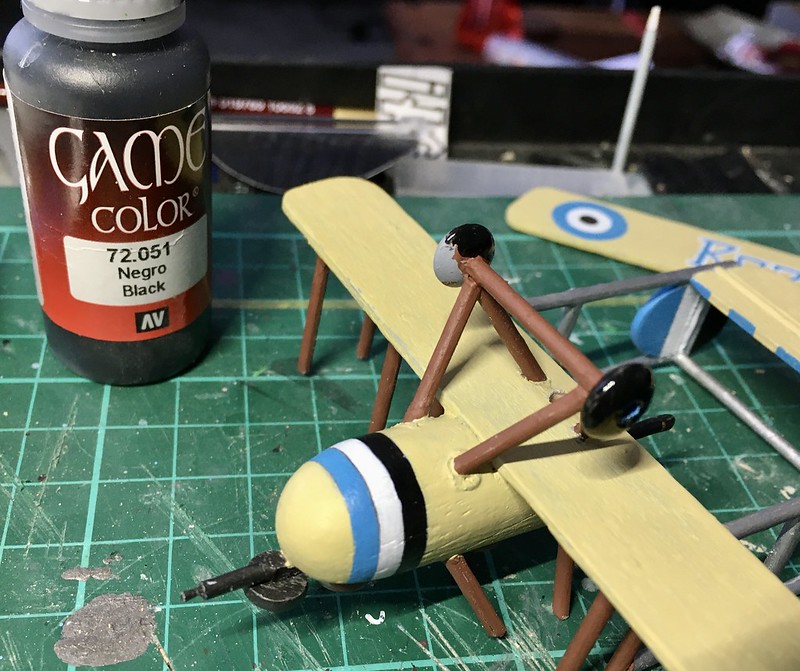
The model was actually very near completion and this makes it a nice 'ice breaker' with which to restart my hobby again. There was some touching up to do and some small jobs - like the above pic of my completing the undercarriage - and, amusingly, I had to begin by giving the model a good dust! 😂

Another tiny chore was to give my aircrew some goggle. Some simple silver coloured 'lenses' would suffice but even this proved a little tricky as my painting confidence has suffered, my hands seem to be a lot shakier AND my eye-sight appears to have deteriorated. Getting older is a pain in the ass.


And, finally (at least for this stage), I had some thinking to do regarding mounting the model. It seems -from what I can remember from two years ago - that I was thinking about adding transparent acrylic stands to my little wooden planes. I had already bought a pack to test and this model was to be a 'proof of concept'.

Unlike my original 'cocktail stick stand' idea - which was a wee bit wobbly and didn't look very good - these purpose built plastic stands are intended for little tabletop aircraft games and really look the part. The only slight issue is that I will have to work out how to attach the connecting socket part...


...Much drilling and super-gluing ensued! 😕😡😉

Well, that's not a bad (re-) start. Next I have to gloss the model in keeping with the rest of my peg models as I like the traditional toy soldier look. Also, it's got me thinking about what I would like to make next, as I love these little cartoon looking aeroplanes. It put's me in mind of a show that I really used to enjoy as a kid...

Saturday, 2 May 2020

The History of Molatero (in Progress)

As I made the mistake of not making any notes for my Molatero backstory I now cannot remember where I was going with the project! So, I'm sorta having to start from scratch...

Now, I realise that not everyone needs a backstory for their Funny Little Wars faction - in fact you can opt for a 'off the peg' army using the pre-generated ones, such as 'Army Red' or 'Army Blue' which are loosely based on historical national armies - but I, personally, enjoy making up 'stuff'! 😄

Anyhoo, so back to the drawing board. Now, I am a visual sorta guy - I prefer to doodle than write - so it's easier for me to construct a backstory using pictures. My starting point, then, is to sketch a map of 'Molatero' - where it is in it's fictional, alternative version of our world and what kind of cultural it would therefore have...


To my mind 'Molatero' is a fictional equivalent to Bulgaria (and/or Roumania), occupying a south-eastern position beside an inland sea which mirrors the Black Sea. Though I have borrowed Molatero's cultural flavour from a few different Balkan states, you get the idea.

Having sketched out my map and got a feeling for it's place in 'my world' in relation to the real world I filled in - tentatively - it's neighbours. These would be the protagonists in my make believe war-gaming arena with Turania being the principal 'baddies'! 😉

Situating Molatro's 'culture' gives me a jump off point by which I can then start fleshing out the rest of it's history - political, military and social. And as my interest was in creating a small army for war-gaming a Funny Little Wars campaign chronologically I was particularly interested in a period that equated to the late 19th century (I actually had in mind a date of around 1890).

Romanian soldiers c. 1913 - some historic reference material on which
I based my idea on what Molatarian uniforms might look like.

And that's as far as I got when I originally started this blog - though I had already started getting a little side tracked when I started making little 'peg aircraft' and was already looking at Molatero's later history (1919-1921). But that's a by-product of my fertile (some would say over-active) imagination! 😄

Monday, 30 July 2018

Peg WW1 Light Bomber - Part 5

Painting Check...
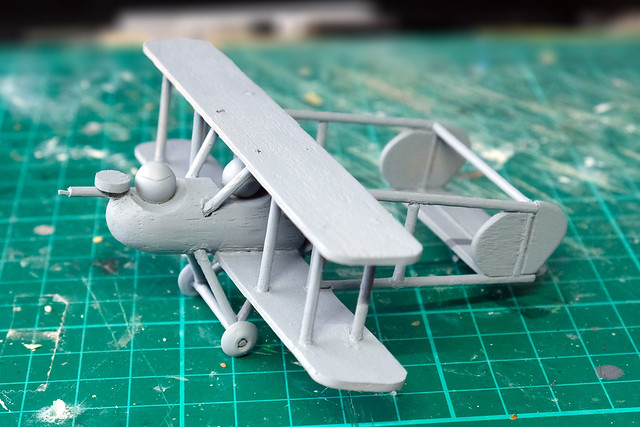
I've been a little unsure about my paint scheme for my little bomber aircraft so I've taken some test photos just to reassure myself that everything is going OK. Sometimes you need to see some photos, which seem to give you a little 'distance' from which you can assess your progress in a more detached way (that probably makes no sense to you whatsoever)!

Anyway, here's where I am so far...


I *think* this is going in the right direction..?

Sunday, 22 July 2018

Peg WW1 Light Bomber - Part 4

And so, the painting begins...

I've decided to go with a pretty plain and widely used colour scheme for my bomber, a 'canvas' buff. While this was associate with earlier WW1 aircraft - from, say, 1914-17 - I'm imagining that my Molatarian Rebels of the 1918 uprising might be using older aircraft (I'm making this up as I go along - like everything else I do).

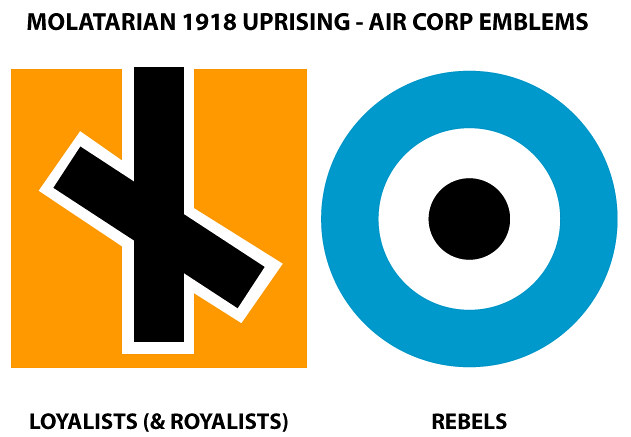
I thought the overall buff colour went nicely with the older 'pusher' design of aircraft. But will be adding a rather novel rebel slogan to the upper wing to add some interest to the scheme. The faction colour will be the blue, white and black scheme that I have designed for my rebels.

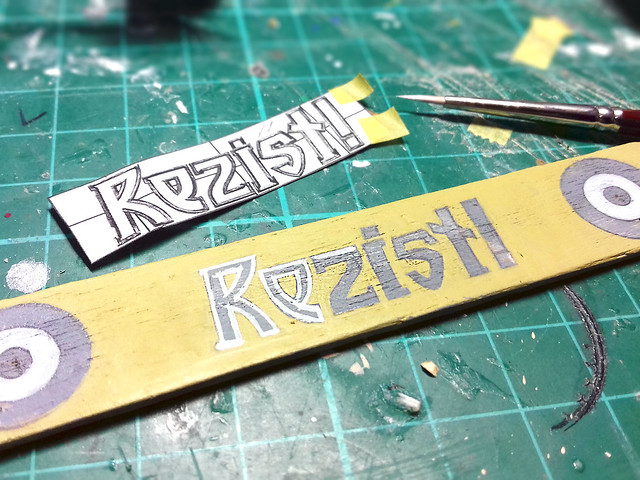
I designed my revolutionary slogan in Adobe Illustrator using a
vaguely Romanian/Cyrillic looking font. Then I printed it out
and traced the design onto the top wing...
My imaginary nation of Molatero is loosely based on Romania (ish)
and so I have used the modern political slogan of 'Rezist' as it
seemed so apt for a catchphrase of a civil uprising.

Otherwise, the rest of the painting is very straight forward and pretty easy. Being a simplified and stylised model detailing is pretty much non-existent and there will be few colours used. I'll start 'inside' and work 'out'...


To be honest, this paint job - being family plain - shouldn't take too long finish...Hopefully!

Tuesday, 17 July 2018

Saturday, 14 July 2018

Peg WW1 Light Bomber - Part 2

Well, I'm still making this up as I go along,  so I've only a vague idea which way this one is going!

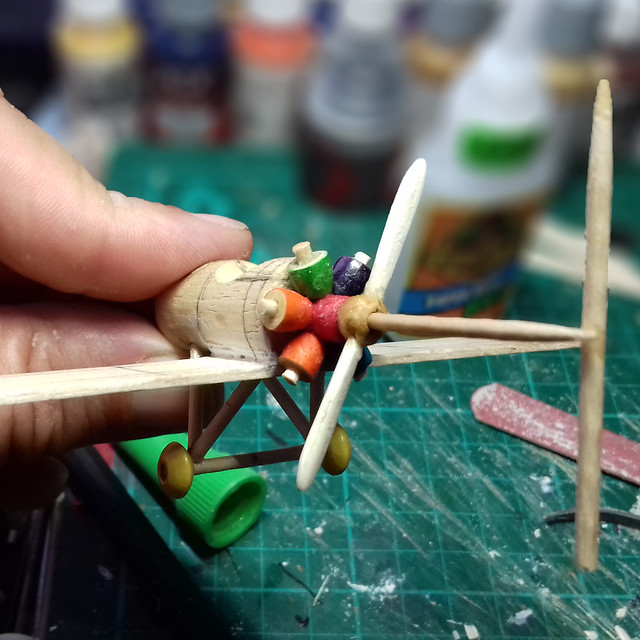
I began the session by doing some more work on my 'bead' rotary engine...


The cocktail stick arrangement at the rear is just a device I made for reference so I can determine how I might start to make a tail section.


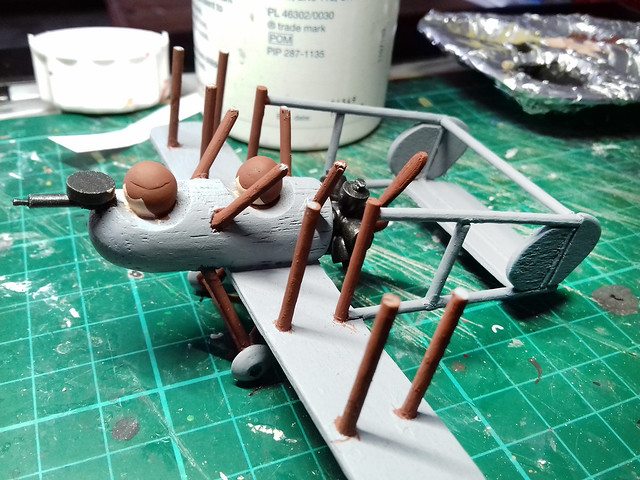
Next I move onto making the main wing struts. Cocktail sticks at the ready, this is going to take quite a few...


My careful measurements of the layout of the wing struts worked out as the top wing fitted easily in place. While loosely based on the design of the Airco DH. 2 the layout isn't exactly identical, especially where the fuselage struts connect to the top wing...


Well, that worked out OK, but the tail section is my next challenge. I have plenty of reference to base the flimsy tail - the Airco DH. 2, Royal Aircraft Factory F. E. 2, Vickers F. B. 6 and French Breguet V all used this 'pusher' arrangement and the delicate tail section it required. Though, I'll probably modify the designs to suit my idea of this imaginary aircraft.


I went for a slightly unfeasible 'twin boom' arrangement, just for fun and to make it suitably distinct from any actual historical aircraft type. I'm not even sure that such an arrangement would work! (I may add to it, just to give it some more period flair!)

Well, that's it for this session. She's a big beasty (would still like to have a go at a twin engined bomber though). In the next part I will begin the paint job, I'll just have to decide on a suitable colour scheme.

Wednesday, 11 July 2018

Peg WW1 Light Bomber - Part 1

I really enjoyed making my first peg plane - see 'The Purple Baron' - and I had always intended this to become a small series of 'historic Molatarian military aircraft'. In fact, I had already an idea for my next aeroplane model...

The backstory for my first plane was that it represented a fighter aircraft of the Loyalist (or Royalist) faction during the 1918 Molatarian Civil War. Naturally, I imagined that there would be a 'Rebel' faction and they would have also fielded some aircraft and I wanted to make a model of one of these.


The wonderful thing about WW1 aircraft is that there was such a diversity of designs - flight still being in it's infancy - and this would allow me to indulge my imagination with some quite exotic models. Having done a pretty conventional biplane design I now wanted to explore something a little more unusual.

The 1917 Zmeu Roşu ('Red Kite') Pusher Light Bomber
I have always liked the 'pusher' aircraft design - the British Airco D.H. 2 is a favourite plane of mine -  but I thought it might be nice to have a two-seater light bomber model to compliment my first single-seat fighter model. Examples of this type would be the British Vickers FB-6 or Royal Aircraft Factory F.E.2 (both 'pusher' fighters) and the French Breguet Bre.5 (a 'pusher' bomber)...
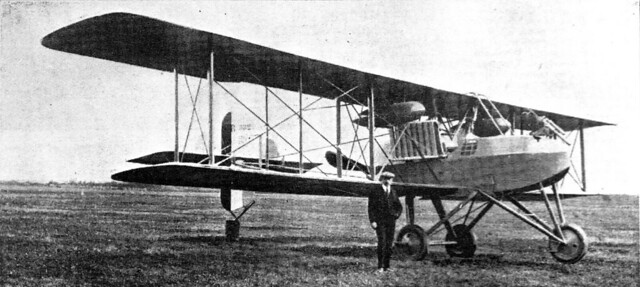
The French Breguet Bre.5 bomber of 1916. Source: Wikipedia.
Of course, as usual, my peg model will be of a simplified, toy, design and will also be intended to represent a fictitious Molatarian type!

Peg Pusher Construction
I'll be largely following the process of construction I established with my 'Purple Baron' plane. The fuselage will be a shaped wooden dowel or peg...


Obviously, I have shaped the 'cockpits' by sanding out scalloped shapes using my Dremel with a small drum sander. Pilot at the rear, gunner/bombardier in the front cockpit.

The main feature of the 'pusher' type is the rear mounted and facing engine and principally these early engines were the ubiquitous rotary engine. My little plane will have a simplified rotary engine which I will make out of six wooden beads, representing the engines cylinders... :)


Second Thoughts...
The one downside of this 'make it up as you go along' approach to modelling is you don't have a plan (obviously) so you don't exactly have a true sense of the final scale. While my fuselage looked right, it clearly wasn't once I started estimating the wing span required and how ling the tail section would be!

In short, my 'light' bomber would have eventually turned out to be something more akin to a 'heavy' bomber...Way bigger than I wanted it and too big for a single engined aeroplane. So I quickly made up a second slightly shorter fuselage...


I'll keep the longer fuselage as it would be nice to have a crack at a heavy, two engined plane at some point. The shorter fuselage should produce a plane only a little larger than my original bi-plane fighter...Hopefully.

A Wing and a Prayer
Time to cut out the wings, I'm using the same large wooden tongue depressor sticks that I used for the wings on my bi-plane. This time, though, the wing span will be slightly wider and the edges will be more square cut...


And now my second gaff...I failed to work out a way to attach the wings where I could easily check that they were on square! In other words, like so much of my stuff, I attached the wings by eye (they sorta looked straight and square-ish).

(I maybe should've made some sort of template or something.)

Anyway, I thought 'what the hell' and glued the lower wing on...
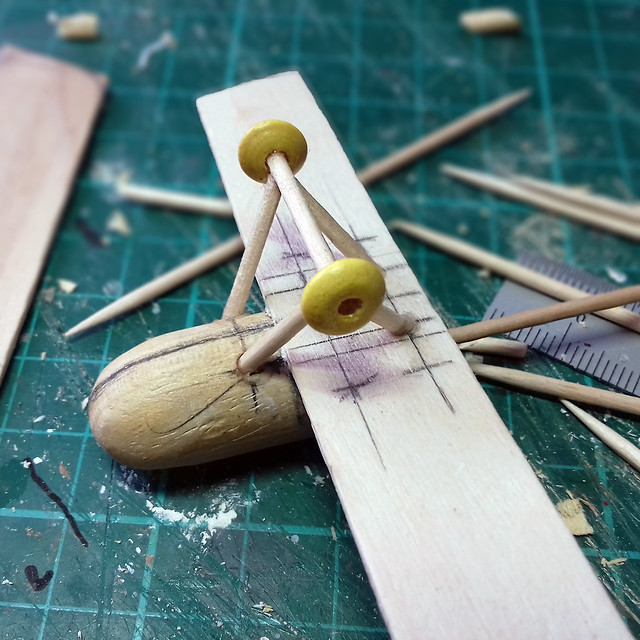
...I also put together the undercarriage.

I Have  a Cunning Plan!
Having just told you that I don't have a plan and that I'm making this up as I go along, I will contradict myself by saying that I do have a bit of a plan.

One problem I came across with my original peg bi-plane was when it came to painting it. I found is very difficult to paint the pilot and the upper fuselage with the top wing installed. So, this time I intend to paint all the parts before I install the upper wing.

This means I will have to do some careful preparation which will allow me to paint as much of the plane as I can before gluing the upper win on, perhaps by making some pilot holes in the wing so I can just drop the top wing and tail on accurately...
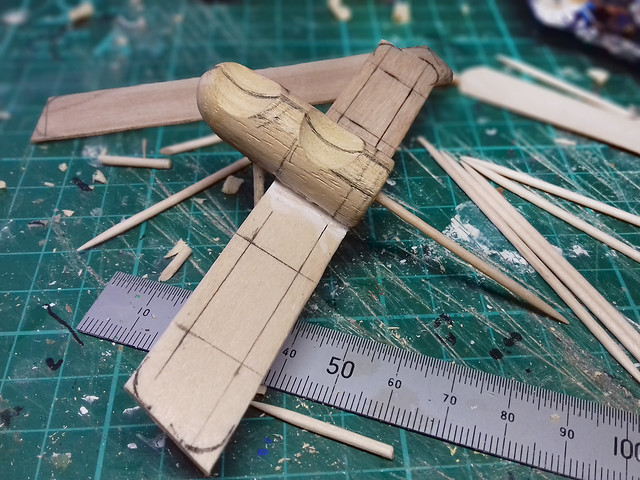
Careful planning and measuring for the next step as I want to install the
top wing and tail unit after painting the top of the fuselage.
Figures crossed that I can get all the separate assemblies to match up correctly. We shall see in Part 2.
Friday, 8 June 2018

'The Purple Baron'

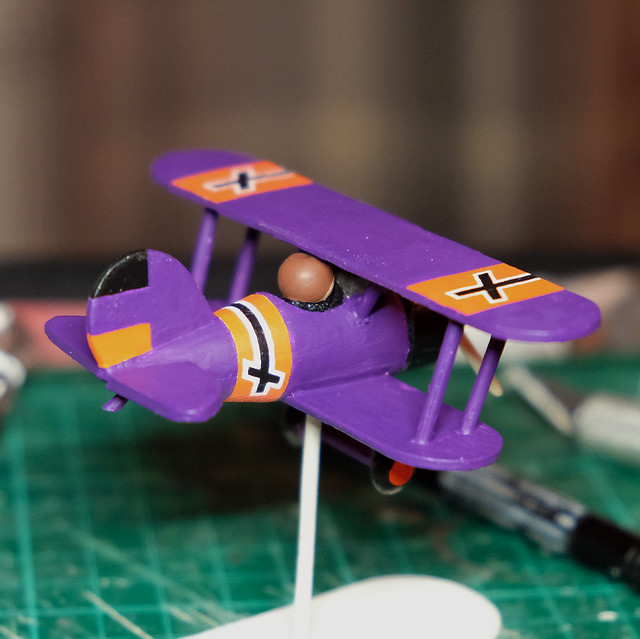
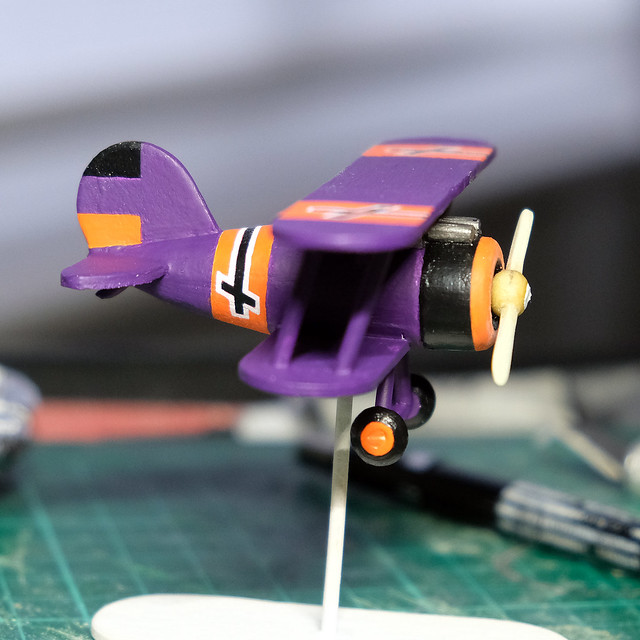
Here's the completion photos for my first peg aeroplane, 'The Purple Baron'. (Click on these to enlarge...)


"Rat-tat-tat-tat-tat!" Get that bounder!


Very happy with this in the end, despite it starting as just an whim of experimentation. Also, it's rather nice to do something in the Molatero theme again.

This will hopefully be the first of my little Molatarian Air Force collection. The 'Purple Baron' is a character from the 1917 Uprising and he represents a fighter from the Royalist faction in that conflict.

Above: The Purple Baron meets his demise!

Wednesday, 6 June 2018

First Molatero Warplane Painted

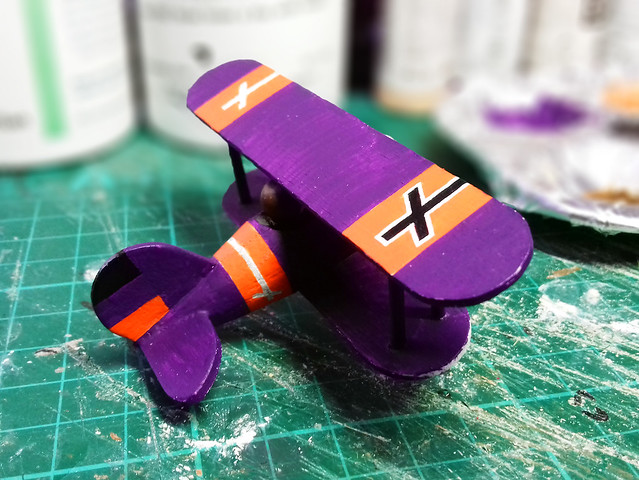
Just some quick snapshots of my little peg bi-plane as it nears completion.

I'm pleased as I thought I might be with the purple colour scheme, though it did take a couple of coats  as it's a bitch of a colour to get good opacity. Also, I decided to paint the 'Royalist' emblems (the crosses) freehand, so lots of painting with my tongue out!


You can probably see how streaky the first boat of purple was in the above picture. But it all came together nicely with the application of a second coat...


The photos make the crosses seem neater than it actually is! SO, I'm pleased...Hee hee.

Wednesday, 23 September 2015

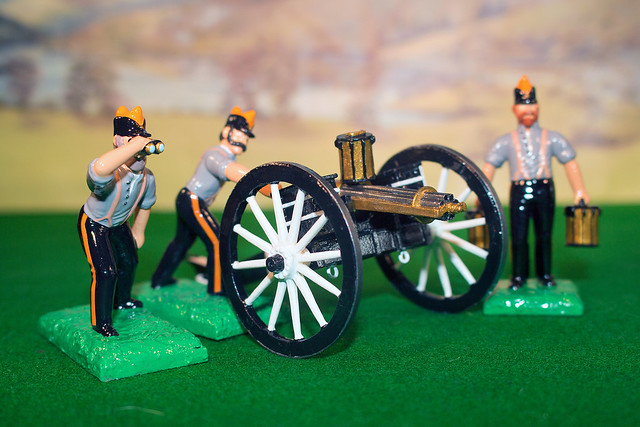
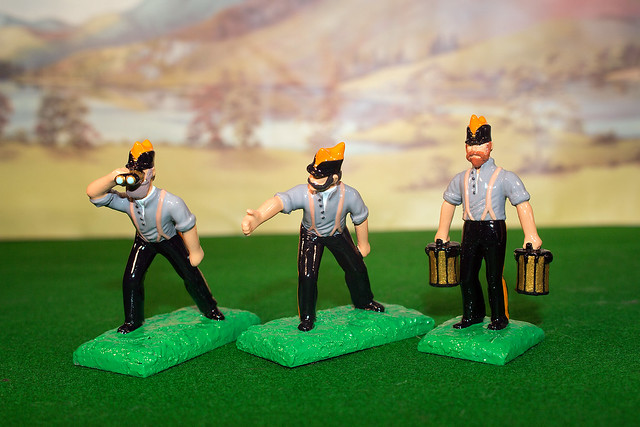
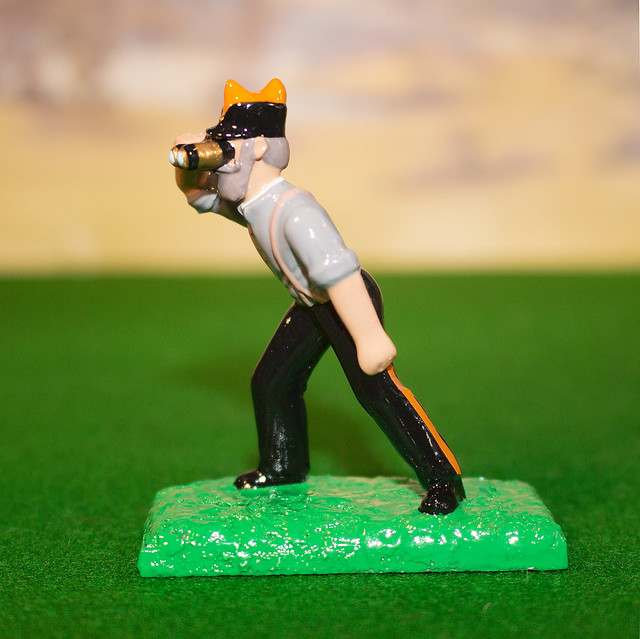
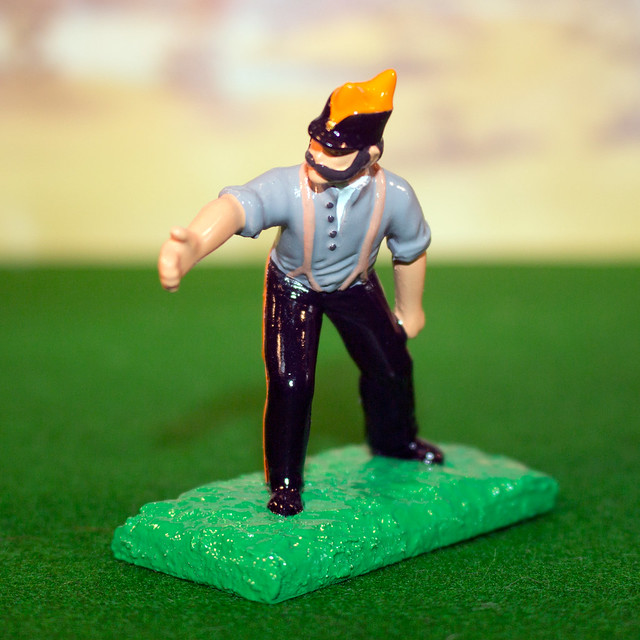
AiP 1/32 Gatling Gun set complete

Well, although this was intended as just a way of getting me back into my FLW hobby my AiP Gatling Gun set has turned out to be my very first complete FLW unit! Huzzah!


It's a wee bit rough around the edges (my Gatling carriage is a bit shoddy), but I'm very pleased with the gun crew. The colour scheme for my artillery regiment was a good choice I think (this is the 1870-1907 Molatero scheme, I was thinking of a subdued uniform scheme for the period just prior to and including The Great War).


Anyway, task completed and I feel like I have my FLW mojo back again. In fact I've already started getting my brushes into my first infantry regiment. But, back to the here and now, these little chaps are a fairly good start on my way to a modest Molatarian army - if I do say so myself!