These next conversions are based on the AiP Egyptian 1882 Soldiers in Winter Dress set, they are the officer figures and will be converted to represent my flag bearer and C.O.
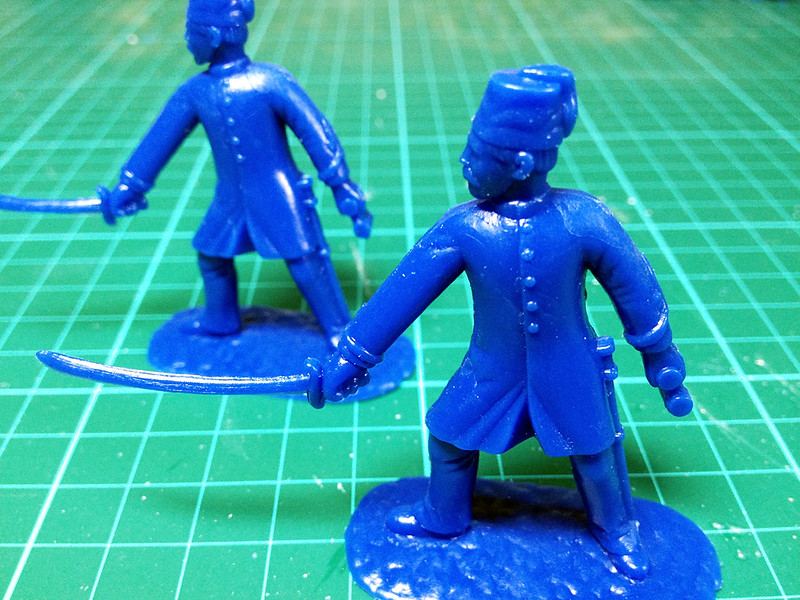
Although - technically - the flag bearer would be an NCO this particular pose lends itself very well to conversion. His dynamic pose strikes the right sort of posture for the flag bearer. The one down side is that I will now have to slightly modify my officer so that the two figures are suitably distinct from each other (especially as they will appear next to each other in the ranks).
The easiest way to differentiate the poses are a change in the arms and also the gear they will be holding. Naturally I would like the officer to be brandishing a sword but the binoculars is a bit out of place (he will make a nice artillery officer though).
The flag bearer will have to undergo surgery to bring his right arm forward in order to hold the flag, while his left hand could be holding a revolver. I say revolver because it just so happens that AiP made a bit of a boo-boo and included a nice British Officer by mistake in the last pack of Egyptians I bought, so some simple transplant surgery will give me the pose I am after!
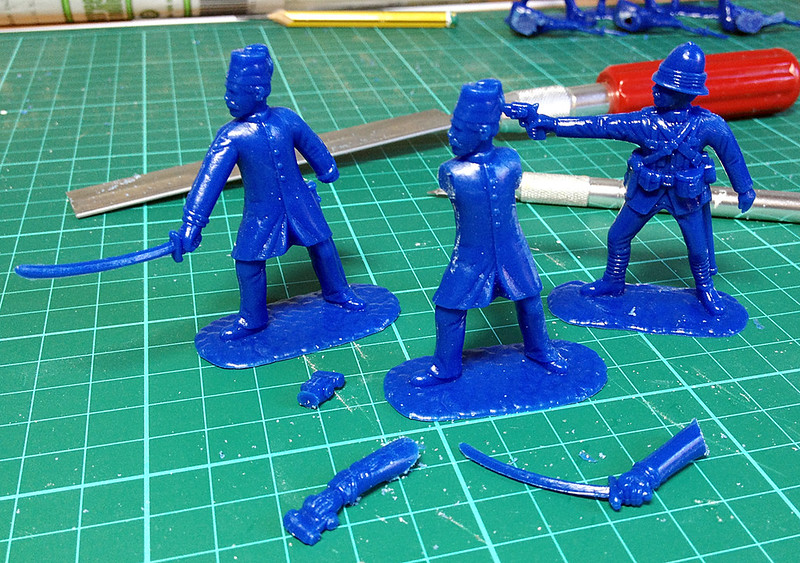
Er, the British officer threatening to shoot the Burkish soldier in the head was an unfortunate result of my not paying attention when I took the photo! But the various surgical operations necessary to convert my figures are evident...
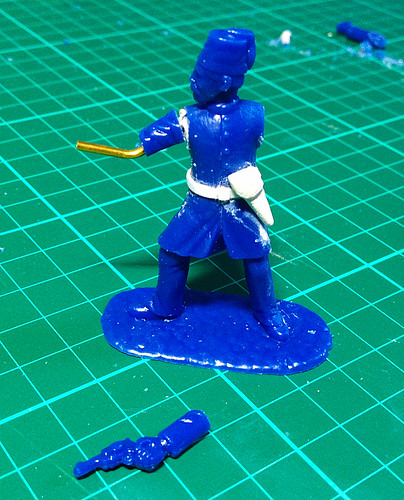
The left arm will be the recipient of the transplanted gun-arm from the unlucky British officer, but I wanted to change the straight arm pose. I made an armature (pun for Tim) out of a piece of brass rod and bent it into position, I then slotted onto it pieces from the original gun-arm.
The idea is that I join up the pieces with Milliput.
The right arm is the more complex, it will have to have a bend in it as he will be grasping the flag pole across his body. How realistic this will be is a matter of debate as I imagine a battle flag is a rather heavy - and in all probability a two handed - affair. But this is the wonderful world of toy soldiers after all!
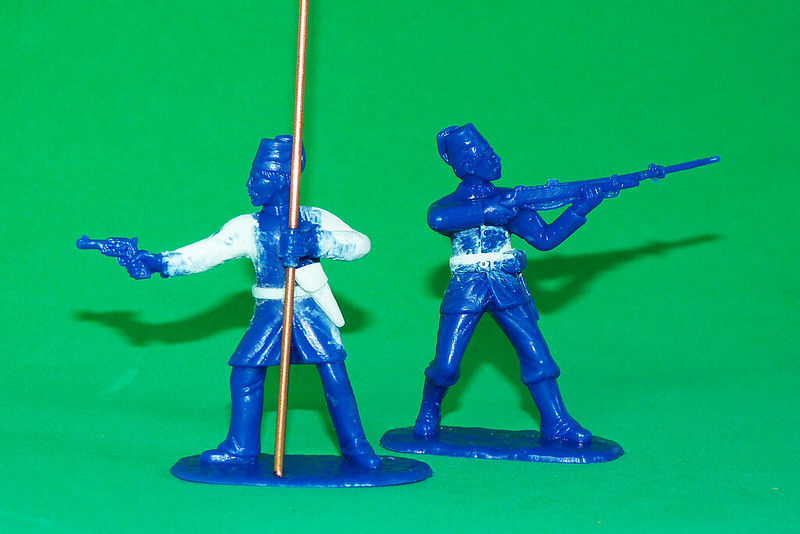
Once again I started with a brass armature and used the original arm to supply the pieces required to re-construct the new pose. His original hand held the binoculars so it was already in the right grip for a cylindrical object (sort of). I would drill through the hand to facilitate the flag pole.
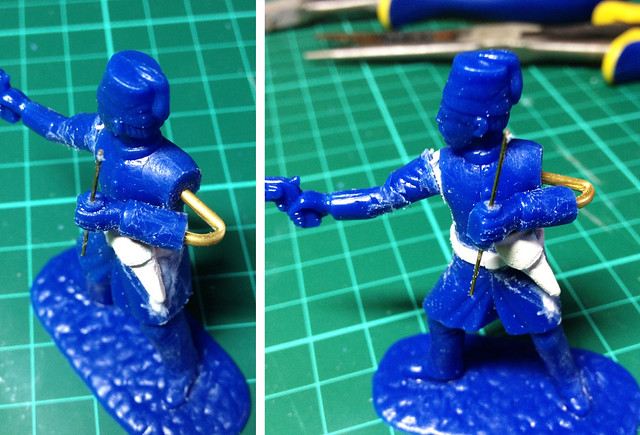
Sorry about the photo, but I hope this shows how I intend to create the right arm. The small wire going through the hand is not the flag pole itself, I will be slotting a larger rod onto this.
...And after some playing with Milliput...
(Click on photo to enlarge.)
Quite pleased. I'm still modifying my C.O. - just to make him more of an individual character - but these two fellows should make fine additions to my colonial infantry.
The Milliput bits are a bit messy I admit, but I am banking on these smoothing out a bit - and being camouflaged - by the primer coats and then the final painting of the figures. Fingers crossed.
No comments:
Post a Comment