I really enjoyed making my first peg plane - see
'The Purple Baron' - and I had always intended this to become a small series of 'historic Molatarian military aircraft'. In fact, I had already an idea for my next aeroplane model...
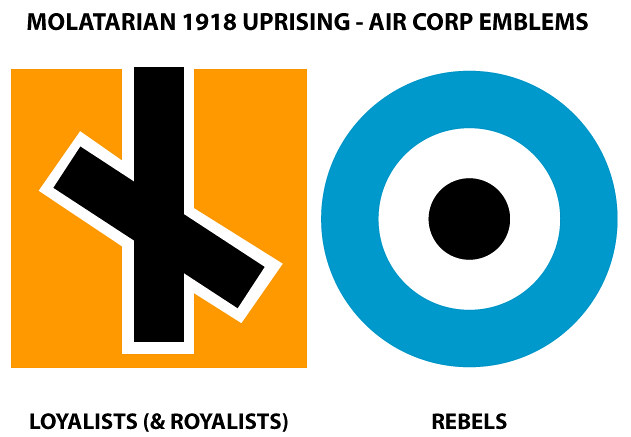
The backstory for my first plane was that it represented a fighter aircraft of the Loyalist (or Royalist) faction during the 1918 Molatarian Civil War. Naturally, I imagined that there would be a 'Rebel' faction and they would have also fielded some aircraft and I wanted to make a model of one of these.
The wonderful thing about WW1 aircraft is that there was such a diversity of designs - flight still being in it's infancy - and this would allow me to indulge my imagination with some quite exotic models. Having done a pretty conventional biplane design I now wanted to explore something a little more unusual.
The 1917 Zmeu Roşu ('Red Kite') Pusher Light Bomber
I have always liked the 'pusher' aircraft design - the British Airco D.H. 2 is a favourite plane of mine - but I thought it might be nice to have a two-seater light bomber model to compliment my first single-seat fighter model. Examples of this type would be the British Vickers FB-6 or Royal Aircraft Factory F.E.2 (both 'pusher' fighters) and the French Breguet Bre.5 (a 'pusher' bomber)...
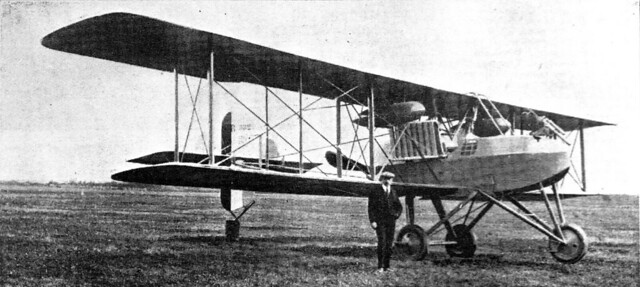 |
| The French Breguet Bre.5 bomber of 1916. Source: Wikipedia. |
Of course, as usual, my peg model will be of a simplified, toy, design and will also be intended to represent a fictitious Molatarian type!
Peg Pusher Construction
I'll be largely following the process of construction I established with my 'Purple Baron' plane. The fuselage will be a shaped wooden dowel or peg...
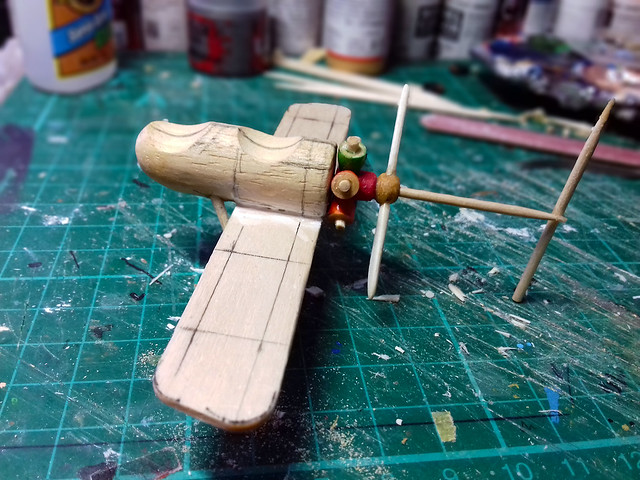
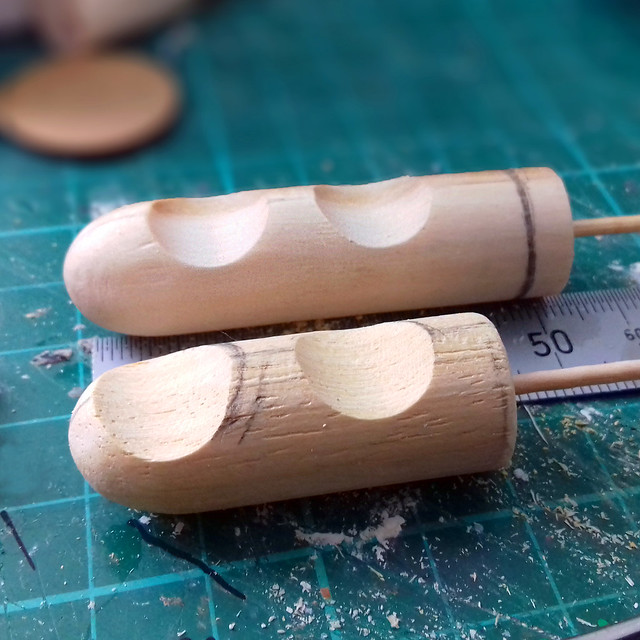
Obviously, I have shaped the 'cockpits' by sanding out scalloped shapes using my Dremel with a small drum sander. Pilot at the rear, gunner/bombardier in the front cockpit.
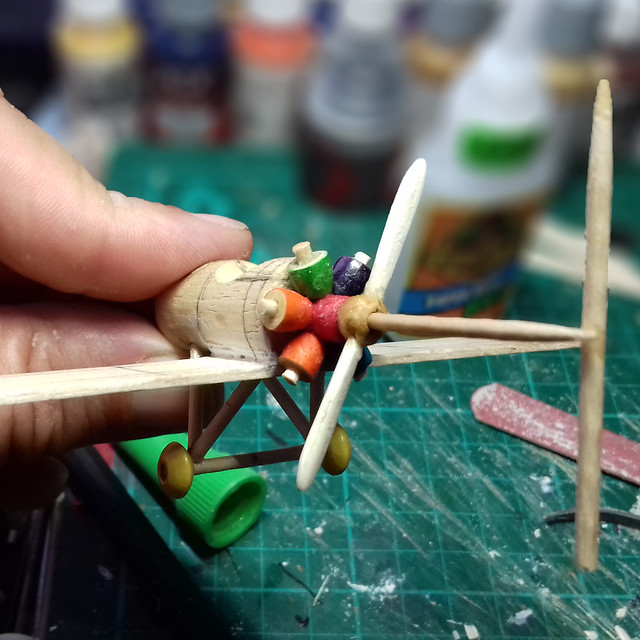
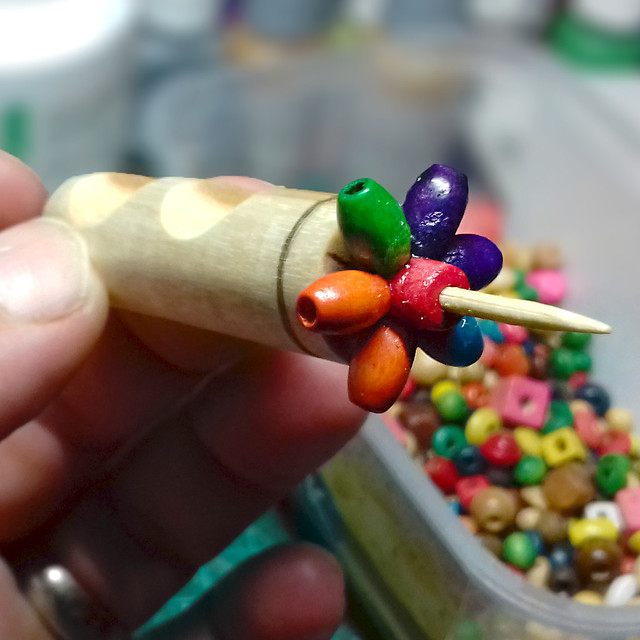
The main feature of the 'pusher' type is the rear mounted and facing engine and principally these early engines were the ubiquitous rotary engine. My little plane will have a simplified rotary engine which I will make out of six wooden beads, representing the engines cylinders... :)
Second Thoughts...
The one downside of this 'make it up as you go along' approach to modelling is you don't have a plan (obviously) so you don't exactly have a true sense of the final scale. While my fuselage looked right, it clearly wasn't once I started estimating the wing span required and how ling the tail section would be!
In short, my 'light' bomber would have eventually turned out to be something more akin to a 'heavy' bomber...Way bigger than I wanted it and too big for a single engined aeroplane. So I quickly made up a second slightly shorter fuselage...
I'll keep the longer fuselage as it would be nice to have a crack at a heavy, two engined plane at some point. The shorter fuselage should produce a plane only a little larger than my original bi-plane fighter...Hopefully.
A Wing and a Prayer
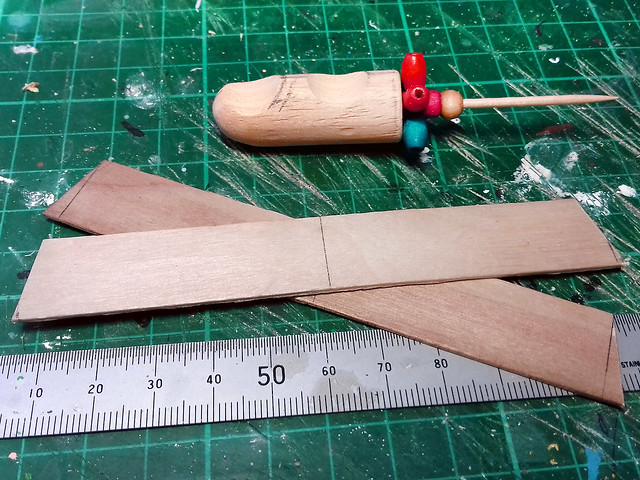
Time to cut out the wings, I'm using the same large wooden tongue depressor sticks that I used for the wings on my bi-plane. This time, though, the wing span will be slightly wider and the edges will be more square cut...
And now my second gaff...I failed to work out a way to attach the wings where I could easily check that they were on square! In other words, like so much of my stuff, I attached the wings by eye (they sorta looked straight and square-ish).
(I maybe should've made some sort of template or something.)
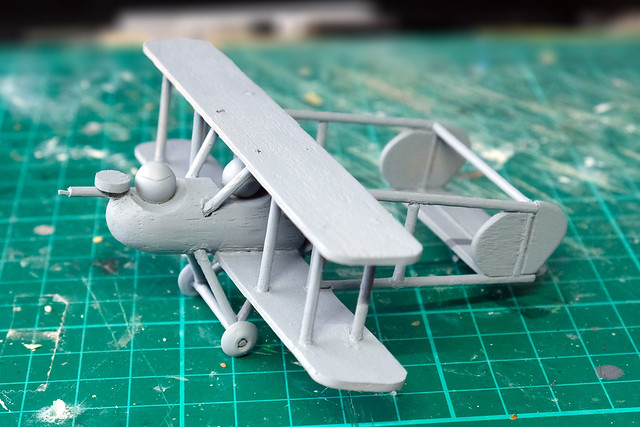
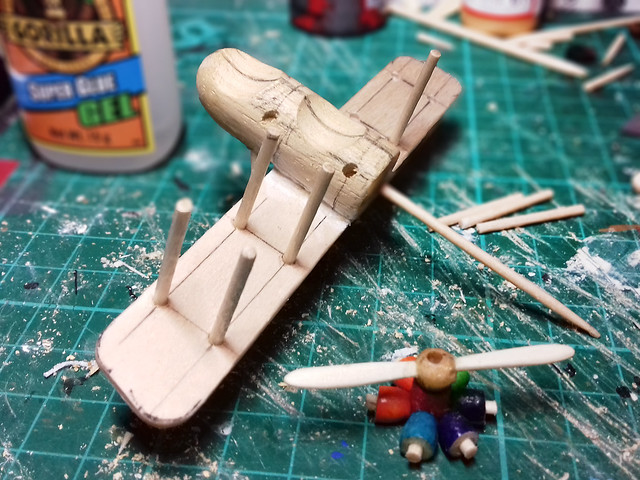
Anyway, I thought 'what the hell' and glued the lower wing on...
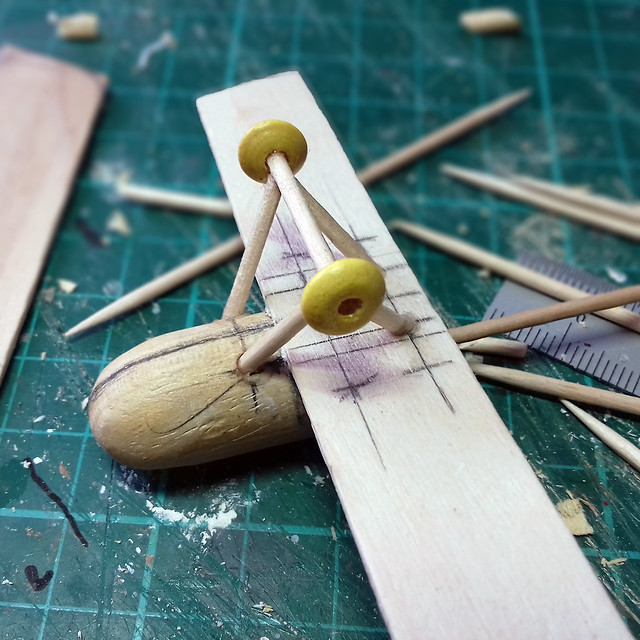 |
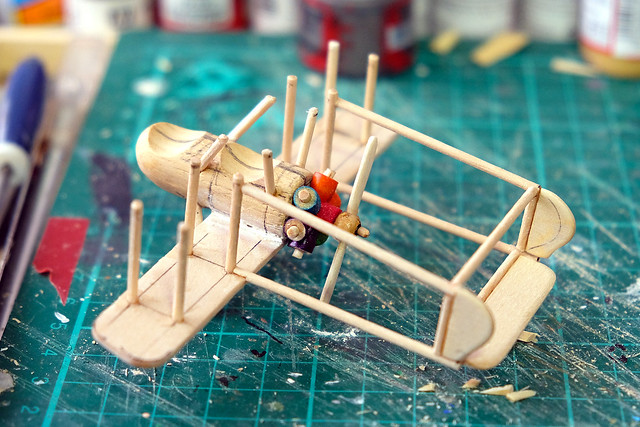
| ...I also put together the undercarriage. |
I Have a Cunning Plan!
Having just told you that I don't have a plan and that I'm making this up as I go along, I will contradict myself by saying that I do have a
bit of a plan.
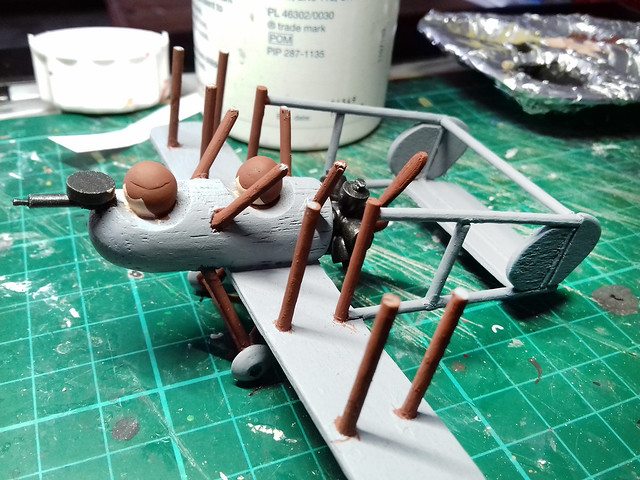
One problem I came across with my original peg bi-plane was when it came to painting it. I found is very difficult to paint the pilot and the upper fuselage with the top wing installed. So, this time I intend to paint all the parts before I install the upper wing.
This means I will have to do some careful preparation which will allow me to paint as much of the plane as I can before gluing the upper win on, perhaps by making some pilot holes in the wing so I can just drop the top wing and tail on accurately...
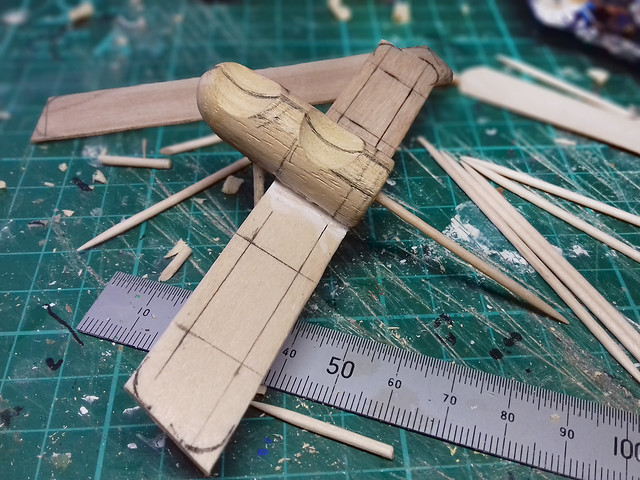 |
Careful planning and measuring for the next step as I want to install the
top wing and tail unit after painting the top of the fuselage. |
Figures crossed that I can get all the separate assemblies to match up correctly. We shall see in Part 2.