I've given up on 'part numbers' for these posts as I'm working on a couple of related 'regiments' at the same time!😁
So, the story so far...
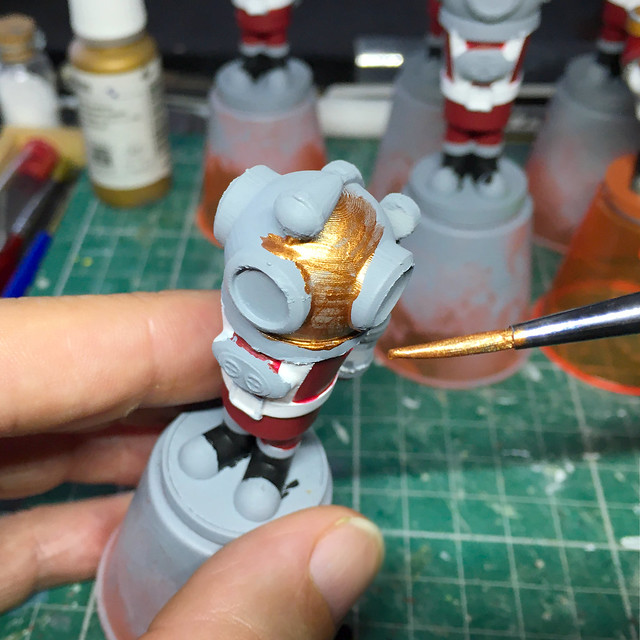
After getting my recent creative diversions out of the way I have returned to my 'Invasion Mars, 1899' project by starting to paint my first 'regiment' of British for the campaign. These are my heavy assault infantry - Grenadier Guards - with the Mk. 1 (diving suit) space clobber!
It's nice to see a unit of my peg soldiers in progress, it reminds me of why I started this blog in the first place (even if they are not Molatarian infantry)!
The scarlet I am using for the suits is Vallajo's 'Gory Red', crimson was a bit to bright for my liking and this more muted red is more to my liking though it's a bit of a pain to paint with and needs a couple of coats to get good coverage. Still, it's worth it.
I'm gone for a coppery brass for the diving helmets and again - just my luck - this paint is a bit of a pain to use as well...
It's going to be a bit of a slow slog to work my way through these five figures in order to complete the unit AND I haven't even completed the 3D printing of the arms yet! The delay here was due to my fancy-nancy 'space rifle' design which is turning out to be a pain to print properly. I think I got a bit over-ambitious for the scale and should have stuck to my super simplified design ethos of my earlier peg soldiers' weapons.
Anyway, in the end I managed to get a passable print, though it still needs some cleaning up...
Above: Hard to tell what's going on when all the print supports are on but hopefully it will do the job once it's cleaned-up!
And in the meantime... While scratching my head over my Grenadiers' guns I cracked on with the prototype for my second British unit - a Light Infantry trooper in a Mk. 2 suit...
You can get an idea from the above pick how the space rifles should turn out as I have primed the arms for this little chap. And while I had my red paint out I made a start on painting his uniform.
In all I hope to make three British infantry units (of six soldiers each), the Grenadiers, a Light Foot and a Marine detachment. I'm going for six in a unit as in this 50mm scale and using a version of the Portable Wargame rules for a small table 'battlefield' this will keep the overall numbers manageable for a game.
Aside from the infantry there will also be a section of 'cavalry' (steam mechs) and a artillery section (one gun). The mechs will pose quite a challenge as they will be quite big.
And that's all for today, it's just banging on with these figures in a little painting production line!
As mentioned in the previous post, I am well on the way to making my first British unit for my 'Invasion Mars, 1899' project. This unit is a 'heavy' infantry Grenadier unit - an elite with special weapons - so I next wanted to start on my more basic 'light' infantry.
I had in mind something along the lines of the idea of 'Zulu on Mars' when it came to designing the light infantry figures, using the 1879 pattern of uniform worn by the British at the Battle of Rorke's Drift. Taking this as a basis I would then modify the original design to give it a more Steampunk look!
Luckily for me this is already a pretty popular theme and there is a reasonable amount of reference and ideas knocking about on the internet and in print and even in popular media...
British infantry on Mars! Doctor Who, series 36, episode nine – Empress of Mars
For me the most iconic bit of the uniform has to be the British Army's 'Foreign Service pith helmet, so I wanted this to be at the heart of my design. But unlike some early science fiction I did not want to endow Mars with a earth-like atmosphere, so this helmet would have to be modified into some sort of environmental protection.
Using TINKERCAD as my 3D modelling software of choice (at the moment, until I can get to grips with something more sophisticated) I quickly mucked about with some shapes until I got something approximating my idea. I won't lie, the helmet was a bit of a bitch to do and it took me a while to get something that I was happy with...
There was then a lot of tinkering around with sizes. I always tend to over-size things when I free-hand my designs and the first attempt at the helmet was way too big in proportion to the body and when compared to the Grenadiers I did...
Back to the drawing board and I rescaled the helmet a couple of times until I think I hit the 'Goldilocks' zone. Yes, it still is a little over-sized but that's part of my cartoon style and also so that it works as a 'space helmet'...
The next issue was the design of the 'space gun', again I didn't want to do what some game miniature designers have done and simply make a Martini-Henry rifle (as used in 'Zulu') for a science-fiction figure. I don't know about the effects of ballistics in space or what effects a different gravity has on projectiles but I'm sure a 'one gun suits all' (space and differing gravities) would mean some special considerations...
So, I went for a fanciful Steampunk design with an unspecified firing mechanism - could be a rail gun, could be a ray gun sorta thingy that would suit all situations! 😂
Sorry this is upside-down, but the above picture show how I orientate my objects for 3D printing for the best quality.
Design Done - The Printing Begins! Now the nerve wracking bit, although I am starting t gain a little confidence with my 3D printing workflow. The primary concern is print quality and how to orientate designs on the print bed to get the best print I can.
There is actually two concerns, orientation and whether to add supports. In the above picture of my space gun I orientate the arm and gun component in such a wat that I get the smoothest print quality on the main straight line (the upper arm). There were several options but I decided this offered the most advantages. Others might disagree.
Supports are the second - but related - consideration. I might orientate my model so that I can minimise the use of supports (supports being scaffolding that supports over-hanging elements of the model). So it turns into a bit of a puzzle working out which way to place the component to get the best quality with the least support! 😵
Here I have orientated the body & legs in the vertical BUT I have, then, had to add a lot of tree-like supports to aid in the printing of the helmet over-hang.
Yes, it's all a bit crazy, but after a time it becomes second nature and you eventually just 'know' instinctively what's going to cause problems in a particular model. Er, mostly!
Print done I then carefully compare it to the other model I have made in the series, my Grenadier. As mentioned above, my first attempt at my new helmet resulted in it being obviously over-large when compared to my Grenadier's 'diving helmet'. But this latest print turned out to be proportionally correct (I think)...
Above: Checking mutual proportions, but also notice that I have added my 'magnetisation' system to the bases, steel washers! LOL
Well, this is all going swimmingly! Er, except.......!
On fitting the arms to the body I noticed that the arm holding the gun didn't fit properly due to the splayed feet I had done. It's not noticeable in this photo due to the angle I took it, but believe me that the arms are not fitting the way that they should be...
...Back to the drawing board again! This is what prototypes figures are for though, working out all the kinks before running off a whole unit of figures. In this case I had to go back into TinkerCad and alter the angle of the feet so there was more space for the gun to sit on the base properly...
And that's it for now. A very good start I think (?), I'm quite pleased with my design for a Steampunk soldier and I'm really enjoying this series. AND it's actually taking me back to the original idea for this blog which was to do wargame armies (rather than the single figures I have been doing for a long time).
I may even get round - eventually - to doing the FLW Molatero army I intended to do in the first place! 😁
Having completed printing the remainder of the first unit for my 'Invasion Mars, 1899' project I realised I had made a bit of a boo-boo! But, first of all let's have at the progress so far...
So far so good - although I am still working on the arms and weapons - and this is when I had a bit of a 'duh-oh' moment. I like to magnetise war game figures so I can easily move units in unit trays, this entails fitting a small magnet into the base of the figure - guess what I HADN'T done! 😖
I didn't really want to start drilling or carving out holes in the figures' bases so I could insert magnets, this would be quite messy. SO... Plan B, I decided it would be easier just to glue steel washers to the bottom - then I'll magnetise the unit trays with magnetic sheets.
This is a bit of a fudge but it does have one positive effect - it gives my PLA printed figures a little bit of weight - which I prefer. Every cloud has a silver lining!
NEXT: I finish the construction and painting of my Grenadiers.
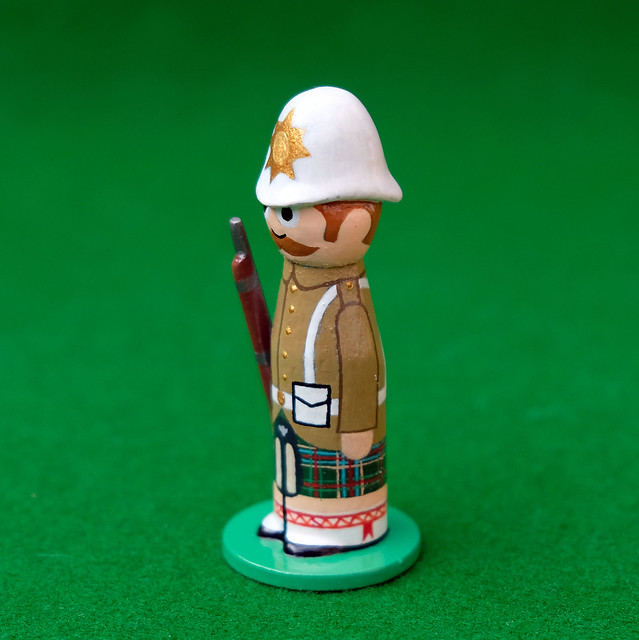
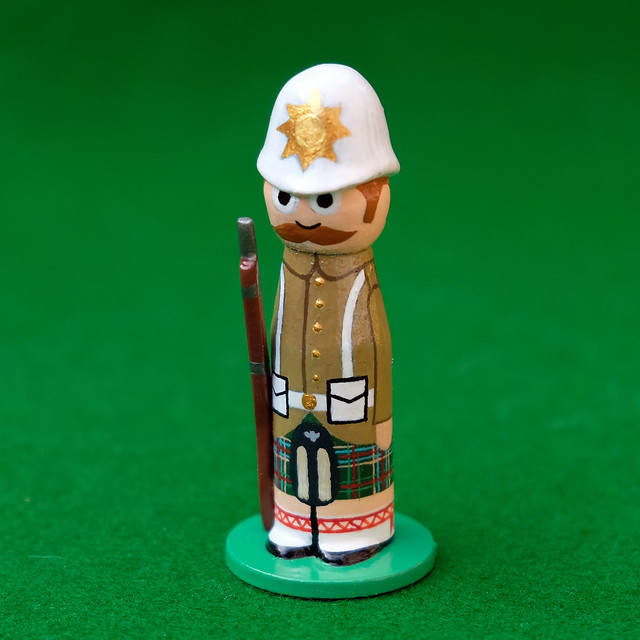
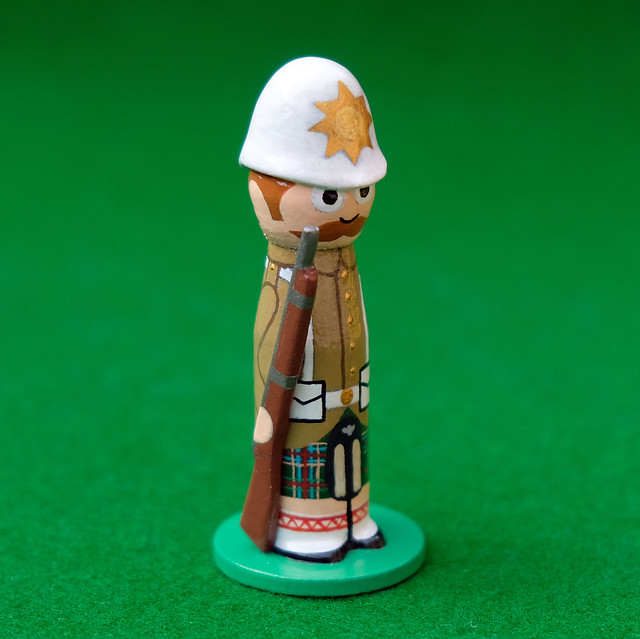
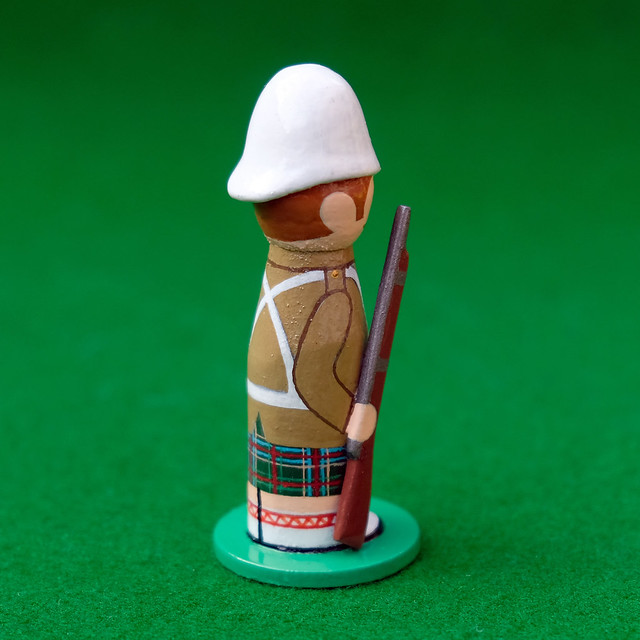
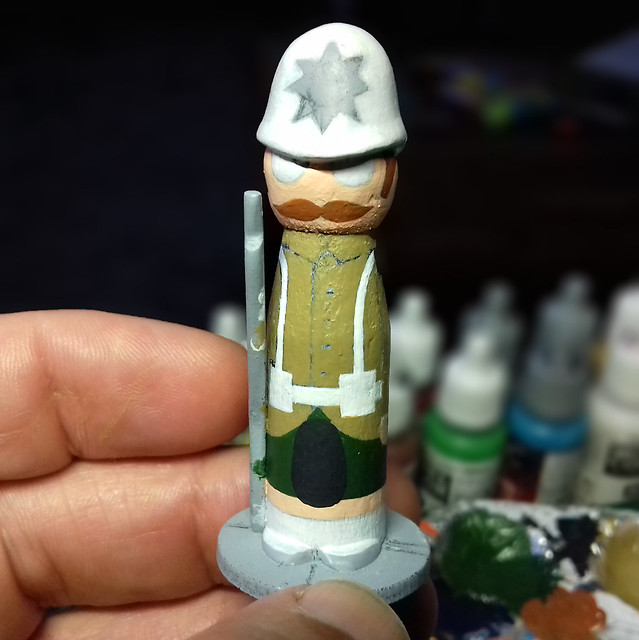
Well, I'm getting faster at doing this if nothing else! Just as I estimated, I got my little Highlander completed this afternoon...
This is about the last of my prototype tests and I feel confident enough to actually get back on with my 'Franco-Prussian War' Portable War Game project. After that I would like to build up my Molatarian forces in this format!
I had a spare prototype figure lurking on a shelf, it was one of the tests I did of the pith helmet casting. So, I thought, let's give it a go...
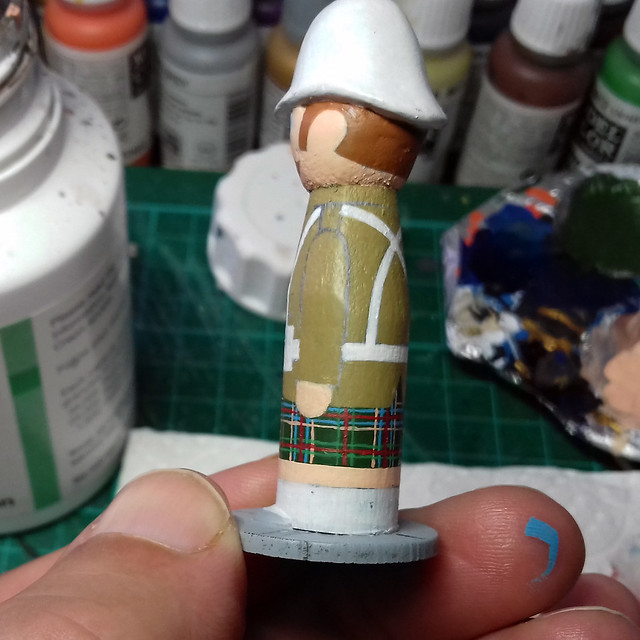
I'd already painted up one of the prototypes in 'Zulu' (the movie) style, so I thought it'd be nice to have a bit of fun with this one and based it on 'Carry On Up the Khyber' - a soldier of the '3rd Foot & Mouth'. :)
Got quite a lot done this afternoon and imagine I will have it finished by the end of the weekend.
UPDATE: Saturday.
Just thought I'd pop this in as it's a tiny bit progress, but - boy - did it challenge me. This is the very first time that I've ever tried to paint a tartan pattern...
Er, not exactly top notch line painting, but I'm hoping it might pass for this 'cartoon' style project.
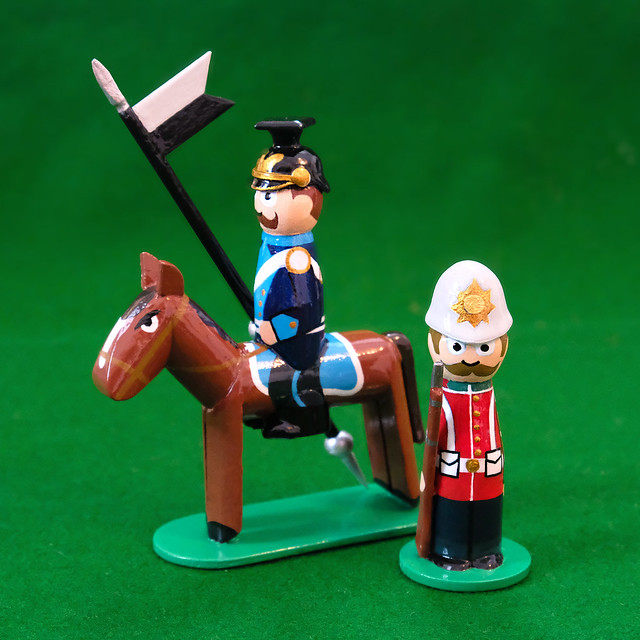
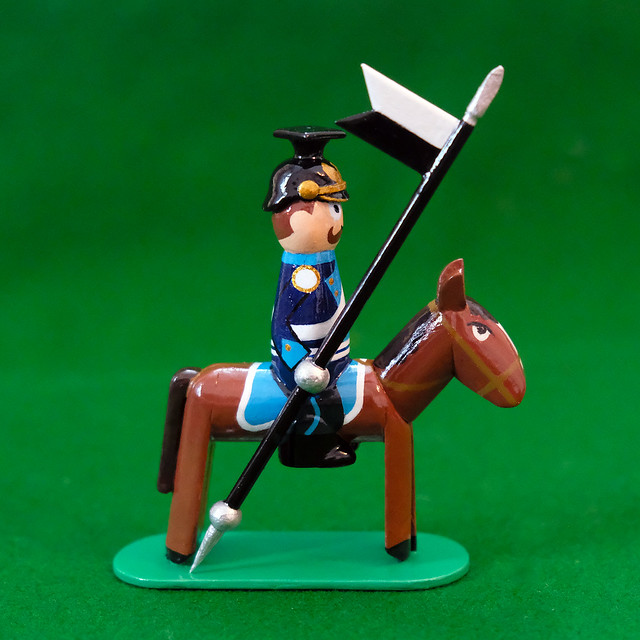
I'm still trying to hone my skill and style for making my little peg soldiers. Here's my latest prototypes, an 1870 Prussian Uhlan (lancer) and an 1900 British Infantryman...
I'm still learning lots as I go along but I feel I'm making some headway. The infantryman seems about there as a template for the proportions and style of painting the peg 'body'. But, I still have a little way to go with my cavalryman. Still not 100% sure about the way I model the rider's legs.
Another concern is that I'm still using aerosol spray lacquer (Wilko's brand rattlecan) and this is very wasteful. Spray-on gloss does give a lovely even coat, but it's very indiscriminate and despite the fact I use a small spray both (with extractor fan) I can fell the stickiness of the varnish on my skin when I'm done. I'm guessing about 40% or maybe even more of the varnish doesn't go on the model at all!
I've ordered a can of paint-on varnish and will knock up yet another prototype this week to test this brush on varnishing technique - will it pool and drip?
(Will have to think about getting a little display cabinet soon as my collection of peg figures is growing rapidly!)
This is very exciting for me. It's not only a chance to really get back into making Victorian/Edwardian era 'toy soldiers' but it should be a relatively quick project in which I produce a full French 'regiment' in one go!
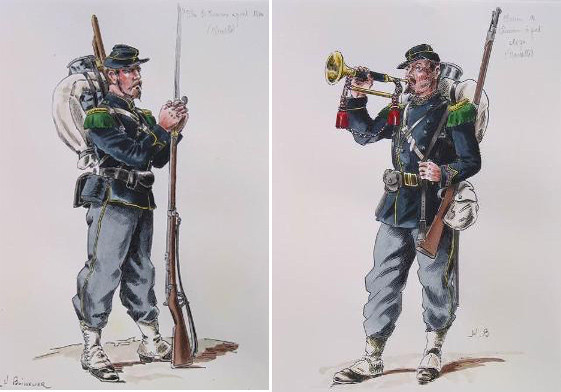
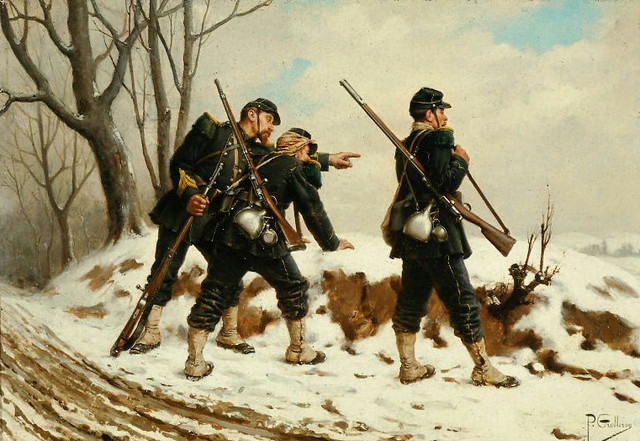
The French Light Rifle Infantry - Chasseurs - circa 1870. The inspiration for my first 'peg regiment'.
Of course, the trick to this is that - under the 'Portable Wargame' rules that I am using as a guide - I only have to make six figures to represent a 'regiment'.
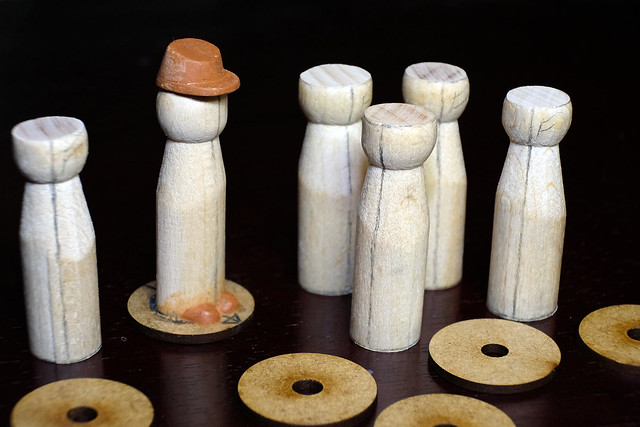
A late evening start to my project. I assemble five additional pegs and begin to sketch out the cutting and sanding dimensions on them with a pencil.
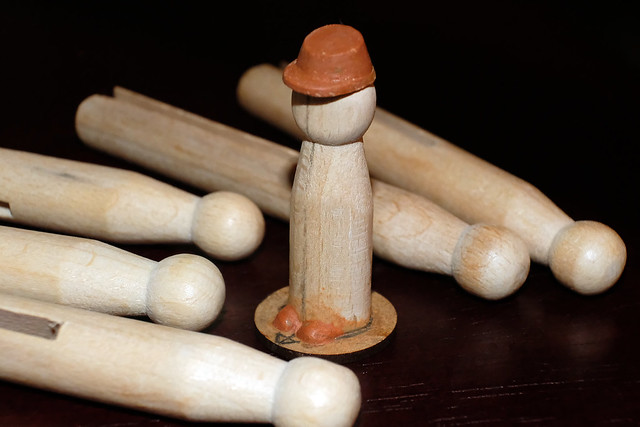
Having already started my prototype peg-soldier for this project I begin by preparing the other five 'dolly pegs' to make my formation. These traditional beechwood pegs need to be trimmed down to the 42mm scale figures that I am using for this job.
Pegs prepped and ready to mount on their bases.
The 'Chasseurs à pied' of the Franco-Prussian War
Just a quick overview about the French troop type I'm making. From what I understand, the title 'Chasseurs' translates into something like 'hunters'. They were light infantry (and also occassionally mounted units) that were the rapid response force of their day.
French Chasseurs à pied in the snow.
...As such I suppose they are the equivalent of the German Jäger (which also translates into 'hunter') and were intended to act as skirmishers, scouts and sharpshooters.
What attracted me to them was that they fielded a uniform that was a lot more subdued than the usual - flamboyant - French infantry get-ups of the day. Historically, the distinctive colour of this sort of light rifle regiment is dark green (as with the German Jäger orBritish Royal Green Jackets)and the unit insignia is the hunting horn. But the French Chasseurs were dressed mainly in a very dark blue, although they sported dark green epaulettes and wore the hunting horn on their kepi.
Designing the Peg Uniform
Obviously, my peg-soldiers are highly simplified caricatures and not historic figurines. I don't want to clutter and embellish the 'peg doll' idea so I have to streamline uniform designs to fit in with this format. Things like backpacks and webbing gear, water bottles and other military accoutrements are ditched in favour of the 'toy soldier' look...
The only thing I was a bit unsure about was whether the trousers should be slightly lighter blue as the various pictorial reference I have found seems a little contradictory about this (compare the two contemporary illustrations I have included at the top of this post). Otherwise, I'm quite happy with this look, I just have to find comparable Vallejo acrylic paints in my collection.
Well, that's it for now, I have a lot of basic construction to do - not least the addition of the kepi hats that I am currently casting - before I start to think about painting. I also have six little rifles to make out of wooden lolly sticks! :)