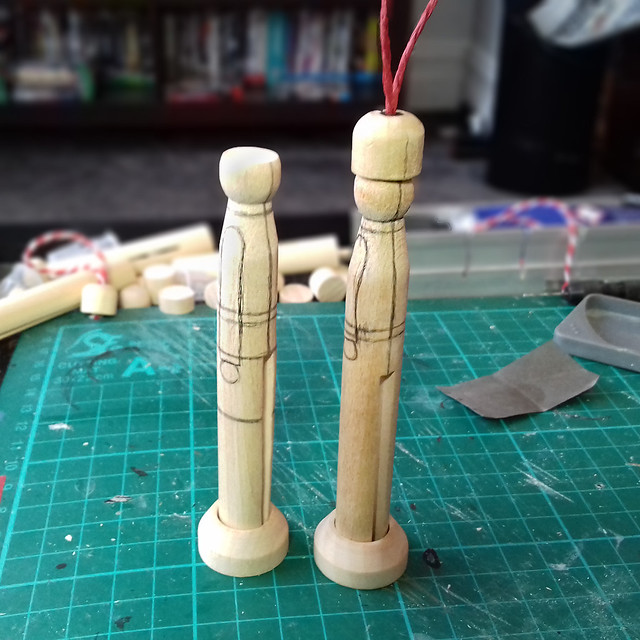
I have attached the hat and hanging thread on my final design. It actually took a while and several tests to find the 'right' sort of thread to use with this (my original idea of using thin wire just didn't look right).
Additionally, I have these pegs sitting in the custom ring stands. Although I mean these are Xmas tree decorations, I kinda like the idea that they could also be places on the mantlepiece if I so desire (so alternative versions I have on the drawing board are a candleholder or place name holder for the Xmas dinner table).
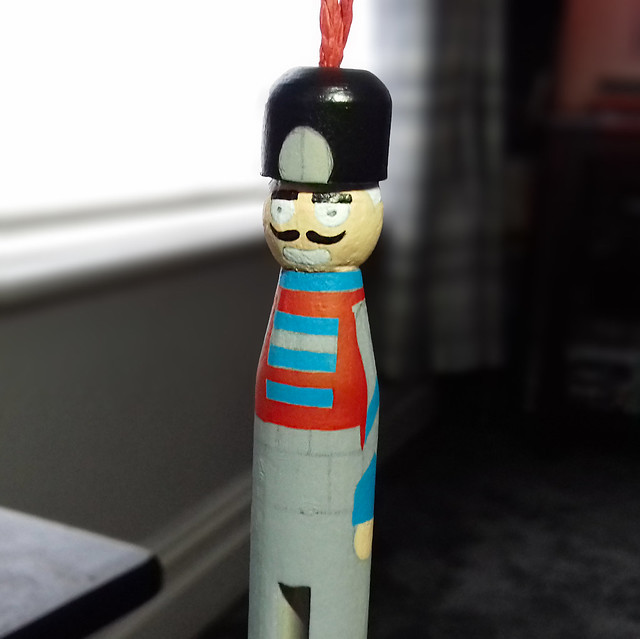
Priming and Painting
As this is my first test of the nutcracker style of wooden soldier - especially in this miniaturised form - this is where things could go a bit wrong! In fact, I'm pretty sure they will as I will be experimenting with my own ways of doing things like the facial features...I am not altogether confident. :)
It's bit frustrating that I will only know what has 'worked' once I finish this model, so I have to persevere and carry on to the end. Then I can use what has worked on the next model.
(I'm maybe being a little impatient here!) :)
Anyway, the uniform design is a fantasy 'toy soldier' one (nothing historic about this one) and I'm still using my Vallejo paints. The cheaper craft acrylics I have are OK, but don't apply quite as smoothly as the slightly more expensive modelling ones. I think I will try out some furniture paint next, but in the meantime I have a wide range of Vallejo colours so I will stick with them.
The next tricky issue will be how to make the hair...

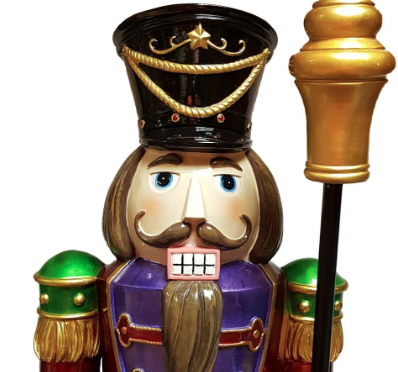
Left: A traditional Nutcracker Soldier displaying a head of hair. From what I remember this was 'fake fur', which poses the question of how I recreate a similar effect on a smaller scale?
I just had to give some thought on how best to stick the fluff to the peg-soldier. In the end, I decided to finish painting and then apply the gloss varnish to the model *except* on the part of the head that the 'hair' will be attached.
There'll be no beard. I just had the feeling that gluing fluff on for facial hair would end up looking like the nutcracker was foaming at the mouth! :)
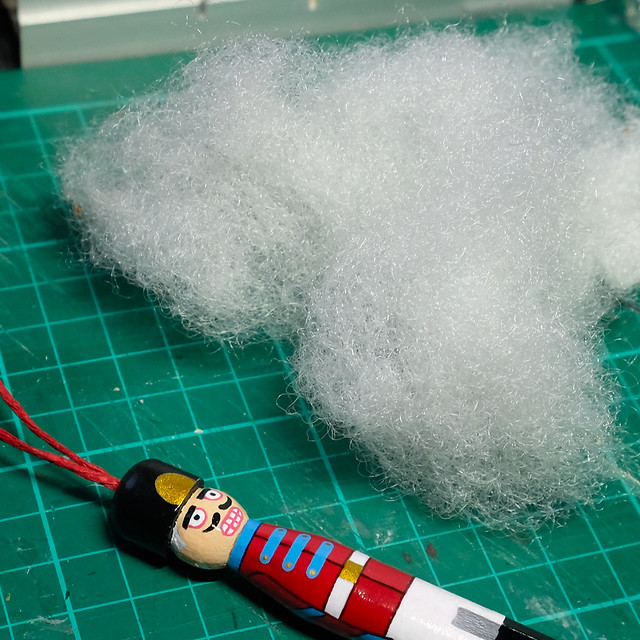
I would then use PVA glue to stick on patches of fluff until the bald scalp was covered. The tutorial suggests to stick on more than you need, initially, and then trim the hair into a neater style when the glue drys...
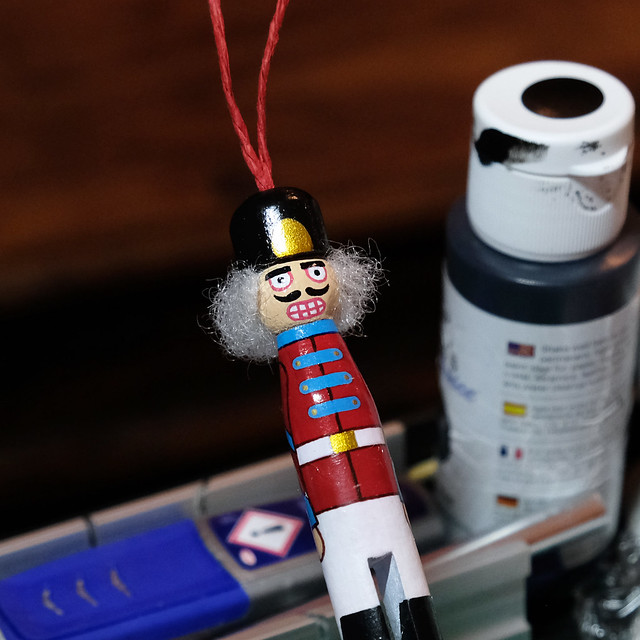
I have to admit, I'm not really a fan of the fluffy hair (it's difficult to stick on securely, and too loose and fibrous and pulls out far too easily) so for my next test I may try out something a little different - solid stylised hair. I found a picture of a full-sized nutcracker with this sort of hair-do...
This would entail my making the hair out of modelling putty (Milliput) which sounds like a lot of work, but if I wanted to reproduce lots of these I would probably cast and mould copies from resin.
But, now, the finished mini-nutcracker test model...
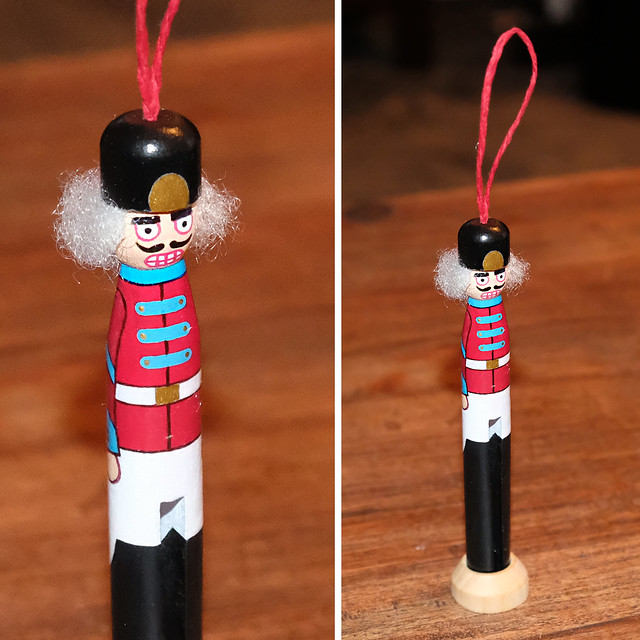 |
| Obviously, I've had to stand the soldier up using a ring base, but it would look far better hanging from a Christmas tree, as intended (I just wasn't willing to put up a tree just for this photo)! :) |
I have a few niggles with this prototype, but it's nearly there so I'm confident I'll rectify the problems with my next attempt. It's all good and I'm getting better with each new test model.
Anyway, onto the next project test...
Next up: More 'Midi' Peg Soldiers (my mid-sized pegs, but in historical uniforms).
No comments:
Post a Comment