Sunday, 13 May 2018

Two-Part Mould - Part Two

Well? Did it work?...Yes and no. 

I think I just need more practise to work out the 'tricks' to doing this, but I think I am probably stretching the practical uses of Instant Mold by attempting two-part casting. Don't get me wrong, it is possible - with care - but I think the whole idea of Instant Mold is quick and easy press moulding really.

Two-part moulding is a slightly more complicated and precise type of moulding and - to be honest - if you are going as far as taking the time to make a properly aligned two-piece mould you will probably want to make something you can keep and use a lot of times.

So, what went right?
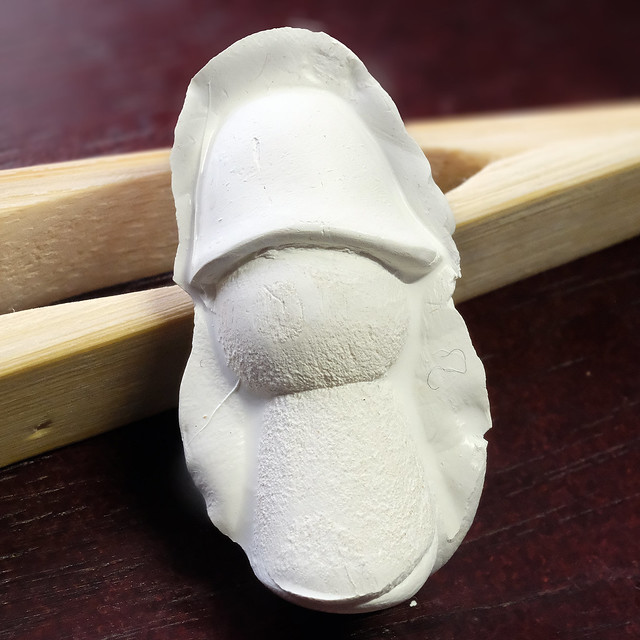
Well the quality of the cast was good it captured the general shape of my original object very nicely. And using Milliput mean I had a really hard duplicate that I can sand or otherwise modify further.


So, what didn't go right?
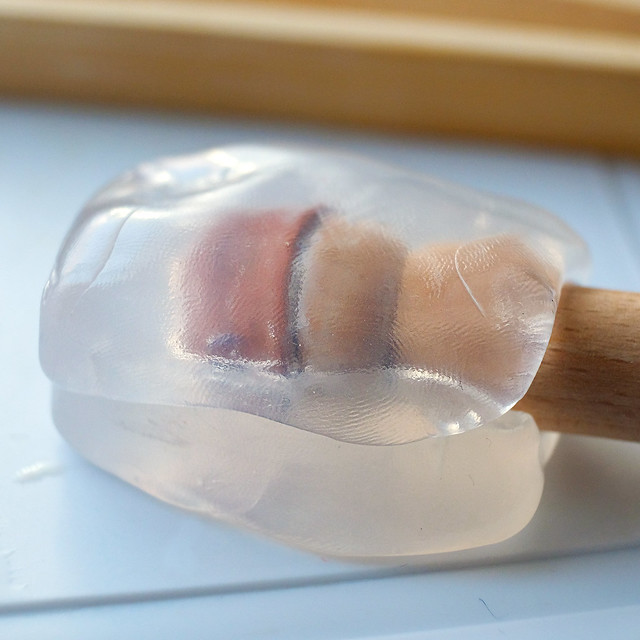
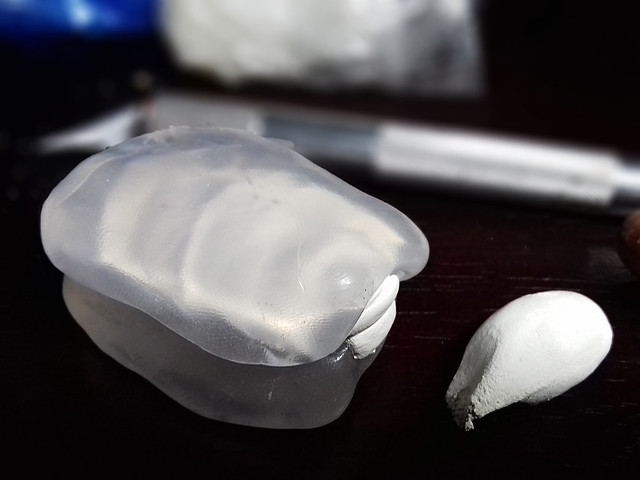
Registration. I did try to make registration dimples in the Instant Mould so the two halves of the mould would come together precisely, but I just didn't do a good enough job. The two halves slipped when I tried to put them back together again with the Milliput inside and so the cast was mis-aligned...
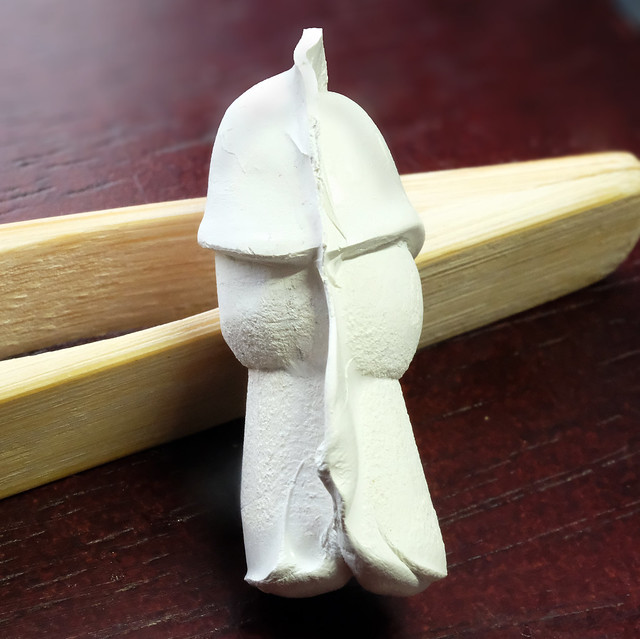

Now, I could rescue this casting by cutting it down the middle and realigning the two pieces again. But that kinds makes the whole process of trying a two-part mould a but of a waste of time. I might as well have just moulded the two pieces separately and then stuck them together at the end...
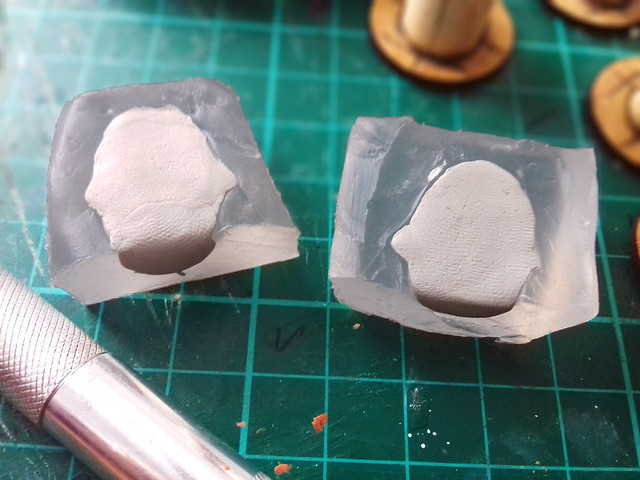
Alternative way of doing this (or how to rescue a failed two-part mould) is
to simply revert to doing the casting as two single part moulds and then to
glue the resultant pieces together. Perhaps? :(
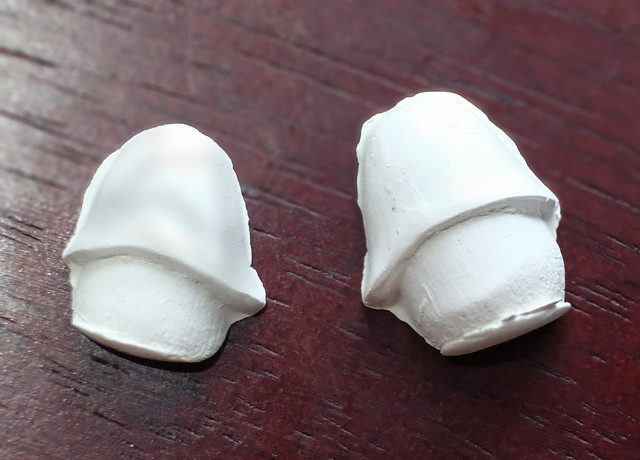
The result of 'one piece' moulding the helmet parts. Now I don't have the
alignment problem BUT I now have to clean up and glue the two halves
together. Not so cool!

But the good thing about Instant Mold is you can just melt it down again in boiling water and start again. And this time I would make better registration marks (dimples) in the mould so that the whole thing aligns better (hopefully).

...And then again, I'm starting to think that I might as well invest in a proper resin casting set if I am going to start to do more complex casting from a much more detailed original. The resin mould would also have a longer life and allow me to use cheaper resin as a casting medium rather than expensive Milliput...
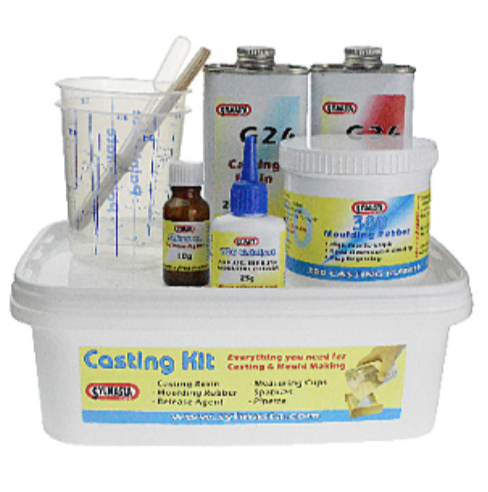
The Sylmasta Resin Casting Kit (£38). Perhaps the next
step in my casting experimentation?

Conclusion
Well, I feel I learned a lot about what Instant Mold is good and not so good for. It's ideal for one-piece press moulding but not so ideal for larger more detailed 3D two-piece casting. You can do it at a pinch, but the whole idea of Instant Mold is that it's 'instant' and you use it to copy something quickly and then re-melt it to use it again for something else.
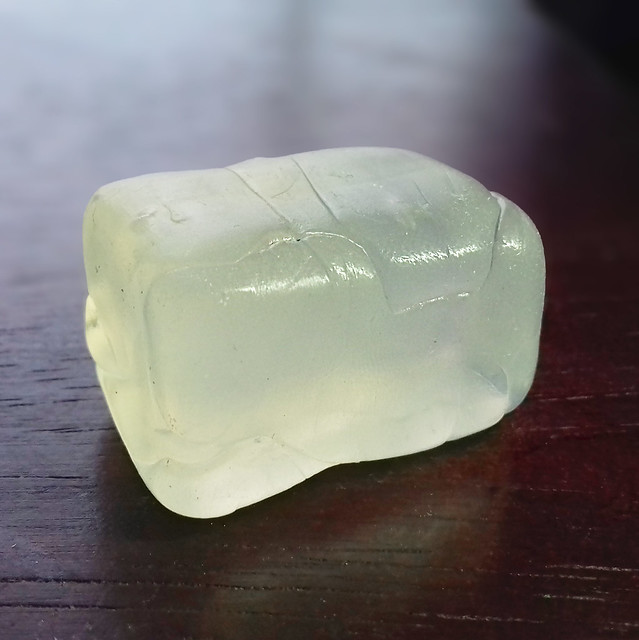
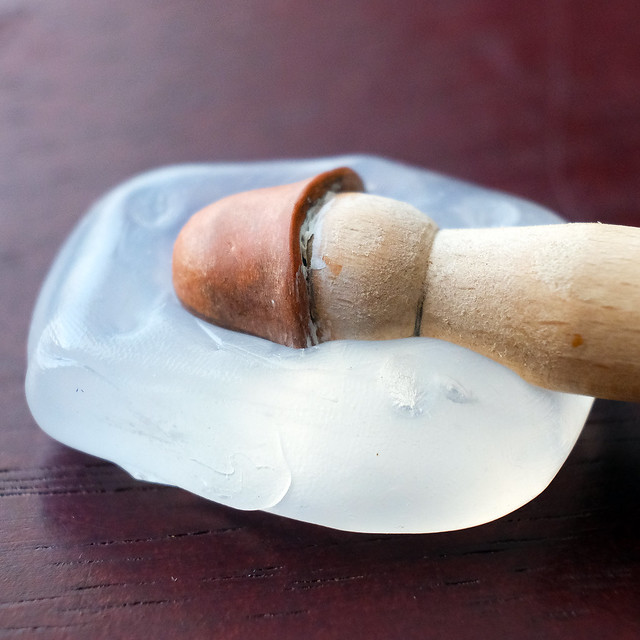
My failed two-piece mould, melted back down to use again
for another mould. Best attribute about Instant Mold.

It's definitely a great tool to have on your workbench and I will be experimenting with it again to see what else I can copy (and I will be trying out different casting mediums, like Green Stuff and even PollyFilla plaster). But I think I will invest in a resin casting kit as well.

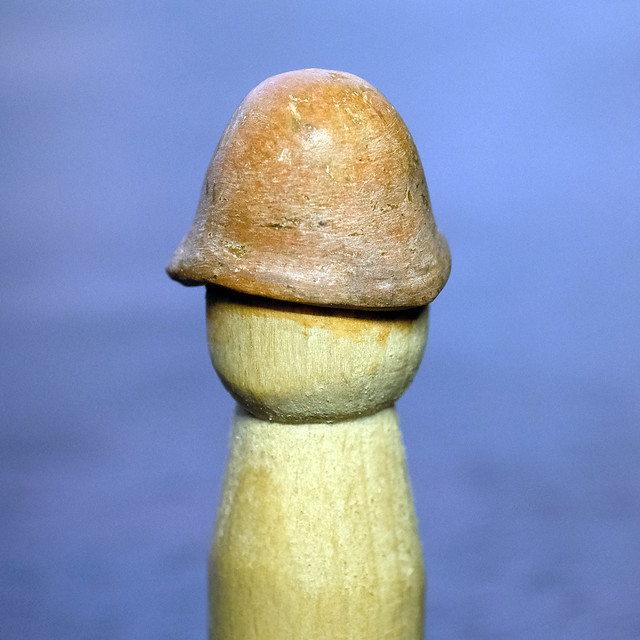
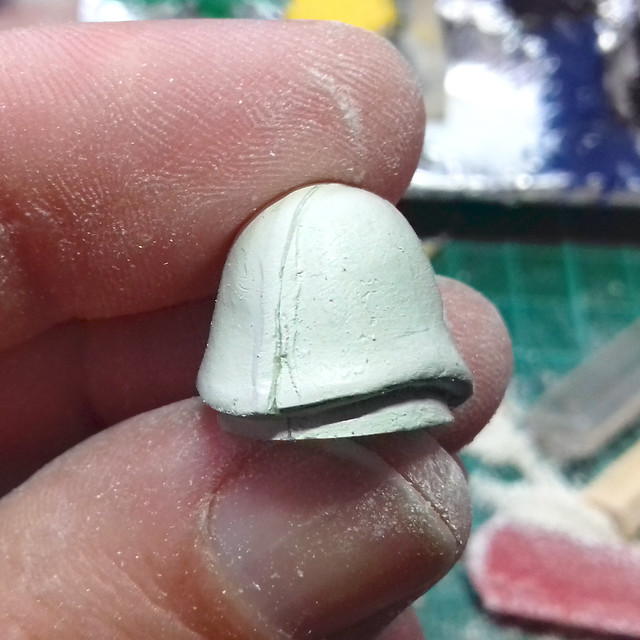
Anyway, to end off this post, here's my fudged two-piece (two separate single castings) pith helmet. I glued the two pieces together to make the complete helmet with super glue. It's a passable rescue of my failed (proper) two-piece mould attempt, but it will do for my prototype figure I'm making!
Thursday, 10 May 2018

Two-Part Mould - Pith Helmet

So far I have made a very simple 'press mould' using Instant Mold (excuse the spelling but it's a Japanese product) to copy some basic shapes for my peg soldiers. Now it's time to get a bit more adventurous with a more complex shape and multi-part mould.

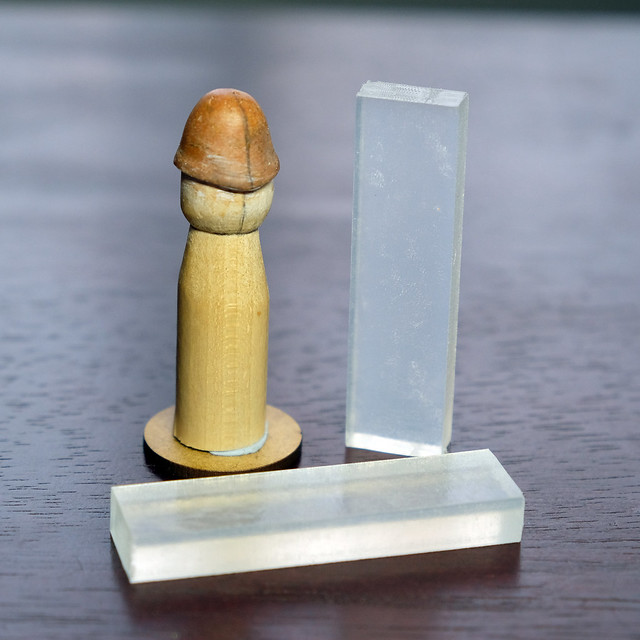
I'd like to make duplicates of a 'pith helmet' (think 'Zulu'), a prototype master I have made from - you guessed it - Milliput...


OK, my sculpting isn't great, but these helmets are for my peg 'toy soldiers' so absolute accuracy isn't quite as crucial. It's more of a caricature.

Now, how much Instant Mold will I need for this? Considering that this is quite a big hat and it will be a two-piece mould I'm thinking it will need two whole sticks...


Better to err on the side of caution an make too much rather than too little, especially as I intent to cast the peg's 'head' as well (I'll explain why later). Also, I drew a pencil line down the centre of the piece to give me an idea of where to make the mould halves.

First Attempt...
So...Turns out I needed substantially more Instant Mold than I thought! In fact, to get the space around the object I wanted to cast - so I could include reference points - I needed double what I originally estimated (two sticks)...


I think I'm probably stretching the envelope with Instant Mold regarding the size of the object I can cast accurately. It's quite a deep object and Instant Mold seems to handle shallower object better.

The bigger the object to cast (and the more complicated the shape of that object) the longer time you have to spend pushing the Instant Mold tightly into all the nooks and crannies of that object...And time is crucial element in this process, as the Instant Mold is cooling and hardening while you are doing this. So...You may end up having a few attempts in order to get it right!

SO, TIP 1: WORK FAST!


This is where things get tricky...Adding the second half of the two-part mould. It's definitely more art than science and you'll have to keep your fingers crossed. Unfortunately, you won't really know how successful you are in your mould-making until you actually make your first casting.


This isn't precision fitting, the jelly-like consistency of soft Instant Mold means that there is some movement when you press it into the object. Press the sides and the top and bottom move a little, sometimes opening a small gap between the object and the Instant Mold. It can be a little frustrating.

TIP 2: TRY, TRY, AND TRY AGAIN (If your mould isn't good enough, melt the Instant Mold down and start again.)

Still, as I alluded to earlier, the proof is in the pudding and you will only know how good your mould is when you make your casting.

I'm using Milliput again as the casting medium. I fill each half of the mould with the Milliput and then press the two halves together (so that the Milliput sticks together)...


And now the long wait while the Milliput dries. This will be a bit nerve wracking.

Next: I open the mould - will it be a good casting? Hope so!

Saturday, 5 May 2018

Featured Work, Briannes Peg Soldiers

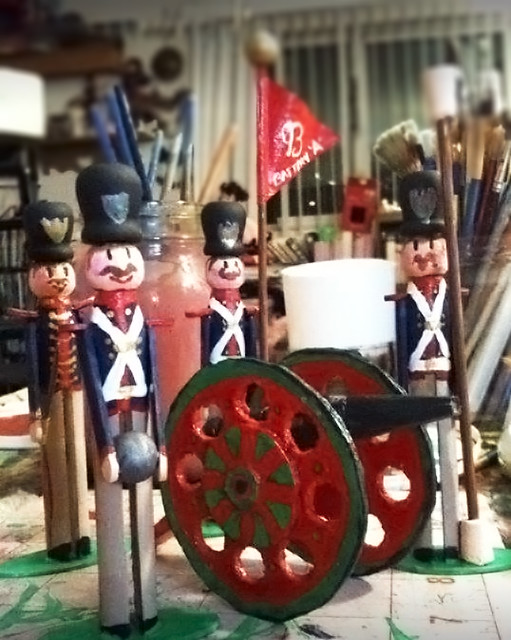
Lovely to see other peoples work. Here's a couple of shots of some peg soldiers done by Brianne Elizabeth Lyons, a wonderful 'toy town' style army...


Now, I don't know for sure but, I would guess Brianne may be American as her peg soldiers have the excellent wooden candle stick holder 'hats'. You just can't get these wooden ornamental candle holders over here in the UK (I've tried), which is a real shame as they make perfect toy soldier bearskins.

I love the artillery section! :)

Well done, Brianne.

Friday, 4 May 2018

French 'Chasseurs à pied', 1870 - Part 3

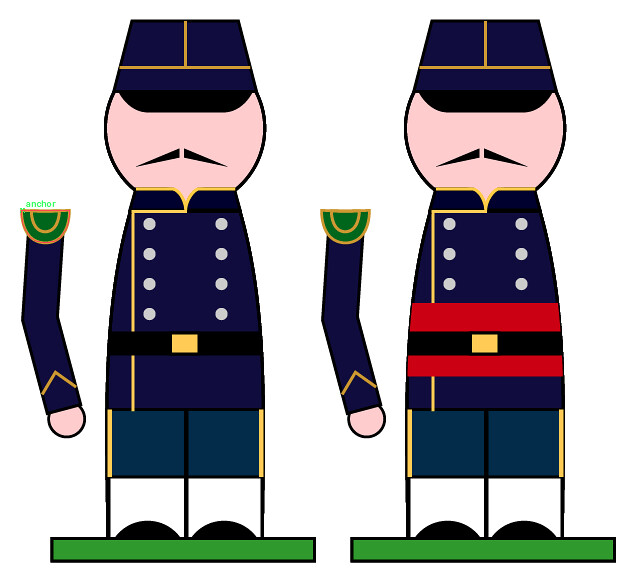
Having constructed my very first peg unit, it's time to get down to the nitty-gritty with some painting. As I mentioned in part 1 of this series I had taken the time to do a colour sketch of how I wanted my soldiers to look (having simplified the uniform design a little to suit the peg soldier format).

However, I think I have resolved the one issue I had with the uniform colour - based on the contradictory information provided by some of the historical illustrations I had gathered - and that was the colour of the Chasseurs trousers. I found an excellent website called 'Images De Soldat'...


The website of the author-illustrator André Jouineau, it contains about 1500 colour plates which reference the uniforms of various nations from 18th century to World War 2. And I was delighted to find a wonderful plate with the uniforms of the Chasseurs à pied from1870. (You pay a nominal sum to download the full-sizes plates, but it's worth the €2 if you are serious about your modelling projects.)

While I can't show you the copyrighted illustrations I can confirm that the trousers were, indeed, in a lighter blue (somewhat akin to RAF uniform blue, but a shade darker). So my uniform sketch has now been amended...


The soldier on the right is wearing a rather flamboyant red cummerbund (or cummerband). I'm in two minds whether to include this item in my peg models as - although it is very dashing - I cannot pin down what the actual meaning was of it's inclusion as part of the regiment's uniform. All I have found is this short mention in Wikipedia:

"The units of the French Army of Africa (such as the Zouaves or the Chasseurs d'Afrique) wore cummerbunds of 2 different colours: blue for European soldiers and red for Native recruits."

This does not seem to fit in with the pictorial reference I have from Images De Soldat, as the example soldier was clearly of European origin, so the red sash clearly has some other meaning. They may have been worn, perhaps, to indicate that the unit has seen colonial service (but this is a guess on my part).

[Edit: Nope, I cannot resolve this conundrum, so I will not include the sash - however pretty it is - as the majority of reference I have does not include it.]

Now, On with the Painting...
I'm sticking to my grey primer as it seems a really good base for bright colours (white can be a little bit of a pain to cover sometimes)...


Downside of doing these little fellas in grey is that - with the keeps - it makes me very tempted to do an ACW Confederates! :) (Maybe another time?)

Picking Paints & Colours
One thing I don't like to do so much is mix up special colours, I'd rather buy the exact colour match (or closest thing) in bottle form. It's not that I'm lazy, it's just that - from experience - I know that if I want to duplicate a mixed colour further down the line it's a pig to get an precise match. It's far easier to just know what number Vallejo or Humbrol to buy.

So here's my paint list for my French Chasseurs:


• Gold Piping:
- Vallejo Model Color [948] Golden Yellow

• Dark Blue (jacket & kepi):
- Black undercoat base with Vallejo Model Color [899] Dark Prussian Blue over the top.

• Airforce Blue (trousers):
- Citadel Kantor Blue.

• Flesh: 
Vallejo Model Color [815] Basic Skintone.

• Wood:
-Vallejo Model Color  [846] Mahogany Brown.


I decided to tackle this paint scheme by starting with the 'gold' piping, in the hope I could get some nice (fairly) even lines!


A Case of the Blues
I've been here before...Quite a while ago I had a go at painting a Black Hat 1/32 scale white metal 1890 French Infantryman. Getting the right deep dark blue caused me lots of grief, I just couldn't get the shade right. Eventually, I managed to achieve a colour I was happy with, but only by means of a complicated mix of various blues - something I don't want to go through again...


Depending on the lighting it's nearly black, but not quite...I think it's what's called 'midnight blue'.

This time I decided to go for a simpler approach and in an attempt to make the richness of the blue colour more intense, though still dark. What I decided to do was to lay down an undercoat of straight black, and then to paint a rich Prussian Blue over the top. The resultant effect was for the black undercoat to darken the subsequent blue coat BUT the blue retained it's richness.

Now, Slap it On...
Enough over-thinking about colours, let's get on with some hairy-stick action! I begin by filling in the spaces between my yellow piping on the hats (and will eventually work my way down to the jackets) with a black base coat...


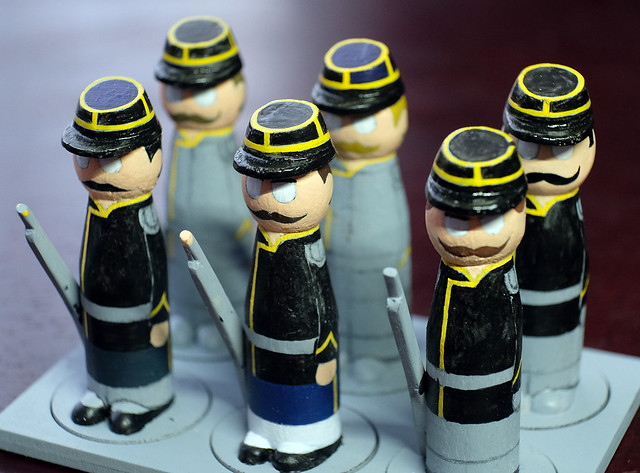
I also laid down the flesh tones and the whites of the soldiers eyes. I've tried to vary the hair styles and the shape of the moustaches, hopefully these will be suitably French looking (to contrast with the more teutonic curled moustaches of the German opposition).

At this point the jackets are just the black undercoat.
And now the slow slog as I repeat the painting until the figures are complete! (Though, to keep me from getting a bit bored with the repetition - thank goodness I'm only doing a unit of 6 - I am already making a start on the first of my Prussian troops.)

Wednesday, 2 May 2018

Operation Pickelhaube

With my French peg soldier unit well underway I am starting to turn my mind to producing a matching German Confederation troop...And - sooner or later - that will mean making some Prussians.


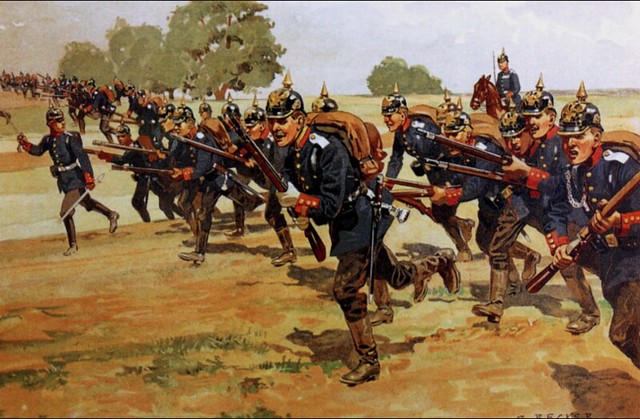
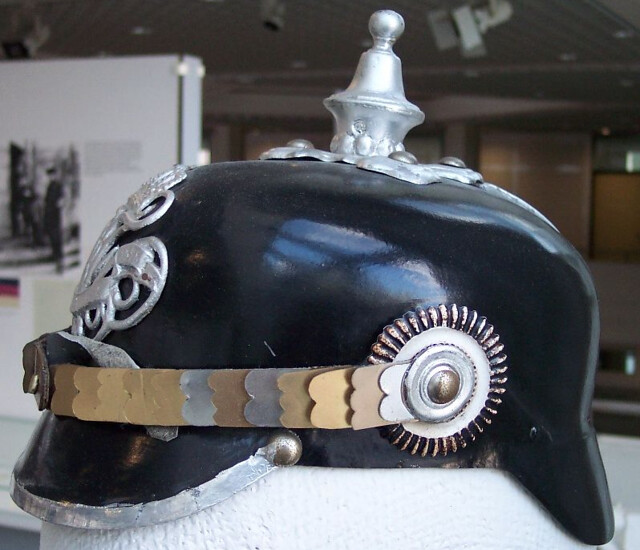
You can't get around it, wargaming the Franco-Prussian War - by definition - means you will be including some Prussian units. And that - in turn - means pickelhaubes!


It's a strange little helmet and I have been a bit baffled how I should model it. I decided to try and cast it - as I will need half a dozen - so I thought I best start with a basic shape which I could then sculpt into the final helmet...


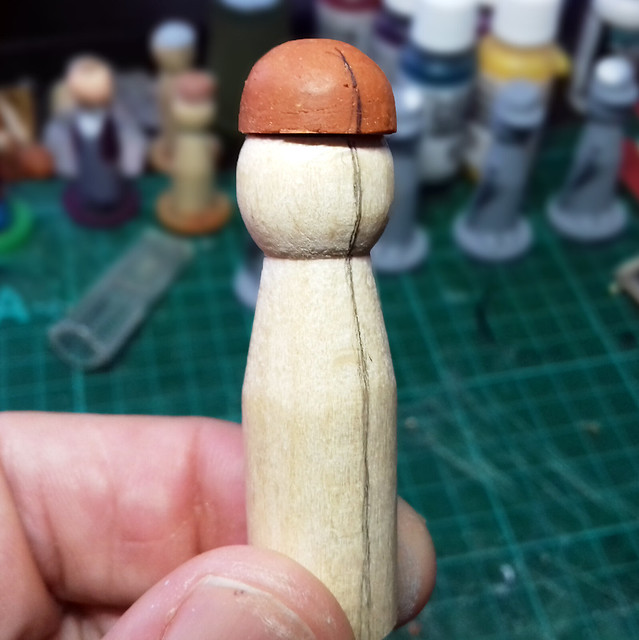
If I started with a simple upturned 'bowl' shape I thought I could make several different shaped helmets. It was a very easy shape to cast but would need mounting on a peg so I could work on the shaping and the adding of the peaks...


However, I wasn't satisfied with the rounded shape...The Pickelhaube isn't really round, it has a flatter top and steep sides (a sort of squished semi-sphere). So I did some sanding and added some peaks using more Milliput putty (and sanded some more) and made another casting...

Second attempt...The sculpt is in the brown Milliput which
was then moulded to give me a working object with which I
can modify further before casting yet again!
I think this is a better shape now, so I can take this on and
make a new working casting.
I know this sounds like a lot of work - with multiple castings - but I decided I want to protect my basic shapes as I go along and then modifying only the resultant copies. This is so that, should I go wrong, I can go back to the previous shape (and mould) and start again.

Making a new mould with Instant Mold...It's a simple matter
of pressing the object to be cast into the softened material.
The Instant Mold hardens again as it cools and then you
have a mould.
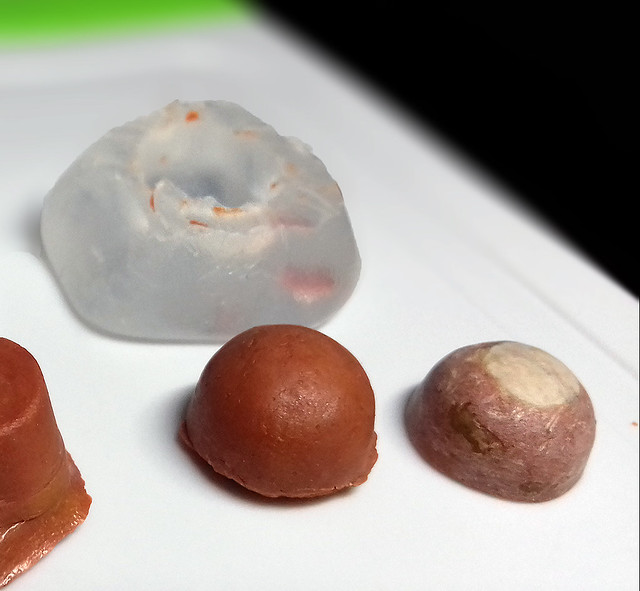
And so...Now I have my final mould (my third) I can start banging out my working casts. Luckily, one of the best things about Instant Mold is that you can reuse old moulds by reheating them again, so there is no waste.


Next: Basic shapes done, I can now start to 'decorate' the helmet.