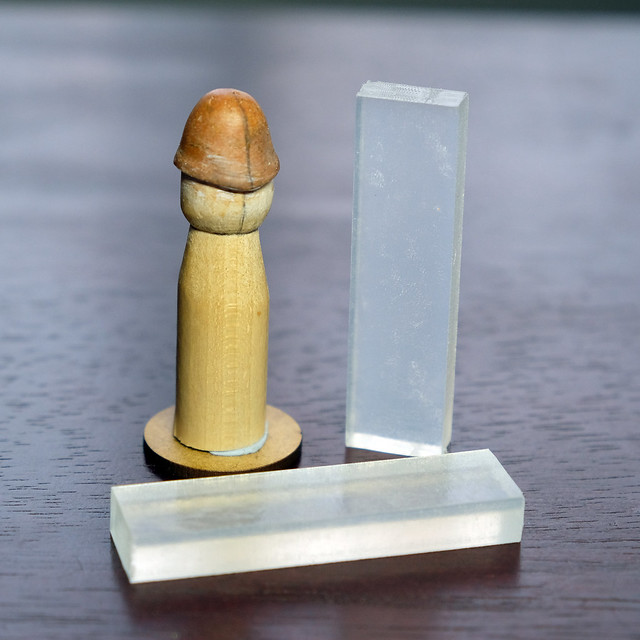
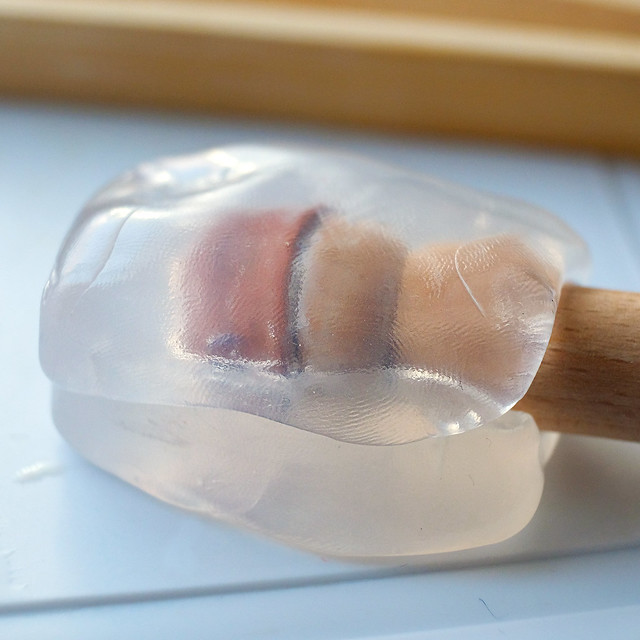
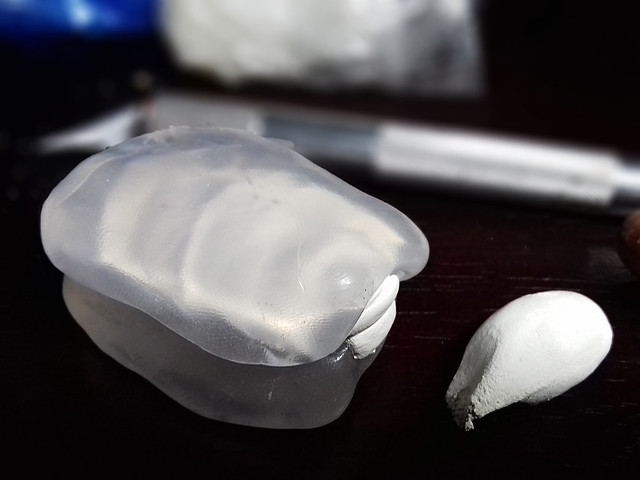
I think I just need more practise to work out the 'tricks' to doing this, but I think I am probably stretching the practical uses of Instant Mold by attempting two-part casting. Don't get me wrong, it is possible - with care - but I think the whole idea of Instant Mold is quick and easy press moulding really.
Two-part moulding is a slightly more complicated and precise type of moulding and - to be honest - if you are going as far as taking the time to make a properly aligned two-piece mould you will probably want to make something you can keep and use a lot of times.
So, what went right?
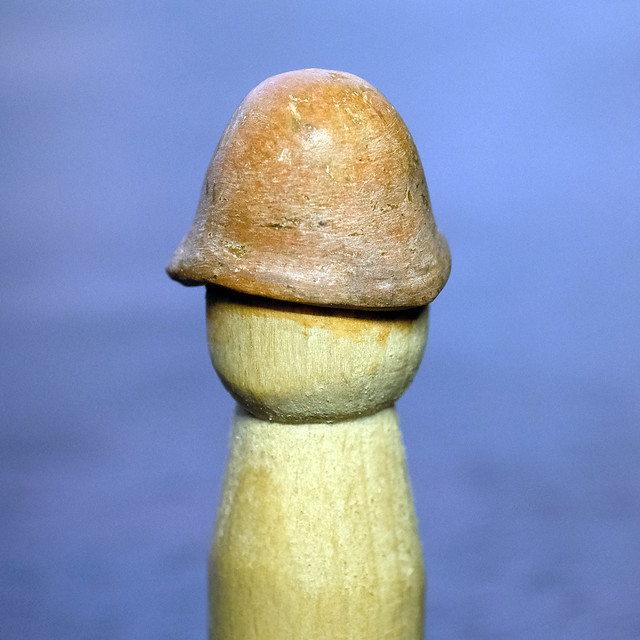
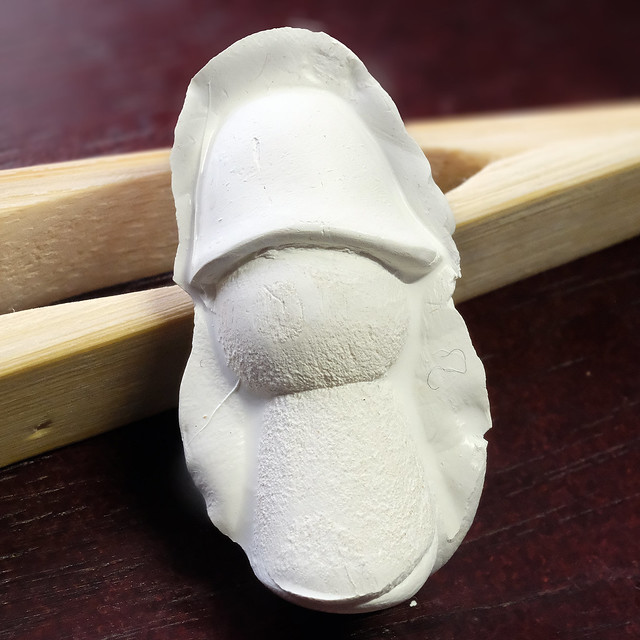
Well the quality of the cast was good it captured the general shape of my original object very nicely. And using Milliput mean I had a really hard duplicate that I can sand or otherwise modify further.
So, what didn't go right?
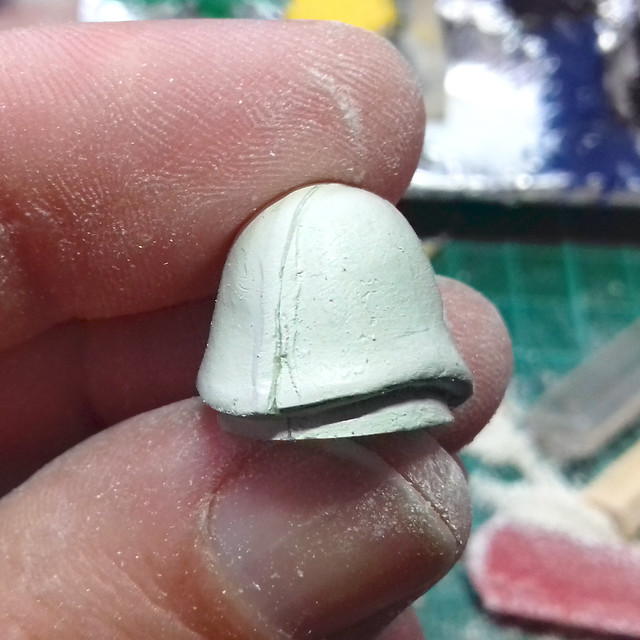
Registration. I did try to make registration dimples in the Instant Mould so the two halves of the mould would come together precisely, but I just didn't do a good enough job. The two halves slipped when I tried to put them back together again with the Milliput inside and so the cast was mis-aligned...
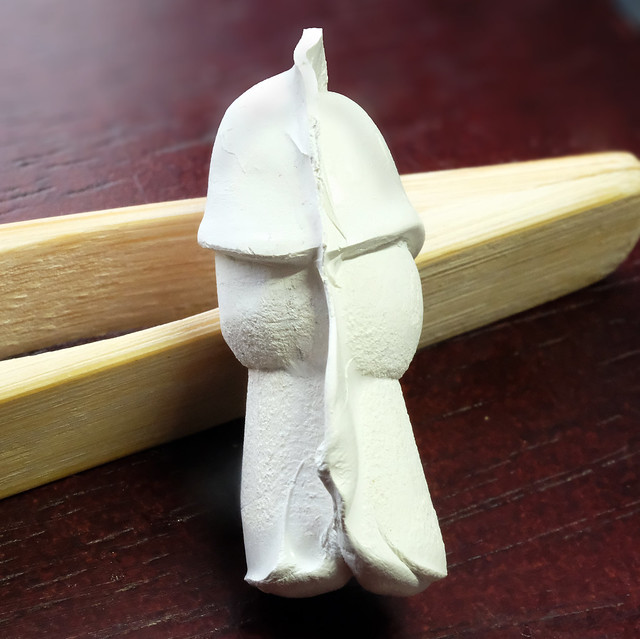
Now, I could rescue this casting by cutting it down the middle and realigning the two pieces again. But that kinds makes the whole process of trying a two-part mould a but of a waste of time. I might as well have just moulded the two pieces separately and then stuck them together at the end...
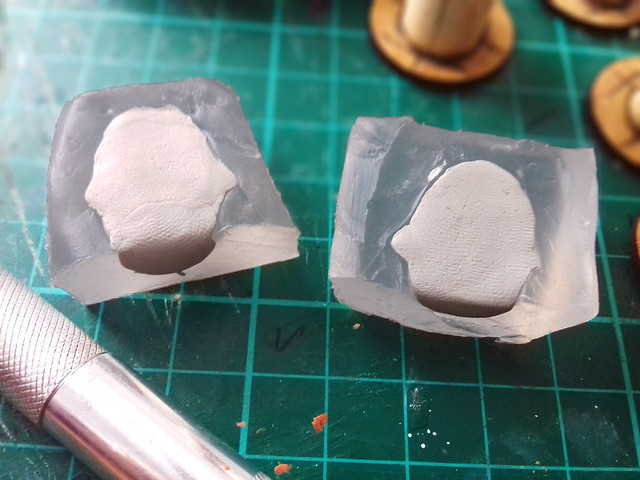 |
| Alternative way of doing this (or how to rescue a failed two-part mould) is to simply revert to doing the casting as two single part moulds and then to glue the resultant pieces together. Perhaps? :( |
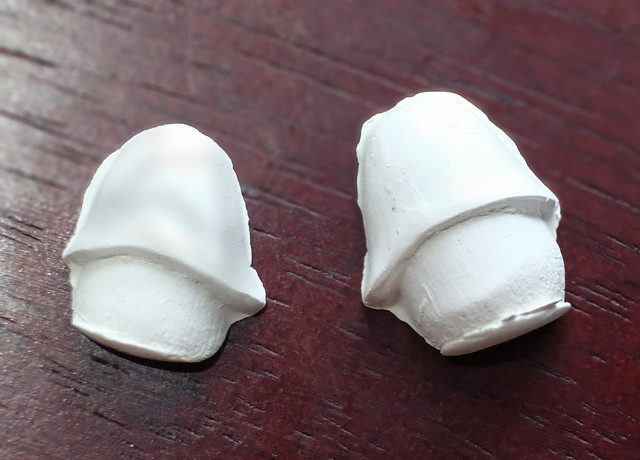 |
| The result of 'one piece' moulding the helmet parts. Now I don't have the alignment problem BUT I now have to clean up and glue the two halves together. Not so cool! |
But the good thing about Instant Mold is you can just melt it down again in boiling water and start again. And this time I would make better registration marks (dimples) in the mould so that the whole thing aligns better (hopefully).
...And then again, I'm starting to think that I might as well invest in a proper resin casting set if I am going to start to do more complex casting from a much more detailed original. The resin mould would also have a longer life and allow me to use cheaper resin as a casting medium rather than expensive Milliput...
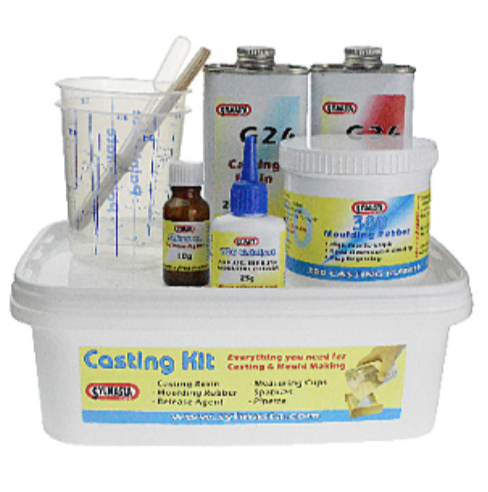 |
| The Sylmasta Resin Casting Kit (£38). Perhaps the next step in my casting experimentation? |
Conclusion
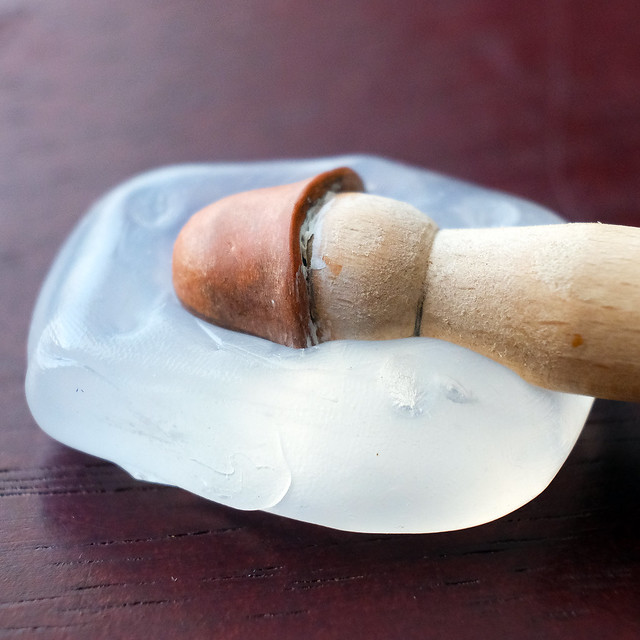
Well, I feel I learned a lot about what Instant Mold is good and not so good for. It's ideal for one-piece press moulding but not so ideal for larger more detailed 3D two-piece casting. You can do it at a pinch, but the whole idea of Instant Mold is that it's 'instant' and you use it to copy something quickly and then re-melt it to use it again for something else.
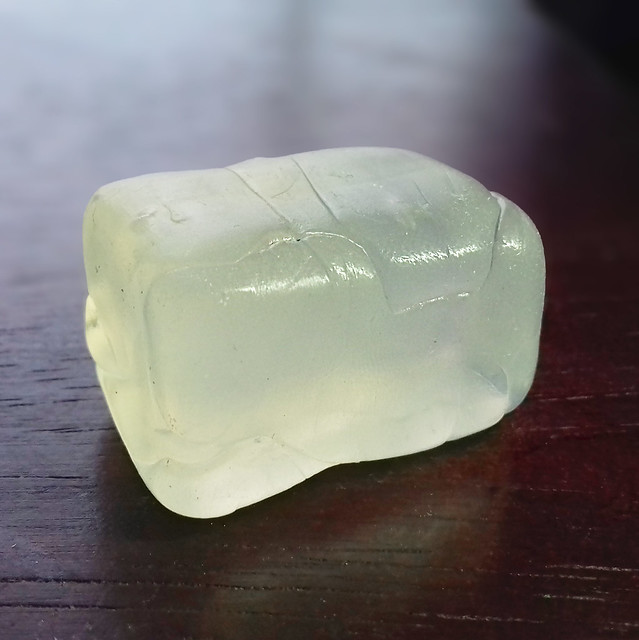 |
| My failed two-piece mould, melted back down to use again for another mould. Best attribute about Instant Mold. |
It's definitely a great tool to have on your workbench and I will be experimenting with it again to see what else I can copy (and I will be trying out different casting mediums, like Green Stuff and even PollyFilla plaster). But I think I will invest in a resin casting kit as well.
Anyway, to end off this post, here's my fudged two-piece (two separate single castings) pith helmet. I glued the two pieces together to make the complete helmet with super glue. It's a passable rescue of my failed (proper) two-piece mould attempt, but it will do for my prototype figure I'm making!