I'd like to make duplicates of a 'pith helmet' (think 'Zulu'), a prototype master I have made from - you guessed it - Milliput...
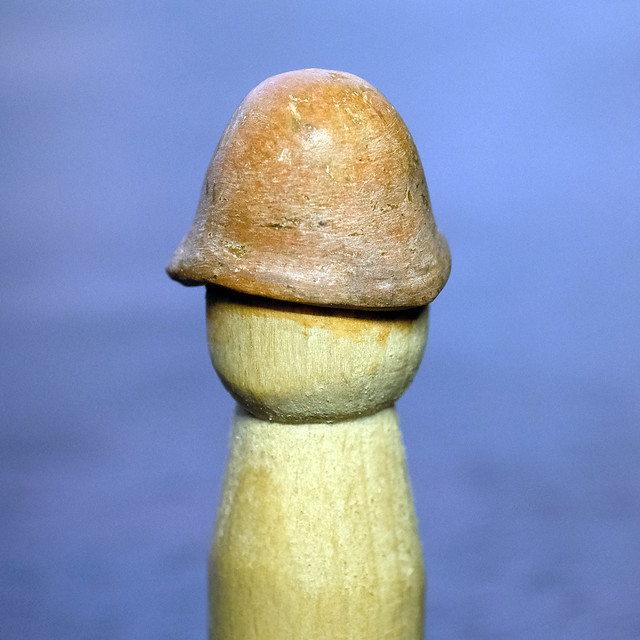
OK, my sculpting isn't great, but these helmets are for my peg 'toy soldiers' so absolute accuracy isn't quite as crucial. It's more of a caricature.
Now, how much Instant Mold will I need for this? Considering that this is quite a big hat and it will be a two-piece mould I'm thinking it will need two whole sticks...
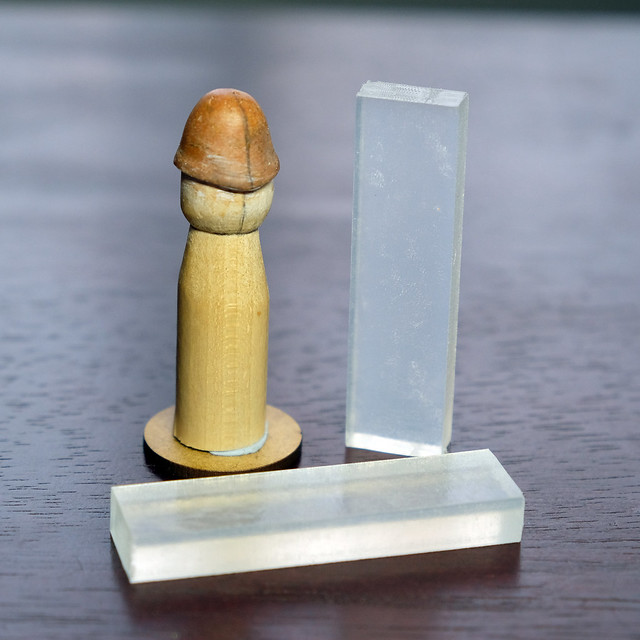
Better to err on the side of caution an make too much rather than too little, especially as I intent to cast the peg's 'head' as well (I'll explain why later). Also, I drew a pencil line down the centre of the piece to give me an idea of where to make the mould halves.
First Attempt...
So...Turns out I needed substantially more Instant Mold than I thought! In fact, to get the space around the object I wanted to cast - so I could include reference points - I needed double what I originally estimated (two sticks)...
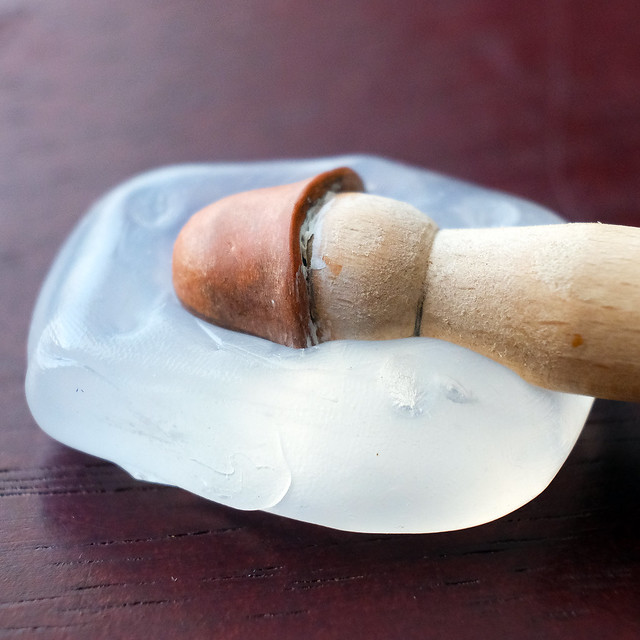
I think I'm probably stretching the envelope with Instant Mold regarding the size of the object I can cast accurately. It's quite a deep object and Instant Mold seems to handle shallower object better.
The bigger the object to cast (and the more complicated the shape of that object) the longer time you have to spend pushing the Instant Mold tightly into all the nooks and crannies of that object...And time is crucial element in this process, as the Instant Mold is cooling and hardening while you are doing this. So...You may end up having a few attempts in order to get it right!
SO, TIP 1: WORK FAST!

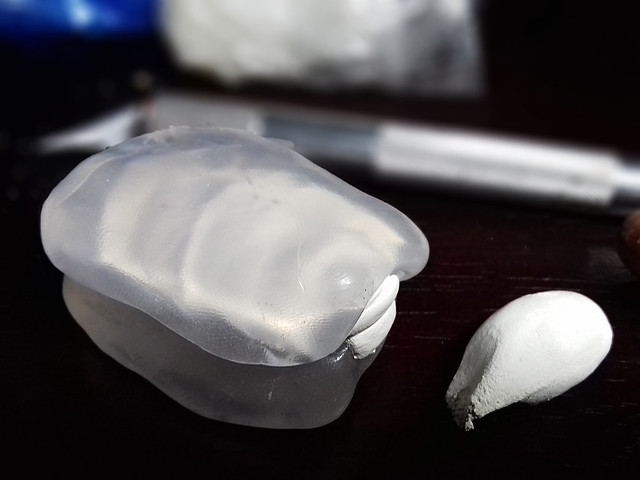
This is where things get tricky...Adding the second half of the two-part mould. It's definitely more art than science and you'll have to keep your fingers crossed. Unfortunately, you won't really know how successful you are in your mould-making until you actually make your first casting.

This isn't precision fitting, the jelly-like consistency of soft Instant Mold means that there is some movement when you press it into the object. Press the sides and the top and bottom move a little, sometimes opening a small gap between the object and the Instant Mold. It can be a little frustrating.
TIP 2: TRY, TRY, AND TRY AGAIN (If your mould isn't good enough, melt the Instant Mold down and start again.)
Still, as I alluded to earlier, the proof is in the pudding and you will only know how good your mould is when you make your casting.
I'm using Milliput again as the casting medium. I fill each half of the mould with the Milliput and then press the two halves together (so that the Milliput sticks together)...
And now the long wait while the Milliput dries. This will be a bit nerve wracking.
Next: I open the mould - will it be a good casting? Hope so!
No comments:
Post a Comment