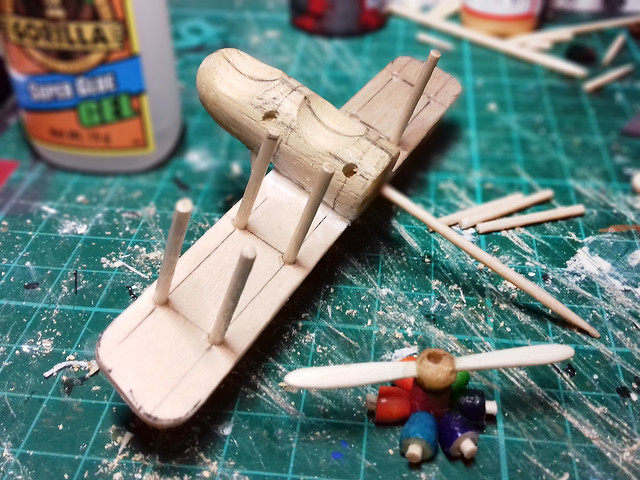
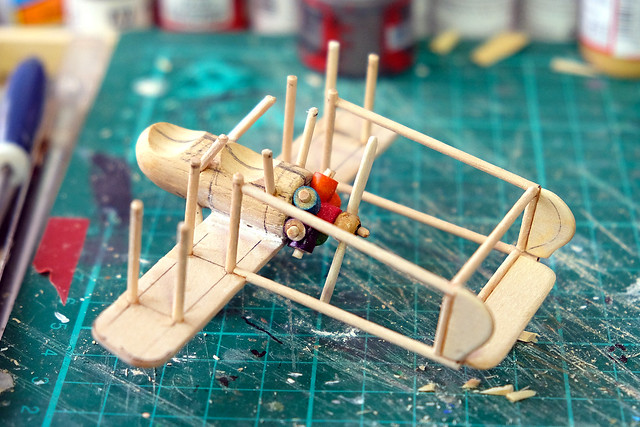
The little problems I left behind me when I had my break from modelling have now come home to roost. I had forgotten that I had decided to change the way I would display my little peg planes, moving from my thrown together cocktail stick stand to a proper commercial plastic one.
I had bought a set of square acrylic flight stands - made tabletop game aircraft and space vehicles - because I think they look a lot better than a 'stick'. Actually, I think they look better because they are less noticeable than my cocktail stick contrivance...
The problem with this change in direction was that I had already nearly completed my peg model, so I've had to go back and make a suitable hole into which I could fit the new stand's socket. All I could think of doing was to re-drill the smaller hole I had made for my stick-stand so that I could fit the larger diameter plastic socket into the underside of my plane.
It was a wee bit tricky as I had to use a relatively large drill bit and I was quite worried in case I damaged my model during the handling. I took things slowly and carefully and eventually had a hole into which the plastic stand slid.
What I intend to do next is superglue the socket part of the stand into the hole, that way I can take the plane off the stand if I want. I was a little worried that the small diameter of the square base might not support my plane, but it does (at least it does at this height - 4cm - though if I want to increase the 'altitude' for a game, say, I would have to get a wider base). 👍
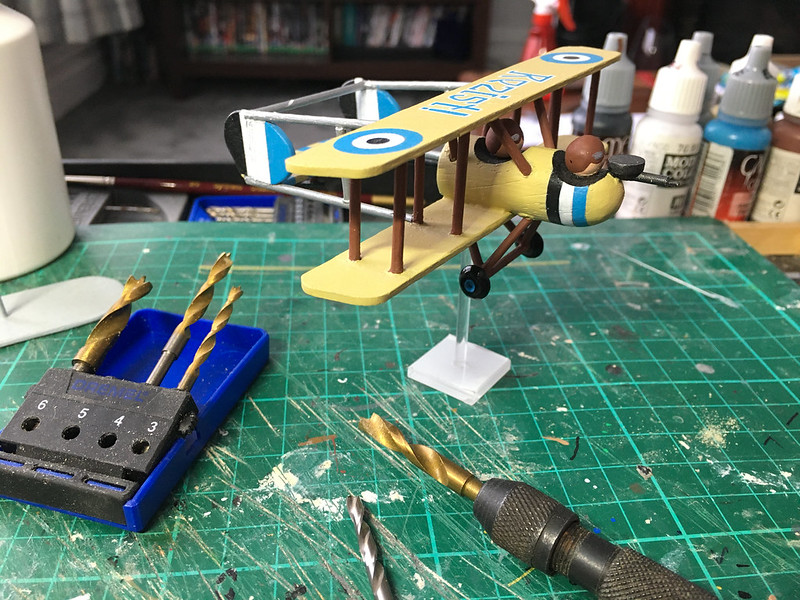
Well, job done - and with all the touching up of the model complete all I have to do now is a apply a couple of coats of glass varnish and the job's a good 'un. That's next.
Being the Ethereal Embassy for the Kingdom of Molatero and it's participation in the Funny Little Wars
Showing posts with label X-Ref: Peg/ww1Lbomber/0718. Show all posts
Sunday, 17 May 2020
Monday, 30 July 2018
Peg WW1 Light Bomber - Part 5
Painting Check...
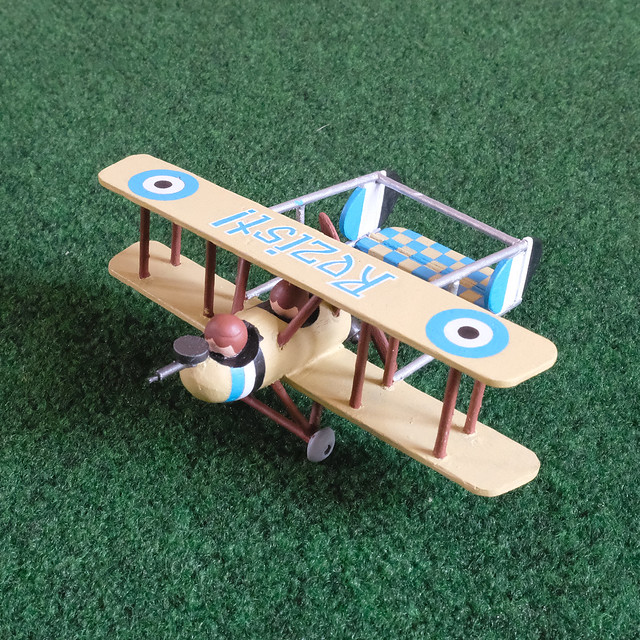
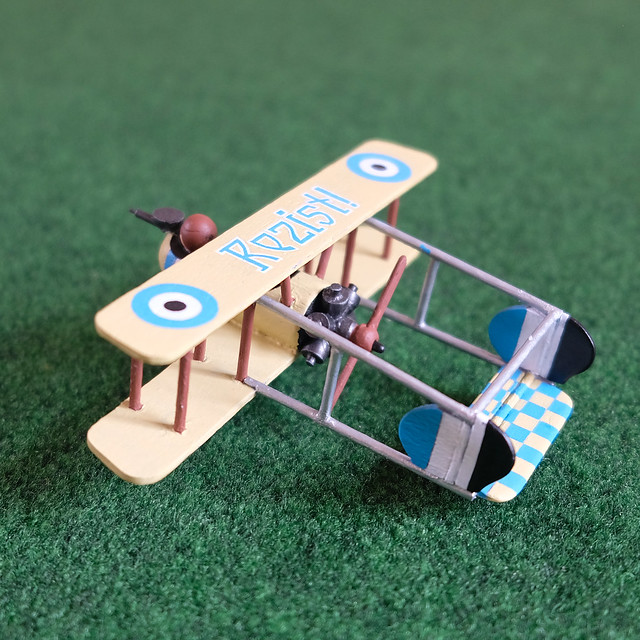
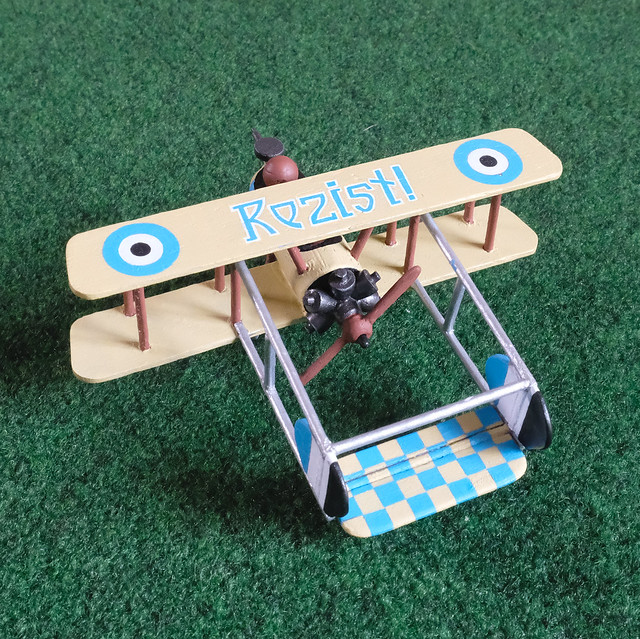
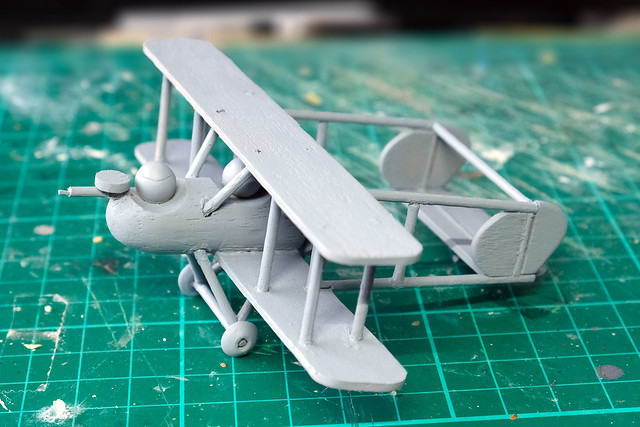
I've been a little unsure about my paint scheme for my little bomber aircraft so I've taken some test photos just to reassure myself that everything is going OK. Sometimes you need to see some photos, which seem to give you a little 'distance' from which you can assess your progress in a more detached way (that probably makes no sense to you whatsoever)!
Anyway, here's where I am so far...
I *think* this is going in the right direction..?
Sunday, 22 July 2018
Peg WW1 Light Bomber - Part 4
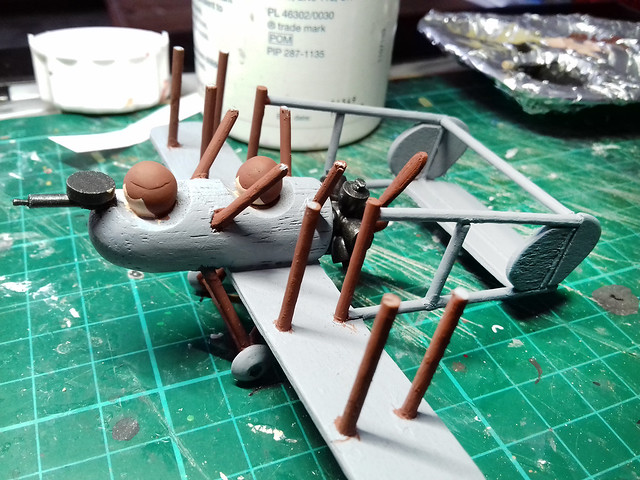
And so, the painting begins...
I've decided to go with a pretty plain and widely used colour scheme for my bomber, a 'canvas' buff. While this was associate with earlier WW1 aircraft - from, say, 1914-17 - I'm imagining that my Molatarian Rebels of the 1918 uprising might be using older aircraft (I'm making this up as I go along - like everything else I do).
I thought the overall buff colour went nicely with the older 'pusher' design of aircraft. But will be adding a rather novel rebel slogan to the upper wing to add some interest to the scheme. The faction colour will be the blue, white and black scheme that I have designed for my rebels.
Otherwise, the rest of the painting is very straight forward and pretty easy. Being a simplified and stylised model detailing is pretty much non-existent and there will be few colours used. I'll start 'inside' and work 'out'...
To be honest, this paint job - being family plain - shouldn't take too long finish...Hopefully!
I've decided to go with a pretty plain and widely used colour scheme for my bomber, a 'canvas' buff. While this was associate with earlier WW1 aircraft - from, say, 1914-17 - I'm imagining that my Molatarian Rebels of the 1918 uprising might be using older aircraft (I'm making this up as I go along - like everything else I do).
I thought the overall buff colour went nicely with the older 'pusher' design of aircraft. But will be adding a rather novel rebel slogan to the upper wing to add some interest to the scheme. The faction colour will be the blue, white and black scheme that I have designed for my rebels.
![]() |
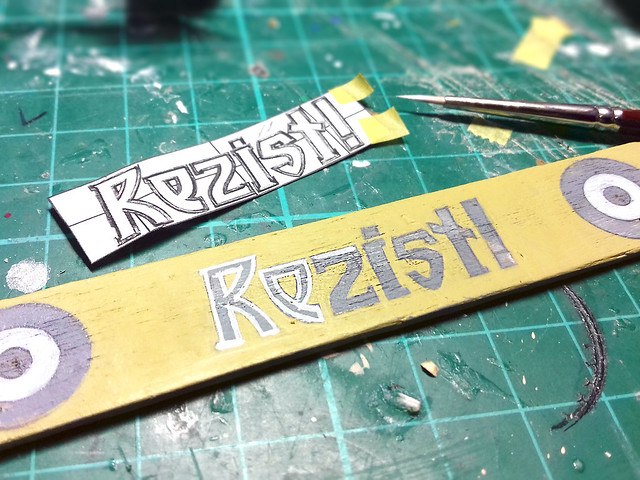
| I designed my revolutionary slogan in Adobe Illustrator using a vaguely Romanian/Cyrillic looking font. Then I printed it out and traced the design onto the top wing... |
![]() |
| My imaginary nation of Molatero is loosely based on Romania (ish) and so I have used the modern political slogan of 'Rezist' as it seemed so apt for a catchphrase of a civil uprising. |
Otherwise, the rest of the painting is very straight forward and pretty easy. Being a simplified and stylised model detailing is pretty much non-existent and there will be few colours used. I'll start 'inside' and work 'out'...
To be honest, this paint job - being family plain - shouldn't take too long finish...Hopefully!
Tuesday, 17 July 2018
Saturday, 14 July 2018
Peg WW1 Light Bomber - Part 2
Well, I'm still making this up as I go along, so I've only a vague idea which way this one is going!
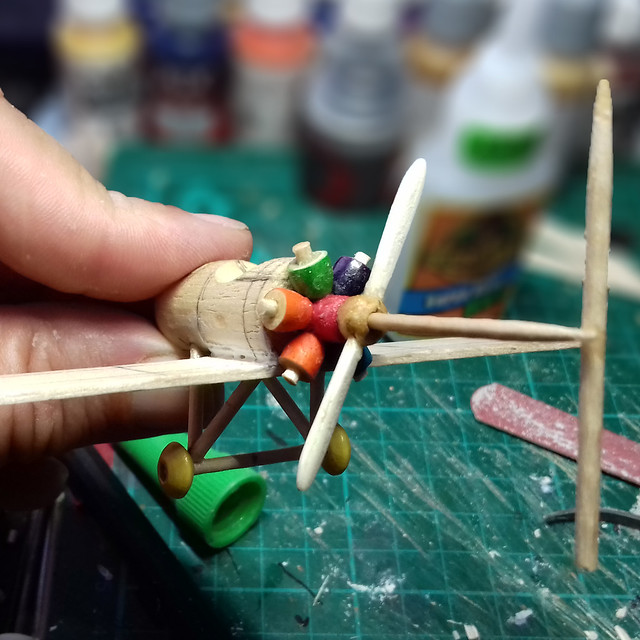
I began the session by doing some more work on my 'bead' rotary engine...
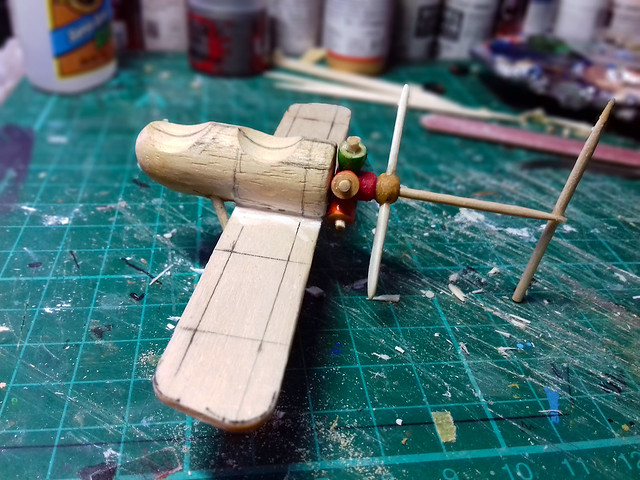
The cocktail stick arrangement at the rear is just a device I made for reference so I can determine how I might start to make a tail section.
Next I move onto making the main wing struts. Cocktail sticks at the ready, this is going to take quite a few...
My careful measurements of the layout of the wing struts worked out as the top wing fitted easily in place. While loosely based on the design of the Airco DH. 2 the layout isn't exactly identical, especially where the fuselage struts connect to the top wing...
Well, that worked out OK, but the tail section is my next challenge. I have plenty of reference to base the flimsy tail - the Airco DH. 2, Royal Aircraft Factory F. E. 2, Vickers F. B. 6 and French Breguet V all used this 'pusher' arrangement and the delicate tail section it required. Though, I'll probably modify the designs to suit my idea of this imaginary aircraft.
I went for a slightly unfeasible 'twin boom' arrangement, just for fun and to make it suitably distinct from any actual historical aircraft type. I'm not even sure that such an arrangement would work! (I may add to it, just to give it some more period flair!)
Well, that's it for this session. She's a big beasty (would still like to have a go at a twin engined bomber though). In the next part I will begin the paint job, I'll just have to decide on a suitable colour scheme.
Subscribe to:
Posts (Atom)