Now, I mention 'how to attach them' because the most obvious solution is to just glue them on, but I have two issues with that; first of all, I don't like just relying on a glued joints (it's just asking for bits to snap off) and, secondly, I want a more efficient way to paint my figures and having separate arms would make it easier if I could then attach the arms once everything is painted! 👌
So 'Job 1' will be to work out a way to include a pin attachment to the arms which would give me a secure way of joining the arms to the body once the painting is done. Luckily I had some tiny steel veneer nails, so I think what I need to do is drill some holes in the arms and body of my figure first...


...Now, my cunning plan is to superglue the steel pins into the hole I drilled in the 'shoulders' of the arm pieces. I can then paint the body and the arms and then glue the pinned arm into the socket I drilled in the body. That should make a very good anchored joint... Let's test this out...

Seems feasible. The only problem I could see was that the 15mm long pins were too long so I clipped them to half the size...

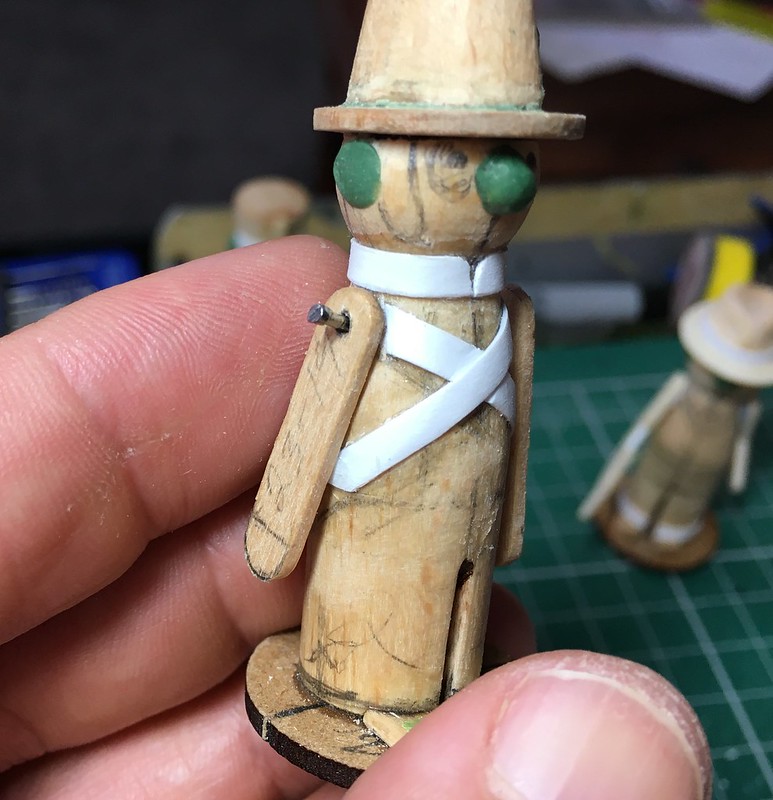
A couple of taps with a small hammer should secure this nicely (after adding a small drop of glue for good measure). I think we have a plan! 😁👍
Making Handheld Objects
OK, I'm happy with the arms but what about when I want my figures to be holding things? There are two ways -I could think of - to have them hold objects. The first is to attach any object I make to the 'hand' - I've already tried out this method when I did my D&D figure set...

However, in this case I used a small wooden bead which I glued directly to the body to act as a hand. This made the attachment quite secure, but I didn't think this would look as good if I glued a bead to a separate arm piece (but I may try this in a later test figure).
So, 'Plan B' was to cut out a single arm and object unit out of a thin sheet of wood. This would give the arm and object a flat 2D look but I thought this might be interesting to try.
Here's my first attempt at this method, I have given my 'Captain Mainwaring' ('Dad's Army') caricature a revolver...

It does look a wee bit over-sized BUT it's in keeping with the overall cartoon style of the model (I think). Looking at this makes me thing that the idea of adding a separate object by means of the bead method might look a little ungainly? This flat method may be the most aesthetically pleasing.
All that remains for me to do is to craft a couple of little rifles for my crew...
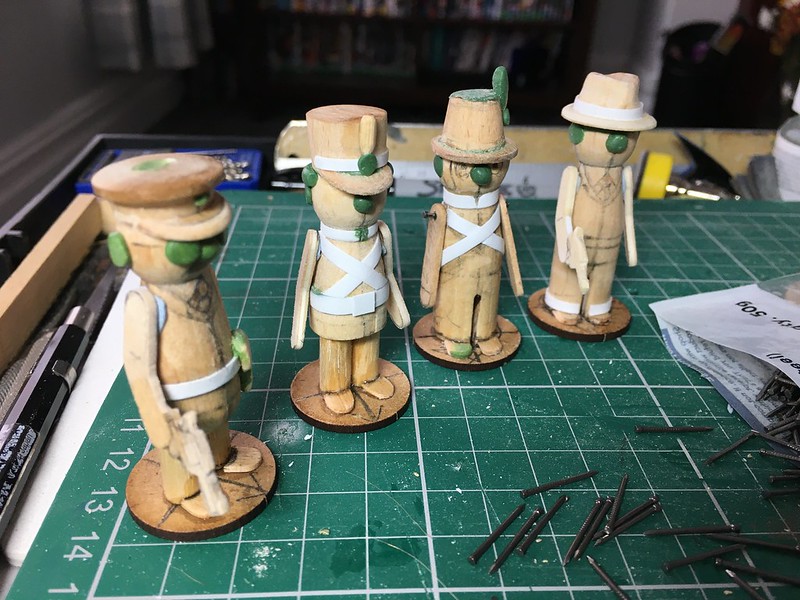
These will be a musket for my 1812 American soldier and a little carbine for my 'Pippin Fort' cadet...

Again, these will be flat 2D items cut out of a thin plaque of wood (I think these plaques were bought from a craft shop and were intended or use as Christmas labels)...

These will be attached to a couple of the arms I've made - yes I know what I said earlier about just gluing things together but I am happier about gluing two flat items together as I feel the joint will be quite secure! 😉
NEXT: Priming & Painting my Figures.
No comments:
Post a Comment