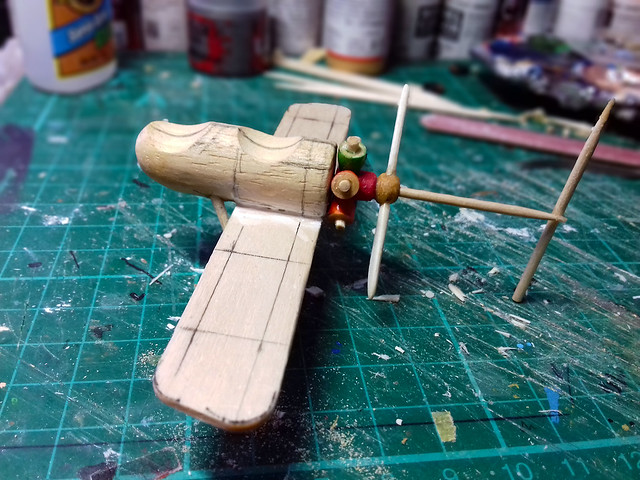
I began the session by doing some more work on my 'bead' rotary engine...
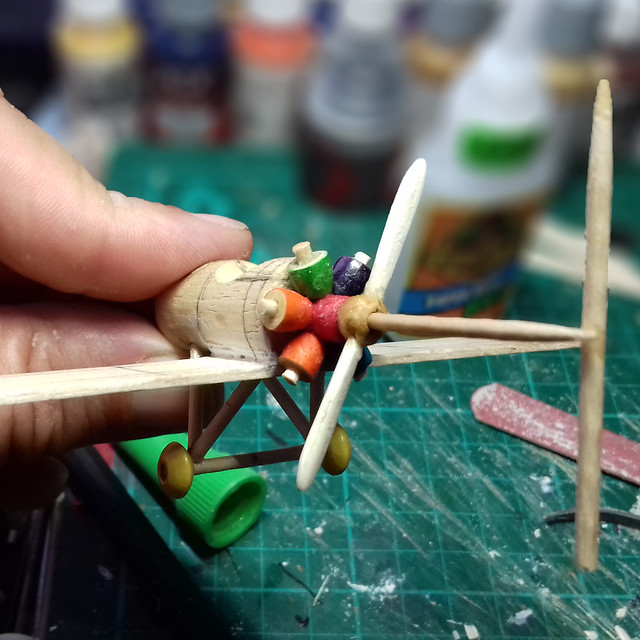
The cocktail stick arrangement at the rear is just a device I made for reference so I can determine how I might start to make a tail section.
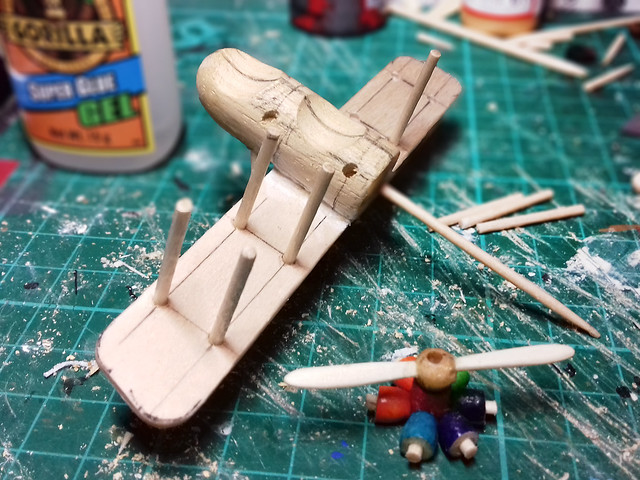
Next I move onto making the main wing struts. Cocktail sticks at the ready, this is going to take quite a few...
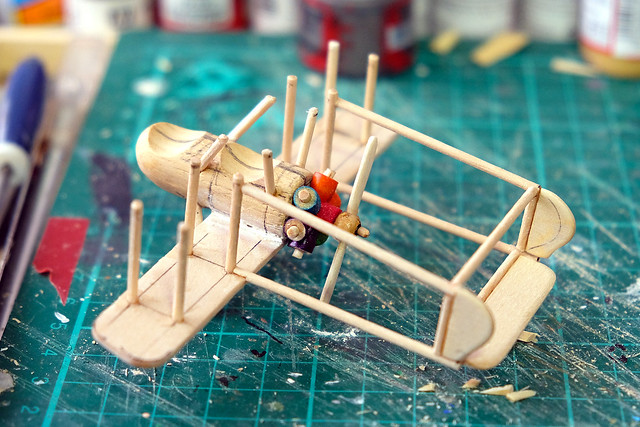
My careful measurements of the layout of the wing struts worked out as the top wing fitted easily in place. While loosely based on the design of the Airco DH. 2 the layout isn't exactly identical, especially where the fuselage struts connect to the top wing...

Well, that worked out OK, but the tail section is my next challenge. I have plenty of reference to base the flimsy tail - the Airco DH. 2, Royal Aircraft Factory F. E. 2, Vickers F. B. 6 and French Breguet V all used this 'pusher' arrangement and the delicate tail section it required. Though, I'll probably modify the designs to suit my idea of this imaginary aircraft.
I went for a slightly unfeasible 'twin boom' arrangement, just for fun and to make it suitably distinct from any actual historical aircraft type. I'm not even sure that such an arrangement would work! (I may add to it, just to give it some more period flair!)
Well, that's it for this session. She's a big beasty (would still like to have a go at a twin engined bomber though). In the next part I will begin the paint job, I'll just have to decide on a suitable colour scheme.
No comments:
Post a Comment