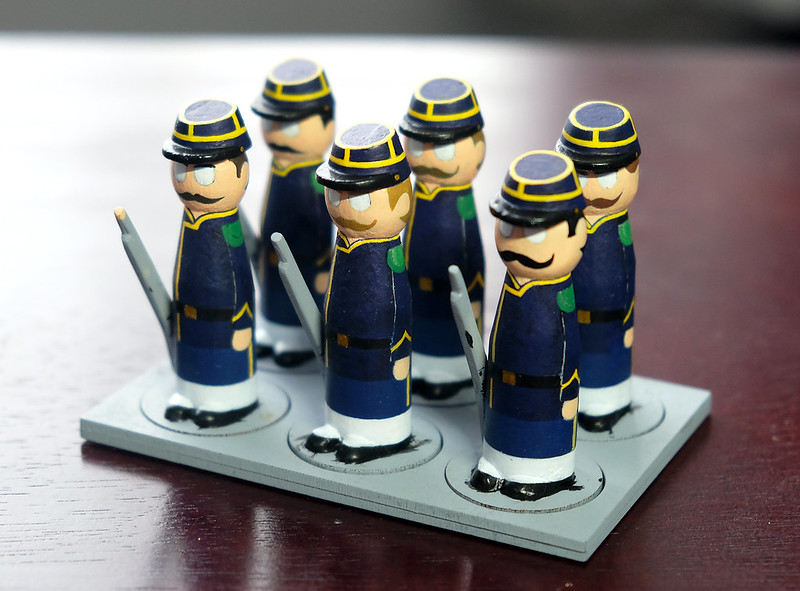
A long, long time ago I began my Franco-Prussian War project only to then decide to have a hiatus from the hobby for some time. Now up and running again I now am in the position of not only working on new projects but also have several old moth balled projects to dust off - my French 'Chasseurs à pied' are one of these forgotten armies! 😃
It's actually a bit crazy that I stopped where I did with these soldiers as they were quite near completion. However, one of the reasons that I had not completed these sooner - having returned from my 'hobby holiday' - is that these figures were what I call my 'Mk. 1' peg soldier design and I had subsequently moved on to a different design...
 |
| Above: Comparison of my early 'Mk. 1' peg soldier construction (left) with my current 'Mk.2' method (right). |
I was of a mind to abandon this project and start again using my revised method of construction but - in the end - did not want to waste the work I had already done. It was a bit frustrating as I really like my newer method for making my soldiers, but I thought it would be a nice way to formally transition from the old to the new by completing this project as intended.
Anyway... Where had I got to? Here's a reminder of where I left off...
As I said, these models were so near completion! The principal job was to do all the outlining of detail - things like the arms and leg division, etc (things that were the very reason that I created my simplified Mk. 2 models , so I didn't have to spend time laboriously outlining things).
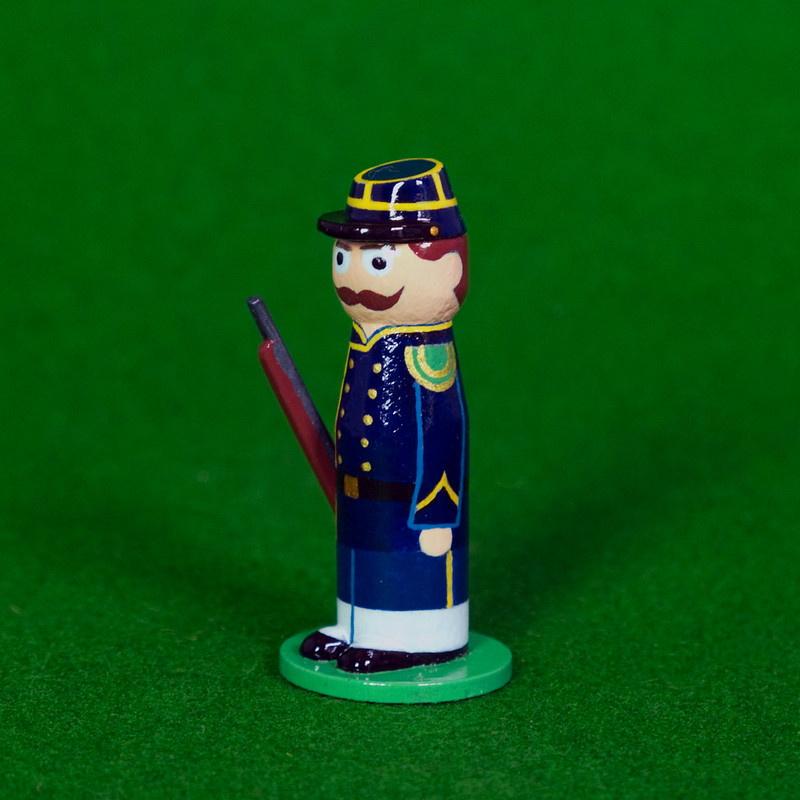
Ironically, I ended up producing my prototype Frenchman right along side my prototype Prussian! It's my habit to complete a single example of a unit's figure in order that I can check that I am happy with my colour choices and check for any potential problems before continuing with the rest of the unit's figures...
Indeed, I did come across a little issue, that being the outlining of detail that is base painted with dark colours. An example would be the outlining of the soldiers arms, normally I would outline in black but this just wouldn't show up very well against a dark blue. The solution - obviously enough - was to outline using a lighter version of the base colour, in this case a light blue.
In the above photo you will notice I had to outline (if that's really the appropriate term) the leg division line using a light blue. This is not a method that I am completely happy with and why I ended up changing the way I did the legs of my models.
Anyway, niggley bits out the way, it didn't take long to apply the final details and - finally - I added the facial features. Things like buttons and and eye-pupils were actually applied using acrylic pens.
This all leads to the varnishing. I continue to be a fan of the traditional glossy toy soldier and I think it actually helps produce a better looking peg figure. The application of a gloss layer smooths out some of the imperfections - rough textures - inherent in cheap mass-produced wooden pegs. If you look at the above picture you will notice a mottled texture on the Prussian soldier, the wood was particularly rough on this peg (so much so that even a fair amount of sanding could not get rid of it).
This is just part and parcel of using pegs for modelling, they are what they are. But varnishing helps alleviate most but the worse blemishes. And here's what we ended up with...
I'm pleased with the result and will crack on with the five remaining figures in this unit (plus the unit base). After that I have to decide which will be the next French regiment that I will model - I'm already had a lot of requests that I do a 'red trousered' infantry of the line! We shall see.


I do like your Mk2 redcoat, very reminiscent of the garrison of Pippin Fort.
ReplyDelete