As much as I would like to bang on with more of my shorter peg soldiers (really would like to do a 'regiment') I will adhere to my original plan and make a 'nutcracker' style soldier. In fact, these Christmas themed little decorations are the whole reason I got into the whole wooden toy soldier project in the first place.
As my kids get older (they are in their mid-20s now) it does get harder and harder to know just what to give them at Christmas, so I have been trying to come up with ideas for little gifts I can actually make for them. My youngest daughter is a real Christmas fan and loves all those little trimmings and touches that go into decorating the home at the festive season...And she particularly loves traditional Christmas nutcrackers...
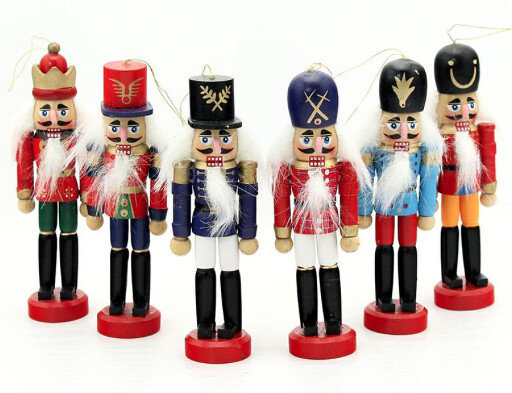
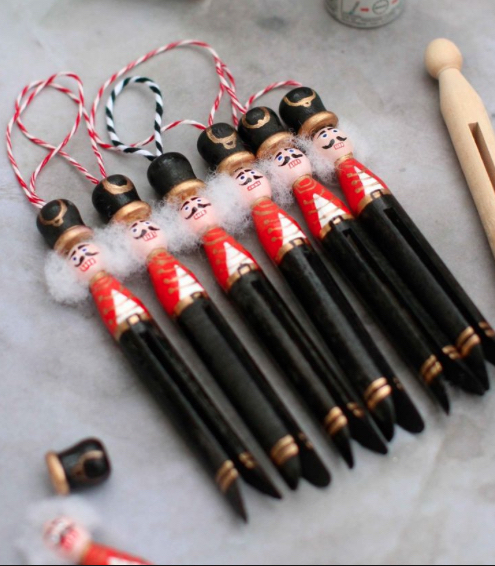
Now, obviously, I'm not ready to take on such an advanced woodworking project! But, I happened to see a few examples of some mini-nutcracker tree decorations and was really taken by these designs...
In this case, naturally, these models use the full dolly peg and have stylised long 'legs' and a body roughly the same height as the previous peg tests that I have done. These are very simplified models without even arms, but do have a 'hair' and a hat that contains the decoration string.
The mini-nutcrackers I reference above have a full tutorial that can be found here: Kate's Creative Space - Nutcracker Peg Doll Decorations
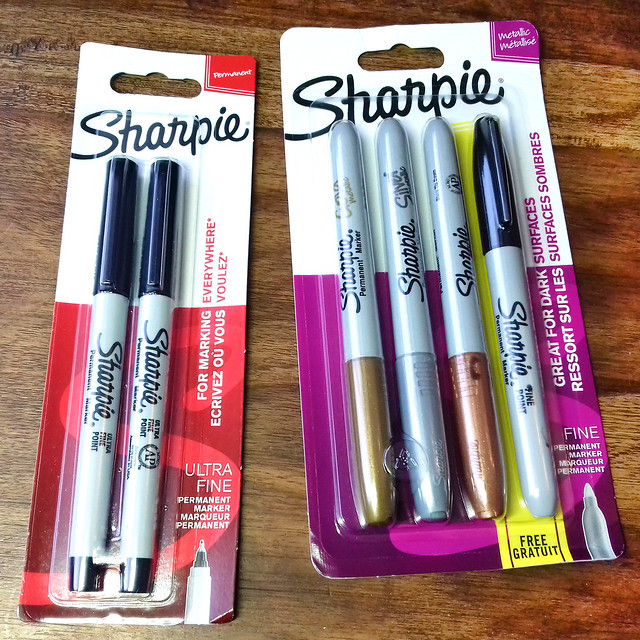
Although, these are not gaming figures they are useful practise for me as I still have to work out my painting process properly, particularly as I had some problems with the pens and the paints I have been using. The main snag was that I did not have proper permanent ink markers, well I have solved this issue now with the purchase of some thin-nibbed and metallic Sharpie pens...
Hopefully these will draw well over acrylic paints and not run if they come into contact with wet paint. The metallic will be useful for drawing fiddly details like buttons and buckles.
Making a Hat
While the tutorial I referenced make mention of small candle stick holders which it used for the peg doll's hats, I cannot seem to source these in the UK so I will have to come up with my own design for a hat.
I did have a look around for an alternative wooden items that I could use as a soldier's hat - and considered things like wooden beads - I am after very specific shapes ('busby' or bearskin type hats, and slightly more pointed Victorian 'home service' helmets, and finally soft hats like 'slouch' hats and kepis) so decided to use the same sort of approach that I used with my last test soldier and modify left over sections of cylindrical pegs. Now I have a circular sander I have some additional flexibility in creating my own wooden shapes...
And, as you can see, I have also been looking round for any other objects that I could use as headgear for my pegs. In this case, I found that the needle cover from my diabetic insulin 'pen' makes a rather natty top hat when cut down! :)
Which Peg?
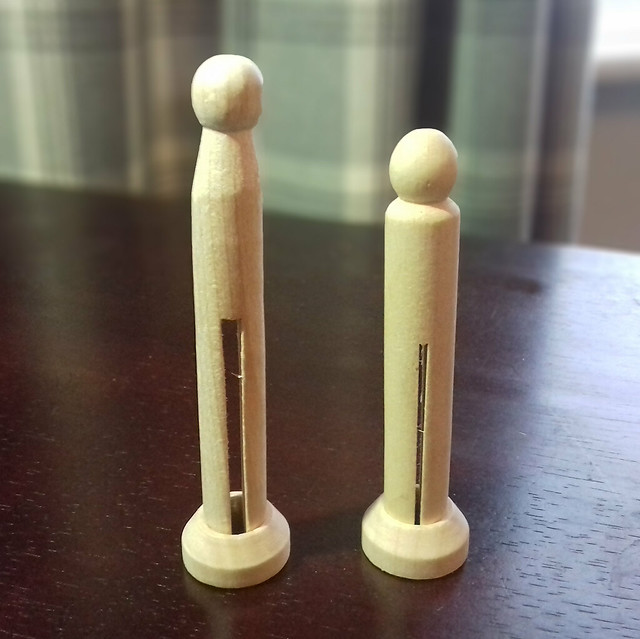
I have two different styles of the 'Dolly Peg'. A real peg, the 'body' of which is gently tapered, and a custom craft 'dolly peg' blank, which has a higher and more rounder 'shoulder'...
The nutcracker tutorial I found uses a real (tapered) peg, but I suppose the rounded shoulder version looks a little more like the real nutcracker wooden ornaments. I could mix and match, for variation, but I would have to shorten the real peg's legs somewhat to make both style of pegs the same height.
We shall see...
To get started I shall try out the tapered peg. So, it's back to the sander for a bit of a hair cut!
On my previous peg tests I had to saw off the top of the peg's 'head', laborious (with my small hand saw) and uneven work, but with my new sander I can flatten the head perfectly straight and with great ease. This now makes a lovely level platform for the hats I have made. I think I will try out the stylised 'busby'.
Now, bear in mind that this will be a Christmas tree decoration - to be hung from a branch - so I will have to attach a loop of wire or cord. The most secure way to do this may be to drill a small hole down through the centre of the hat through which I can thread the loop (knotted underneath for a security)...
Now, unfortunately, I do not have a drill press (yet) so I had to hand drill the hole through the wooden hat and hope that I had gotten it nice and straight through the middle. As it tuned out, I didn't do too bad a job...But a drill-press accessory for my Dremel multi-tool is top of next months pay-day shopping list!
All I have to do now if thread some of my festive thread through the hole and knot it underneath (and for extra strength I will probably add a drop of superglue). I'll colour the hole black before I do so with some ink, so the bare wood colour doesn't show once the busby is painted black later.
Down to the nitty-gritty...
Let's get started creating out soldier's uniform. I start this by doing some sketches on the bare peg. I want to work out how I am going to design the uniform while stretching the proportions to work with the exceptionally tall and thin peg body...
This is just my initial thinking. I'll need to re-sketch the final design onto the prime coated peg, but at this point I want to decide on how stretched - or shrunken - features will be. Do I make a very small body (and arms) in comparison to the very long legs? Or do I try and balance the features equally?
I'll probably erase and re-sketch this figure drawing several times before I settle on the final design!
Next: I paint my test nutcracker.


No comments:
Post a Comment