 |
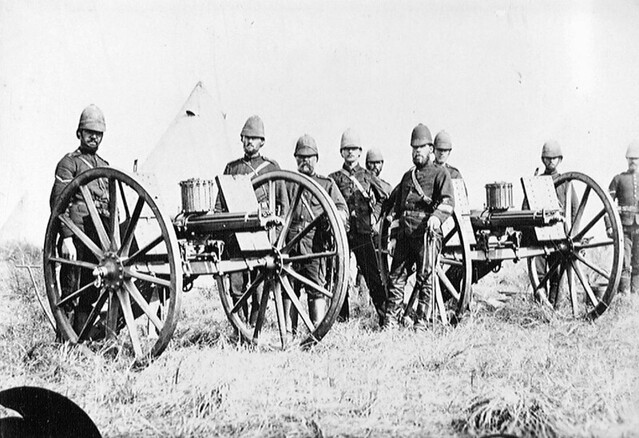
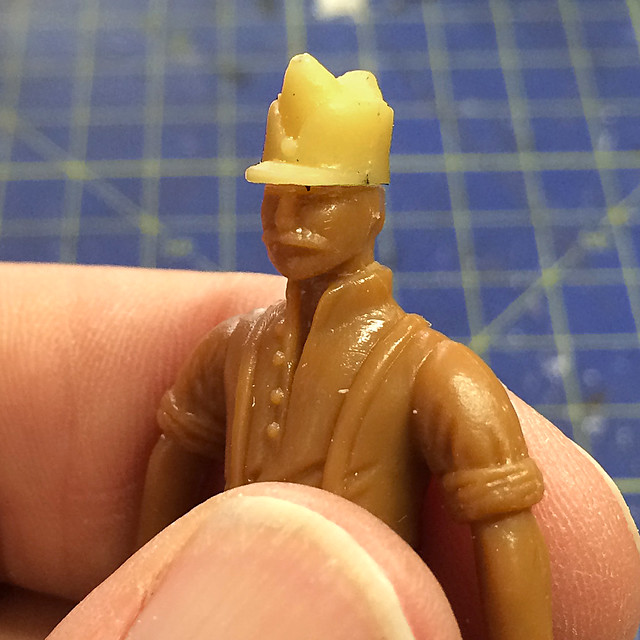
| A British Gatling Gun detachment using 'high capacity' Broadwell Drums, South Africa c.1879 These fine chaps are not in 'shirt sleeve' order but are the period templates for the AiP Gatling set. Turning them into 'Eastern Europeans' is my next challenge. Note the beards! Source: National Army Museum Copyright |
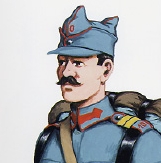
First I have to cut off the British pith helmet, but even this is easy as the soft plastic of the model works in my favour. All that's required is a sharp craft knife and a steady hand and off comes the top of the my soldier's head just above the eye-brows...
One small consideration is facial hair. At the moment the soldiers all sport a very neat and very British looking moustache! But my preference is for rather more elaborate whiskers and I also favour big bushy beards as the fashionable trend for the well dressed Molaterian!
As I mentioned, the capelas are already made - in resin - and I have a bag of donor heads ready to either transplant directly onto the necks of model hosts or I can cut off just the hat and pop that on a head, as I have described above...
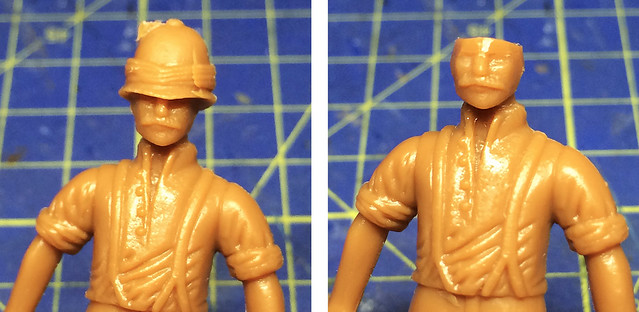
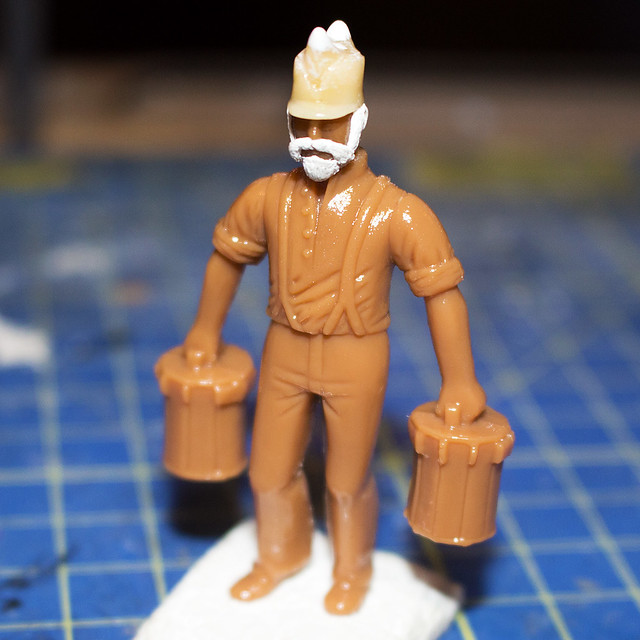
A little gruesome, but this Frankenstein approach is an easy and fun way of personalising commercial toy soldiers that even the beginners can employ. It's part of the FLW philosophy to 'do your own thing' and I really like the fact I can create my own mythology (if that's the right word) for my little army, with it's own traditions and fashions. It means that my army is completely unique from that of another FLW enthusiast's creation, even if we both use the same commercial soldiers. (And nobody can tell you that your design isn't historically correct!)
And now it's a straight forward mounting and painting job. The process I have adopted - for soft plastic figures - is to apply a couple of coats of spray varnish onto the bare model before adding a colour priming coat. This helps stiffen the plastic, which is particularly important with riflemen, where soft plastic guns are notorious for bending.
Note: It should be remembered that if your soft plastic soldier does come out the box with a bent part (oh er, Matron!) that this can usually be remedied by immersing the part in very hot water for a short time and then pulling the part back into shape. You then quickly dunk the part into cold water, which 'sets' the new shape, and re-hardens the plastic molecules.
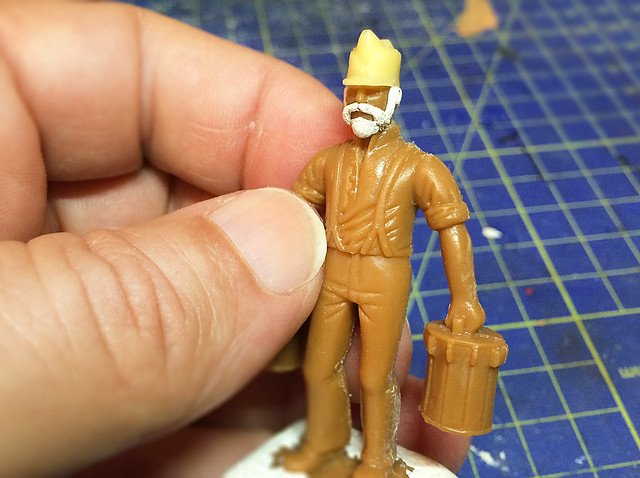 |
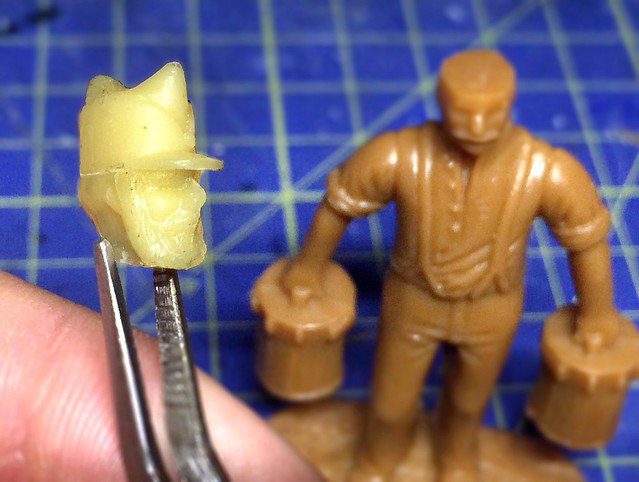
| A nice big bushy beard! Nothing say 19th Century more than a extravagant display of facial whiskers...On a man of course, otherwise that just says 'carnival'! |
Having allowed the varnish a good amount of time to dry properly you can then add the colour priming coat of paint. Colour choice for primer vary but as my Molatarians are rather brightly coloured little chaps I prefer to start with a white primer - usually Hycote Matt White aerosol - as that makes primary colours 'pop'. It can be a little tricky painting dark colours onto white as you may have to apply a couple of coats to ensure opaqueness but it's worth it.
 |
| Hard to tell but the figure has now had two good coats of acrylic gloss varnish. This not only helps stiffen the soft plastic but also somewhat smooths out some of the rough edges. |
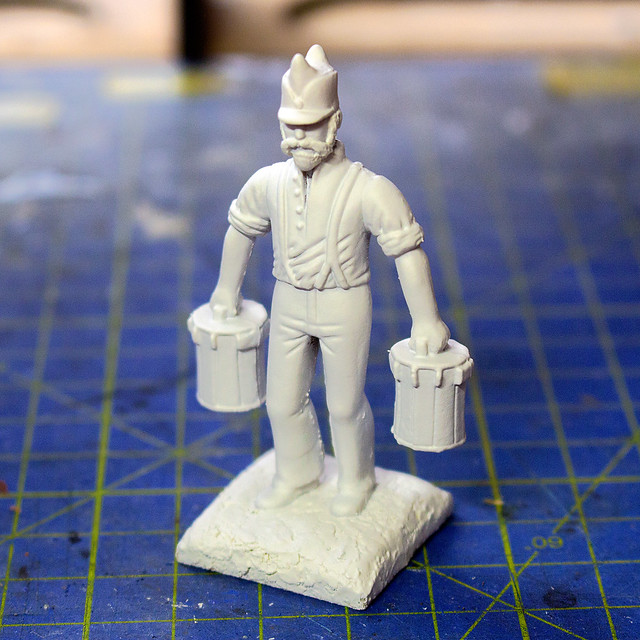 |
| The white primer applied we now have a nice bright canvas onto which we can apply the colour coats. |
And now your little soldier is ready for painting. I'll pause here, as I'm chomping at the bit to make the same amount of progress with the Gatling Gun piece.
Next: Tamiya paints (it's like painting with treacle)!
Excellent conversion work I say!
ReplyDelete