Showing posts with label 42mm. Show all posts

Thursday, 5 July 2018

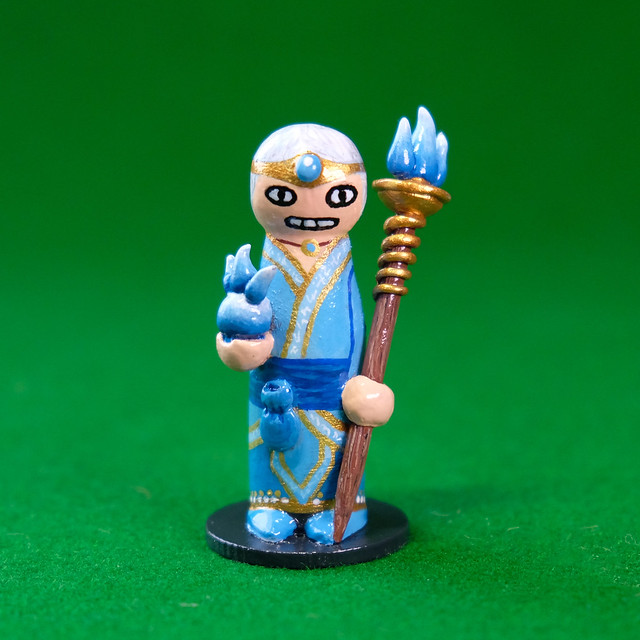
Peg D&D Adventurers - Part One

This was fun and a bit of a departure from 19th/20th century soldiers, but it's been an interesting experiment and I've learned a few things.


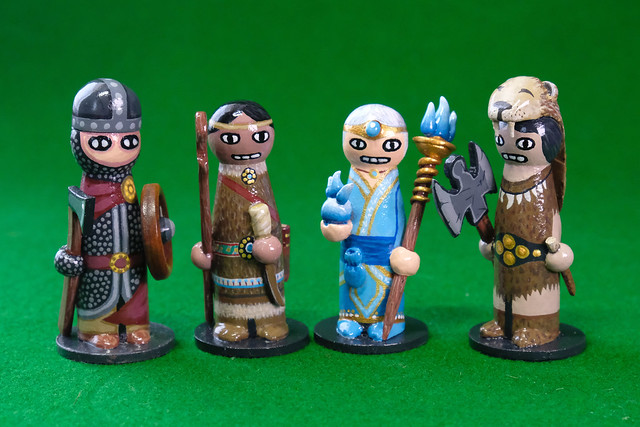
This is the first half of a peg figure set depicting my D&D adventuring group, including; a Warrior, a Druid, a Blue Wizard and a Barbarian.

They are just novelty ornaments really, as at 42mm scale (approx) they wouldn't look right as game miniatures...Unless I made a huge collection of other D&D beasts to go with them! (That's a no, btw!) :D


The Blue Wizard and Barbarian are my newest completions and like all experiments there are things I like and were somewhat successful and things I don't like and were not so successful. My 3D accessories are starting to get a bit more elaborate, as is my painting of textures - but I've tried to keep everything within my desired 'cartoon' look for these figures.


I still have two more player characters to do and I plan to do a DM figure too as I don't want him to fell left out (particularly as he's the one who has been doing the most work in creating our current adventure which I shall entitle 'Massacre at Sleepy Bay'). :)

Sunday, 1 July 2018

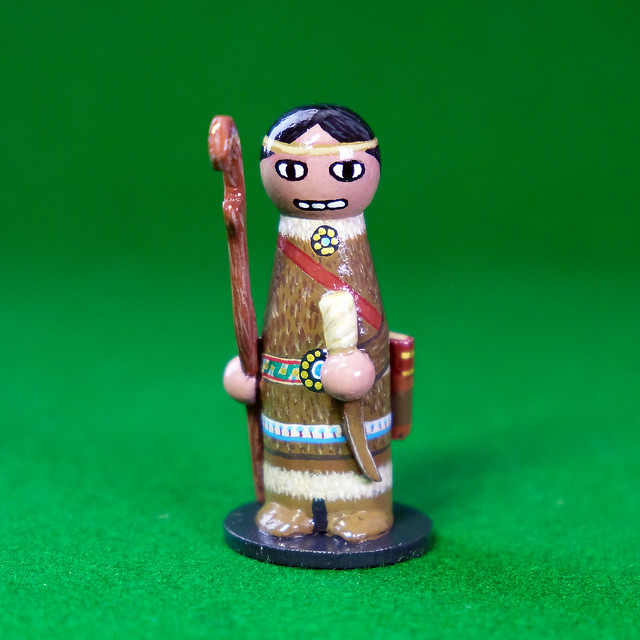
Peg D&D Druid Completed

Well, another figure off the production line. I'm really pleased with the new Posca Paint Pens, they did - indeed - work fine with my normal spray lacquer without any bleeding whatsoever. Win!


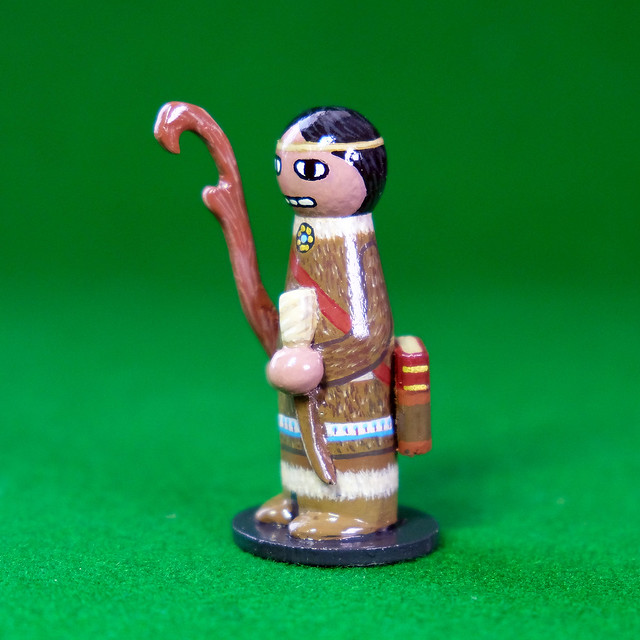
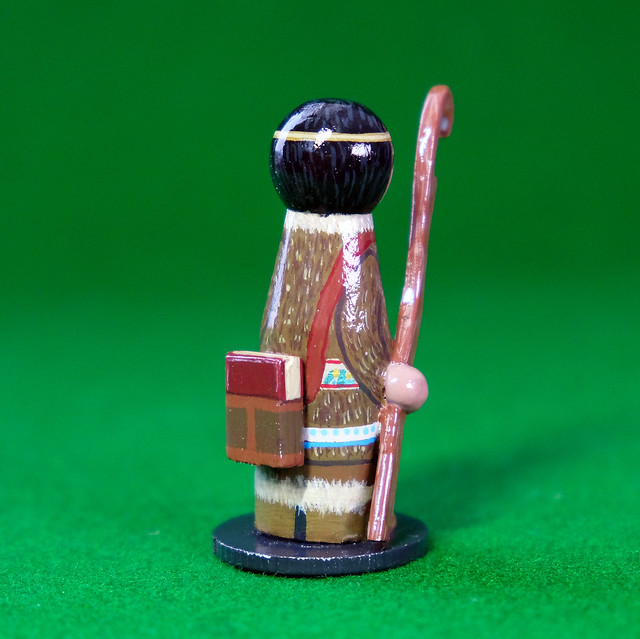
This was an interesting little project to do as - because these were bespoke custom characters for individual D&D players - each figure in this series will have very specific features and accessories and aren't quite as simplistic as the other peg figures that I have done so far.

In this case, the addition of a fur effect paint job, a magik tome, and - which turned out to be the trickiest bit - a Native American skin tone. The skin tone took me three attempts before  I was happy with it.

I have four more characters in this series to do for the rest of our adventuring group; a barbarian warrior (me), a wizard, and (female) thief and a novice (female) druid. I only highlight 'female' as I have to figure out what stylistic shorthand I might use to denote a specific gender (another first for me).

Again, all this seems a little 'off topic' for this - supposedly - FLW Molatero themed blog BUT this is all much needed practise before I embark on a set of Molatarian peg figures. I want to have nailed this peg figure format before I start on these.

Tuesday, 29 May 2018

Peg Horse, Final Hurdle

Sorry, this is yet another post about my peg horse tinkering. But, I still wasn't happy. I had two main gripes; the shape of the horses head and (still) the rider's legs.

Getting Ahead...
OK. I know I wanted 'simple' but I think I was setting my bar a little too low. My first few peg horse prototypes had a very unsatisfactory head shape...I just couldn't seem to capture an equine profile, but  I couldn't put my finger on why it wasn't looking right.

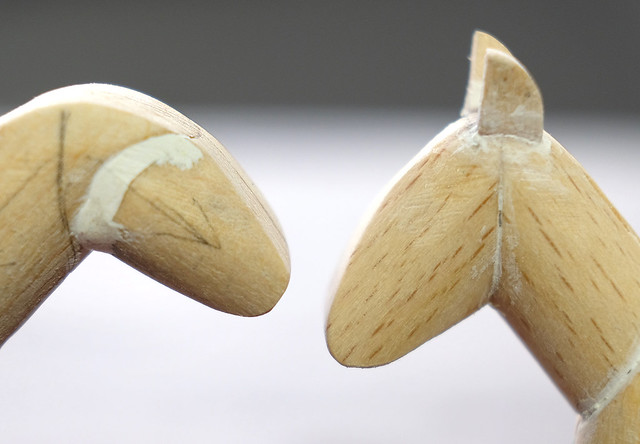
Finally, it clicked...Ears.

Left: My 4th prototype. Right: 5th Prototype, with ears.
An obvious omission it may have been, but I was trying not to add additional features to my peg figures. My peg soldiers have no facial features and I thought that I should carry this on with their horses. Wrong.

My first few horses looked more like the Loch Ness monster! And apart from the lack of ears I also had the angle of the horses neck wrong and I rectified this as well in my 5th prototype (I made the neck more upright and the head slightly more downward looking).

Construction Simplified
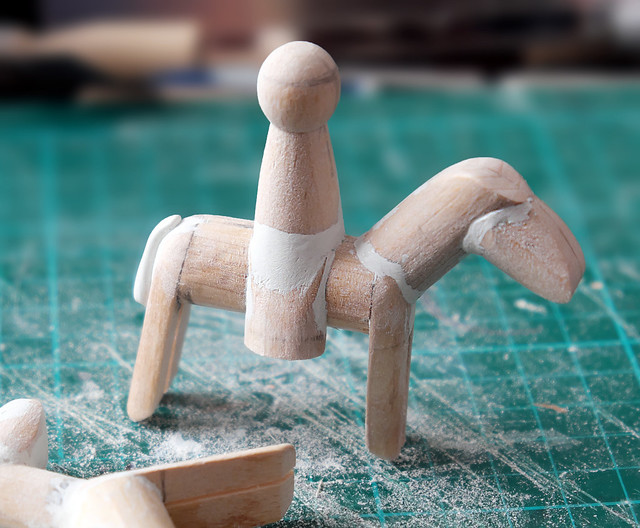
While my horse and rider's 'look' was too simple in the end, their construction remained a little too convoluted. This was particularly true with my previous attempt at modelling the peg horseman's legs, for although they looked OK I had to use a lot of Milliput to complete the figure.

In the end, the overall look of my 4th prototype was that it had far too much putty holding all the joins together and fill all the gaps in my badly measured joints. So, I thought I'd have one final go, this time simplifying the cutting of the joints entailing (hopefully) less filler...

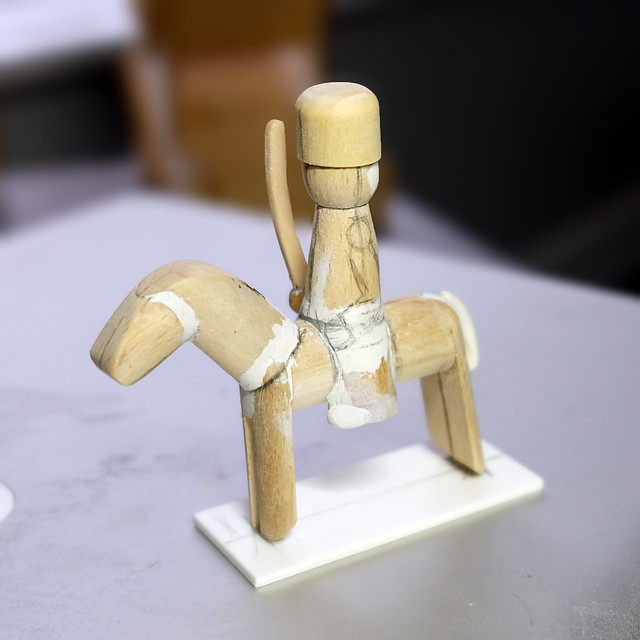
I decided to have a go at finishing the model as a Prussian Uhlan (lancer).

The main change was the way I chose to model the rider's legs as I went for a very stylised look. Rather than sculpting a (relatively) 'realistic' form of a seated rider I broke the peg figure into two with the idea of re-joining the separate parts by painting in 'missing' upper-legs.

In Conclusion
I'm much happier with the outcome of this final prototype, having toned out al the annoying bugs to my satisfaction. So, I'll have a go at painting the model now, just to check that my bisected body ploy works!

After that, I should be able to crack on with my first peg cavalry unit.

Wednesday, 23 May 2018

Quickie...Huzzah!

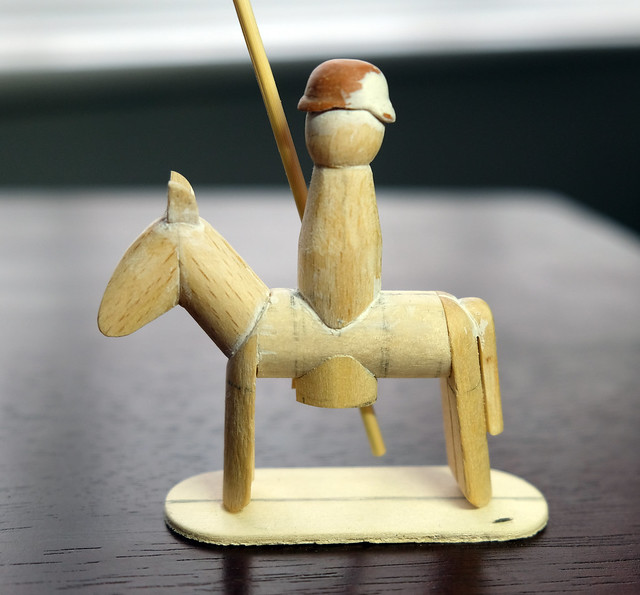
Just completed my fourth peg horseman prototype (it's slowly getting there) and I was pleased enough with it - although it's still not perfect - to take this model to a near finished state. I decided to make a 'hussar', not any particular historic regiment but rather just a generic cavalryman...


I don't think I will go as far as painting this because I want to use this model as a template from which I will make - what will hopefully be - my final models, using the dimensions and cutting angles I have established here.

Still, doesn't look too bad.

Tuesday, 22 May 2018

Horsing Around...Again!

Still not happy with my horse design. I think what it is is that I'm trying to go for a more realistic look which is still recognisably a 'peg' toy. Funny enough, a straight forward 'toy town' toy horse would be easier to make as I'd just go for a rocking horse design or similar, but because I am going for something half way between 'toy' and 'realistic' it seems harder to pull off.


What's happening is that instead of a model that's just a few wooden components glued together I'm starting to have to add more and more Milliput putty in order to make the design work. I'm also having to saw, sand and carve more complicated shapes out of the pegs to get the components I want and to make these components fit. (But, most of all it's the amount of putty I'm having to use that bothers me.)


I really - originally - wanted something that just went together out of a few simple components, but now it's turning into more of a real modelling or sculpting job. Maybe I'm just being too critical tough, as - in the end - it's the final look that matters.

I think what I will do is to paint this one up to see how it fits in with my painted peg soldiers.

Saturday, 21 April 2018

French 'Chasseurs à pied', 1870 - Part 2

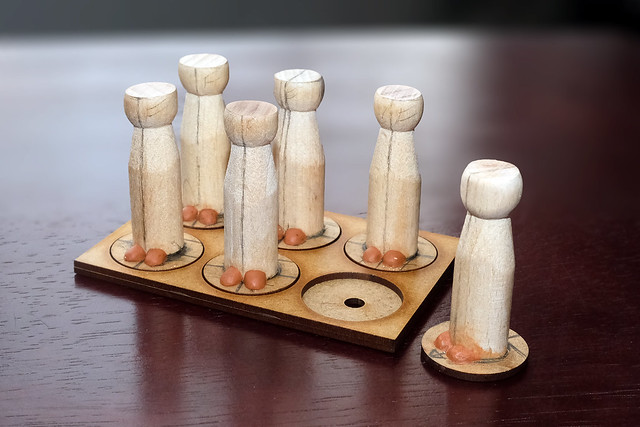
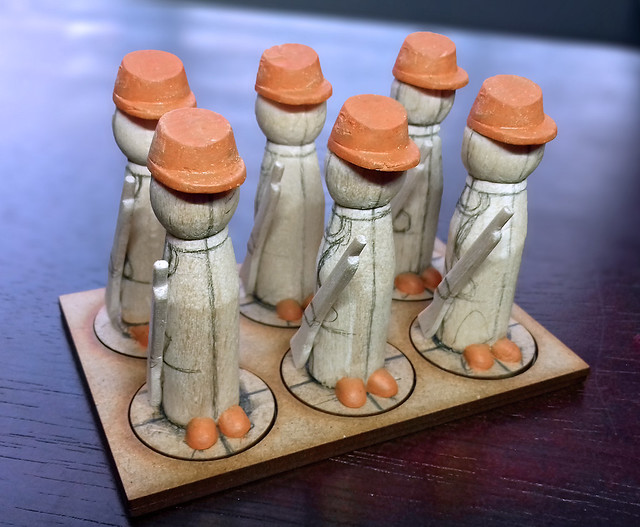
Cracking on with my first unit of peg soldiers, I've added the feet and the bases and it's nice to get an idea of what whole troop of peg soldiers might look like...


Next job was the headgear - the kepi - and I've managed to cast six copies of my original model of the hat. It's taken a few days due to the slow hardening time of the Milliput putty I have used to mould the hats...


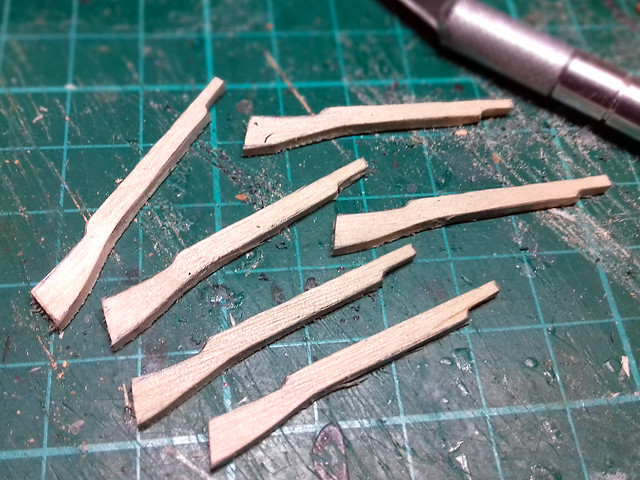
The other accoutrement for my toy soldier is the rifle. Its a stylised model gun and not really a reproduction of the actual French rifle of the time (1870), the breech-loading Chassepot. My model is more 'pop-gun' than military weapon, in keeping wth the toy soldier theme...


I don't have to be too precise, a rough rifle-like shape is good enough. Also, keeping it simple means it's easier to cut these shapes quickly out of the lolly sticks. All they need is a very quick sand with wet & dry just to take the rough edges off and round off some of the corners.

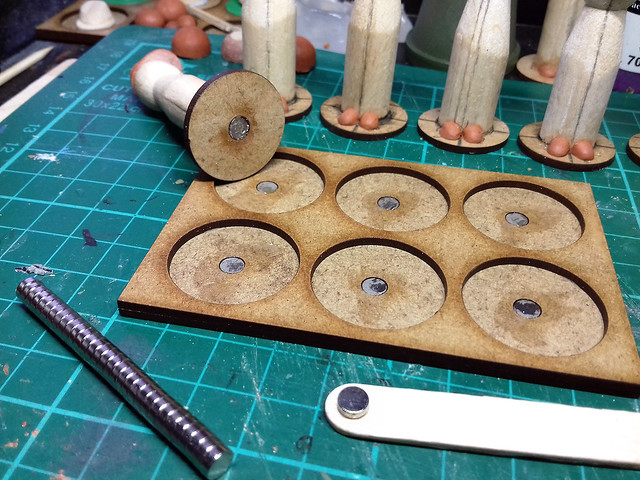
The final component of these peg soldiers is the magnets. As these are for wargaming and will constitute a complete unit of infantry I really wanted to try them out in combination with a unit tray to make moving them about as a consolidated piece easier. And to ensure that figures don't fall over during the process of moving the unit I also decided to magnetise the figures so that they would 'stick' to the unit tray...

Adding the small magnets to my unit tray and to the bottom of my peg
soldiers. The lolly stick with attached magnet is a trick I picked up from
a guy called Herbert Erpaderp and it helps to ensure I mount all my magnets
with the correct polarity.
And that's the construction complete. This is the beauty of the peg-soldier format, it's a wonderfully simple model to make, particularly the streamlined and uncluttered version I've settled on.

I'm still not completely happy with the way I'm doing 'feet' - all individually hand-made with Milliput - I'd like a 'prefabricated' option for the boots. This maybe something else I can cast and then simply stick on. I will have to experiment.

That small niggle aside (it's still a learning experience for me) It's really exciting to have completed my very first peg soldier 'regiment'. Ranks of toy soldiers look terrific and really give me a buzz both as a display piece and as a wargaming item...


And that's the construction phase. A few minor niggles - which I hope to iron out with practise - but in the main I'm pleased with the Chasseurs so far. The next challenge, though, will be the painting.

Wednesday, 18 April 2018

French 'Chasseurs à pied', 1870 - Part 1

This is very exciting for me. It's not only a chance to really get back into making Victorian/Edwardian era 'toy soldiers' but it should be a relatively quick project in which I produce a full French 'regiment' in one go!
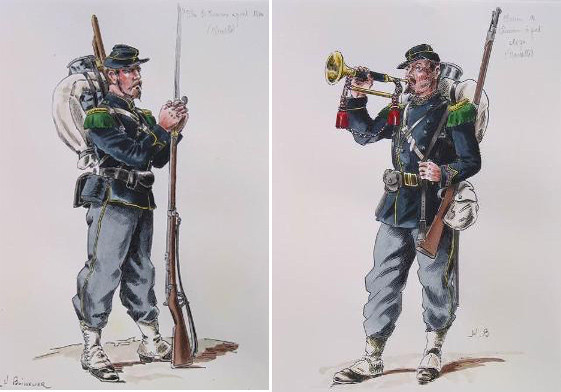
The French Light Rifle Infantry - Chasseurs - circa 1870. The inspiration
for my first 'peg regiment'.
Of course, the trick to this is that - under the 'Portable Wargame' rules that I am using as a guide - I only have to make six figures to represent a 'regiment'.
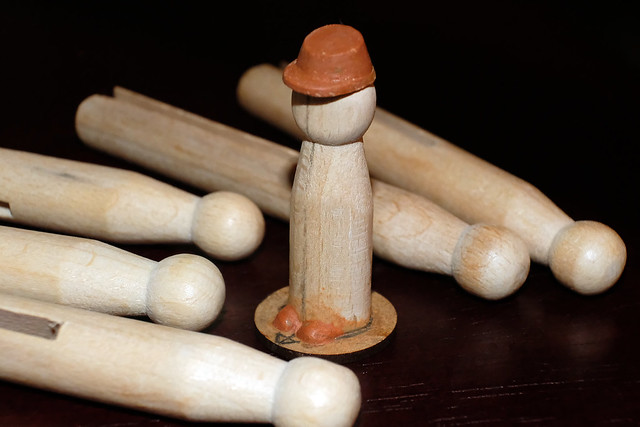
A late evening start to my project. I assemble five additional pegs and
begin to sketch out the cutting and sanding dimensions on them
with a pencil.

Having already started my prototype peg-soldier for this project I begin by preparing the other five 'dolly pegs' to make my formation. These traditional beechwood pegs need to be trimmed down to the 42mm scale figures that I am using for this job.
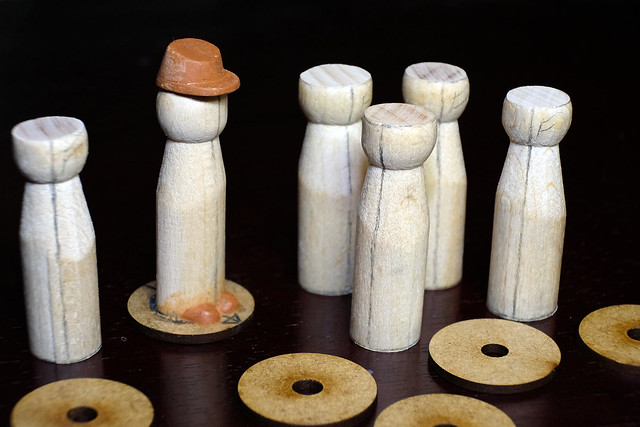
Pegs prepped and ready to mount on their bases.
The 'Chasseurs à pied' of the Franco-Prussian War
Just a quick overview about the French troop type I'm making. From what I understand, the title 'Chasseurs' translates into something like 'hunters'. They were light infantry (and also occassionally mounted units) that were the rapid response force of their day.
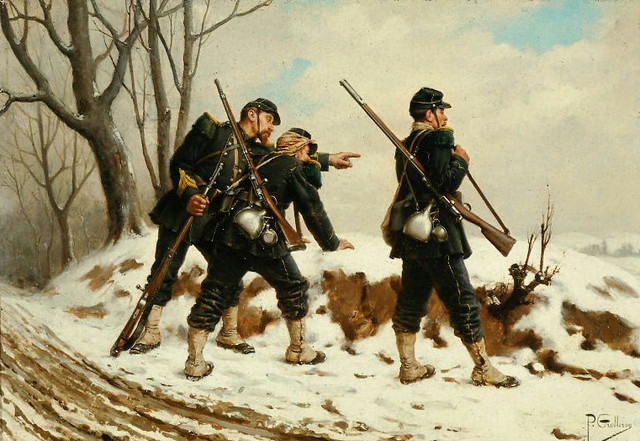
French Chasseurs à pied in the snow. 
...As such I suppose they are the equivalent of the German Jäger (which also translates into 'hunter') and were intended to act as skirmishers, scouts and sharpshooters.

What attracted me to them was that they fielded a uniform that was a lot more subdued than the usual - flamboyant - French infantry get-ups of the day. Historically, the distinctive colour of this sort of light rifle regiment is dark green (as with the German Jäger or British Royal Green Jackets) and the unit insignia is the hunting horn. But the French Chasseurs were dressed mainly in a very dark blue, although they sported dark green epaulettes and wore the hunting horn on their kepi.

Designing the Peg Uniform
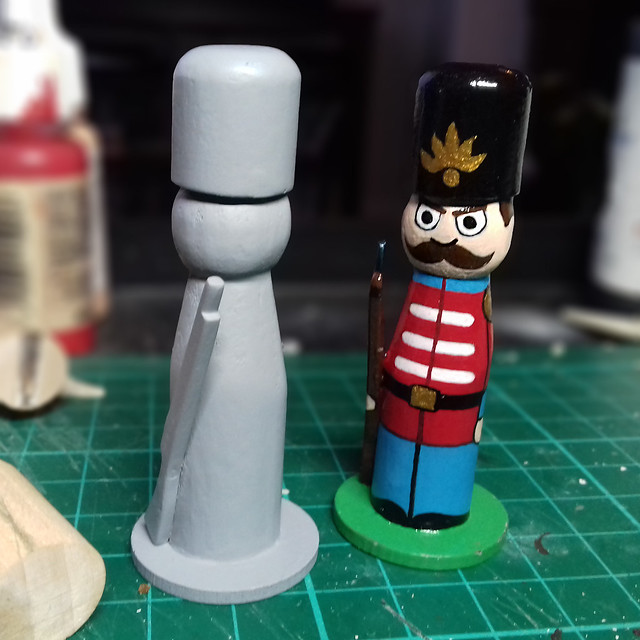
Obviously, my peg-soldiers are highly simplified caricatures and not historic figurines. I don't want to clutter and embellish the 'peg doll' idea so I have to streamline uniform designs to fit in with this format. Things like backpacks and webbing gear, water bottles and other military accoutrements are ditched in favour of the 'toy soldier' look...


The only thing I was a bit unsure about was whether the trousers should be slightly lighter blue as the various pictorial reference I have found seems a little contradictory about this (compare the two contemporary illustrations I have included at the top of this post). Otherwise, I'm quite happy with this look, I just have to find comparable Vallejo acrylic paints in my collection.

Well, that's it for now, I have a lot of basic construction to do - not least the addition of the kepi hats that I am currently casting - before I start to think about painting. I also have six little rifles to make out of wooden lolly sticks! :)
Thursday, 15 March 2018

First Commission - Peg Grenadier

Funny things just happen sometimes. No sooner had I started my latest toy soldier efforts than I had a request to make one up specially on commission.

I was asked to reproduce my initial '42mm' peg Grenadier...So, off we go again! :)


Reproducing an exact copy of one of these peg soldiers does highlight some interesting issues which should be given some consideration, especially if you intend to make a miniature army.

Take the rifles, for example. For an 'army' I will have to make exact copies of the simplified rifle shape so I will have to come up with a easy way to replicate these shapes. Initially, for my prototype, I carved the rifle out of a wooden lolli stick and I don't fancy doing that every time (and that's not the only part I will have to duplicate; there's the hats as well).

Hhhhhmmmmmm...

Anyway, on with the 'job'! LOL (Really flattered somebody likes my stuff!)

Saturday, 21 September 2013

The art of toy soldiers in 42mm

There is a certain aesthetic that I imagine when I hear the term 'toy soldier' Funnily enough it's not the toys that I remember from when I was a child - predominantly Airfix or Timpo - but instead in my mind I harken back to a more earlier time of little tin men. Strange as I am not old enough to remember those day - although my father was.

Today I was doing my rounds of various FLW blogs when I came across a wonderful little picture - on the very enjoyable  'ARMY RED/WHITE AND OTHERS...' blog - which perfectly matched my perception of what a toy soldier should look like...


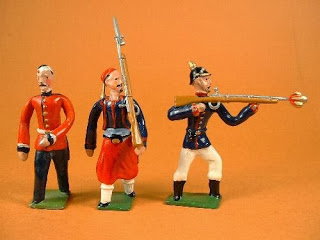
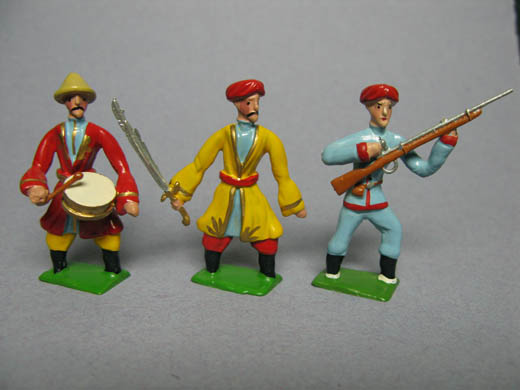
These beautiful little figures are from the 42mm Deutsche Homage range which are available from Irregular Miniatures. I think they are fantastic and really exemplify an antique toy soldier look. Here's some more examples...

These are gorgeous!


If only these were available in 54mm I would be over the moon (I am being strict with myself and am not lashing out on another scale format).

I would be overjoyed if my scratch build soldiers eventually turn out this charming. A big thank you to Tradgardmastare for highlighting the availability of these miniatures.