France 4 - Argentina 3....What a game!
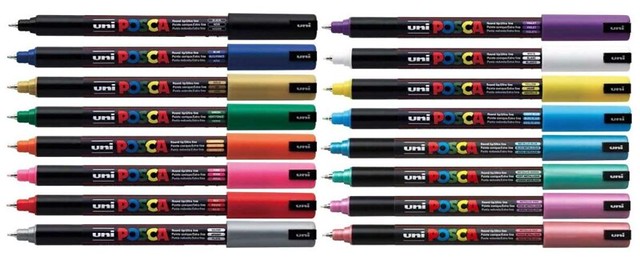
Anyway, that's what I was watching while doing some relaxing painting. But, I was equally excited about the new set of Posca Ultra-Fine Paint Pens I recieved this afternoon...
Quite a nice set of colours (including some metalics), though at £28 it should be. My only complaint - and I didn't notice this until they arrived - is that there isn't a nice brown. This is a pity as a chestnut or mud brown would have been really useful for the figure I'm working on...
The pens will be great for outlining and drawing in small detail on my figures. I seem to find it easier to draw on straight lines and dots with a pen rather than a brush.
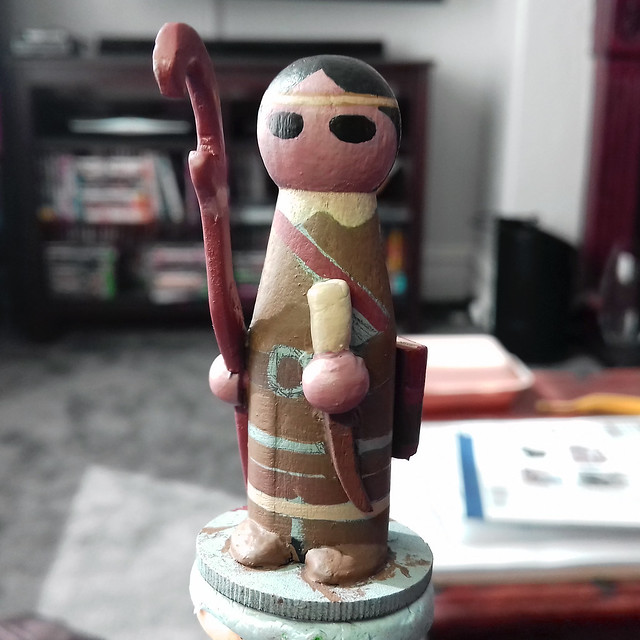
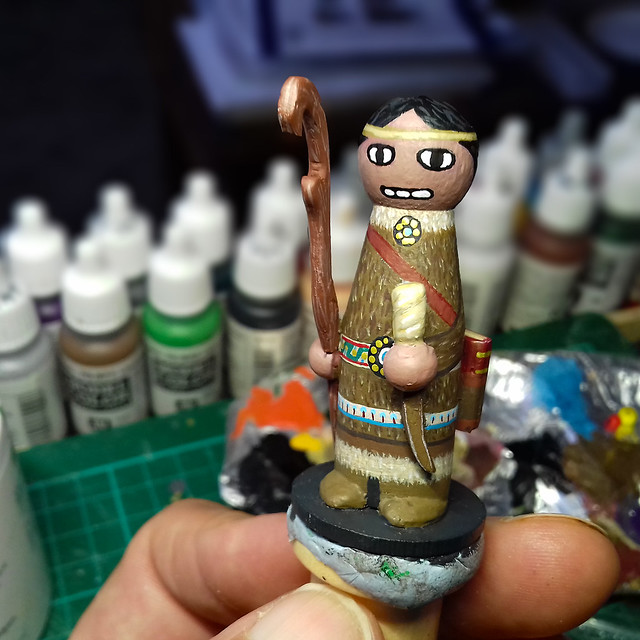
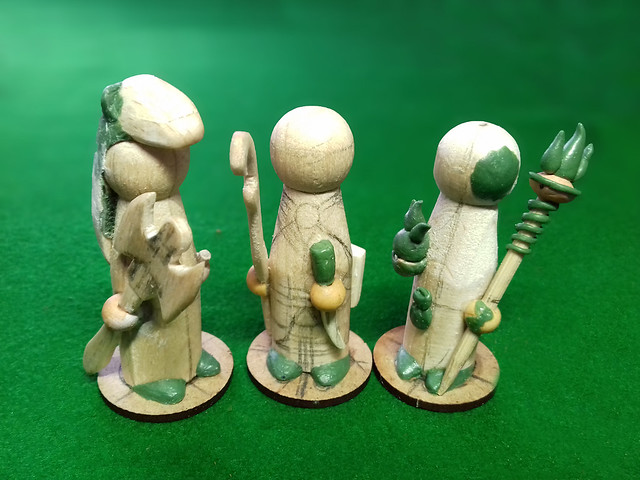
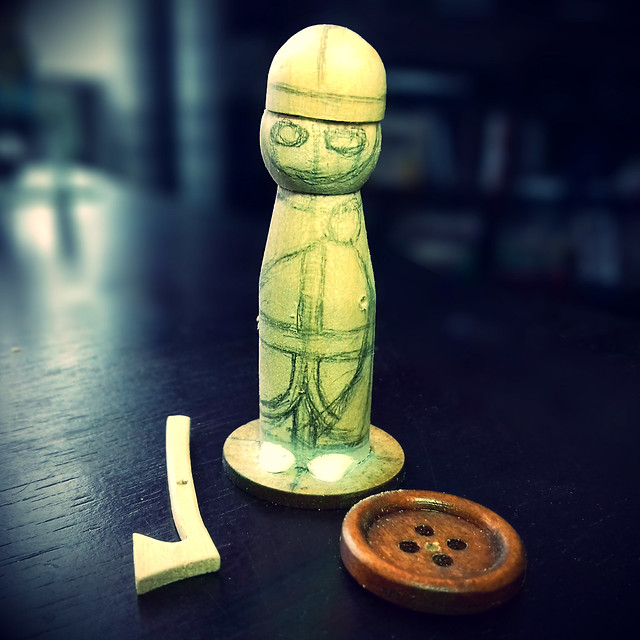
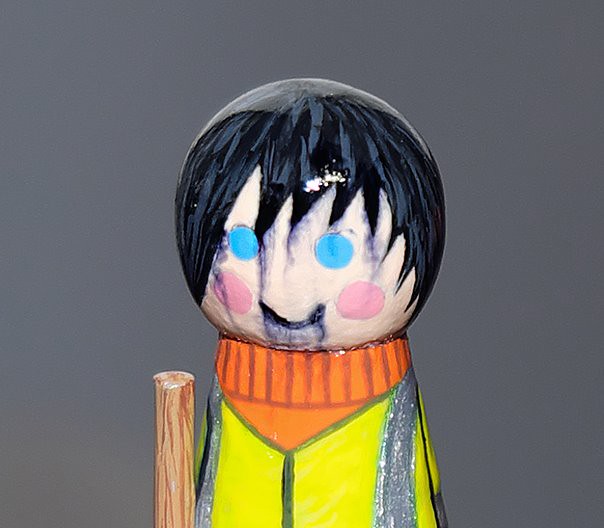
My figure is one of the set of D&D adventurers that I making for my role playing group. It's a druid of Native American or Inuit influence and stylistically is - again - modelled on those on the Wooden Warriors blog.
It's a bit of a departure and a little more detailed than my usual peg figures. The player I am making this figure for wanted me to highlight that the character was wearing furs, so that was a something a bit different...
Well, it not perhaps the most convincing fur, but overall I was faily please with how the figure turned out. The big question now is, will the Posca details stand up to glossing? Yeah, I know I have already done a test, but as this is a actual live model you do tend to worry!
We shall see.
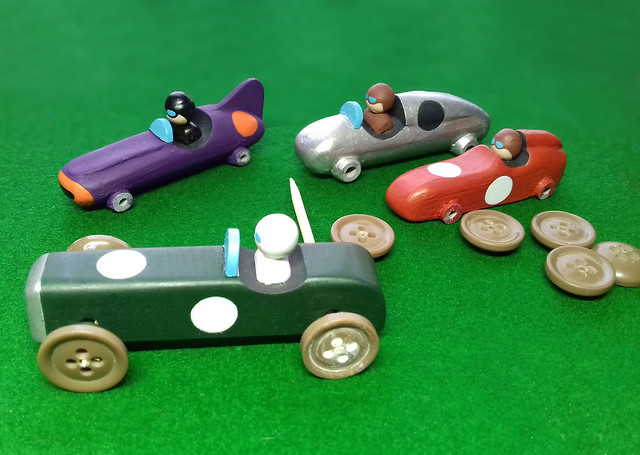
Anyway, the other small job I got done today - between cheering on France - was making the wheels for my little peg racers...
Being the Ethereal Embassy for the Kingdom of Molatero and it's participation in the Funny Little Wars
Saturday, 30 June 2018
Thursday, 28 June 2018
Thursday Update - D&D and Racers.
The soldiers are on the back burner at the moment while I fiddle about with a few practise models. I'm still learning about the best techniques for painting on wood and stylising the designs. So, I'm not giving these little diversions their own specific post, just these updates...
D&D Adventurers
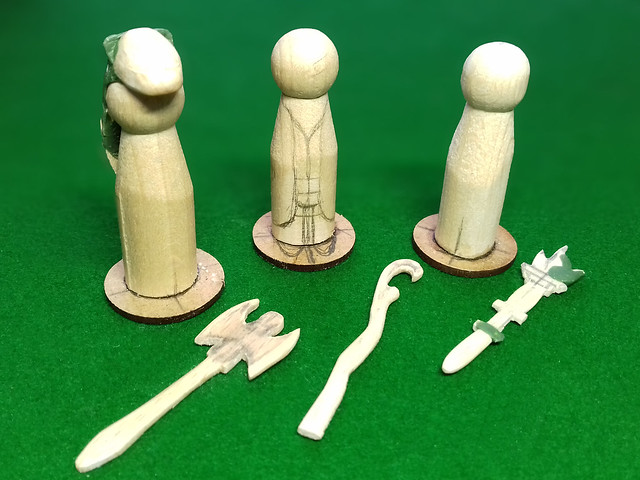
These are a fun little side-line, they are for my D&D group. Just a little something so that we can visualise our characters a little better. The figures are a barbarian warrior (me), a druid and a fireball throwing wizard!
With these I tried out 'Green Stuff' putty for the first time (instead of my usual Milliput). It's a little easier to mould than Milliput - which is a little softer until it starts hardening - and easier to mix in the right proportion (like Lilliput, it's a two-part putty)...
Unlike my other peg figures I added a few more accessories and created some items using the Green Stuff. It seemed appropriate to customise the figures to look more like the player's characters.
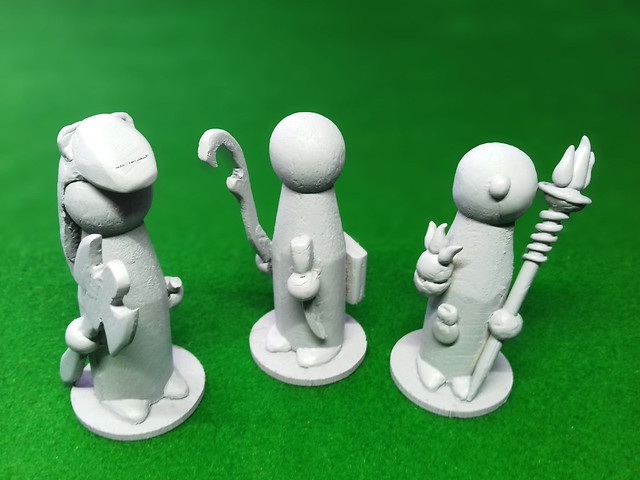
I'm sticking to grey primer - rather than white - though there isn't really any great advantage as far as I can tell. I just prefer it - though it is a little easier to photograph.
The next stage will be for me to sketch in the clothing and features ready for painting.
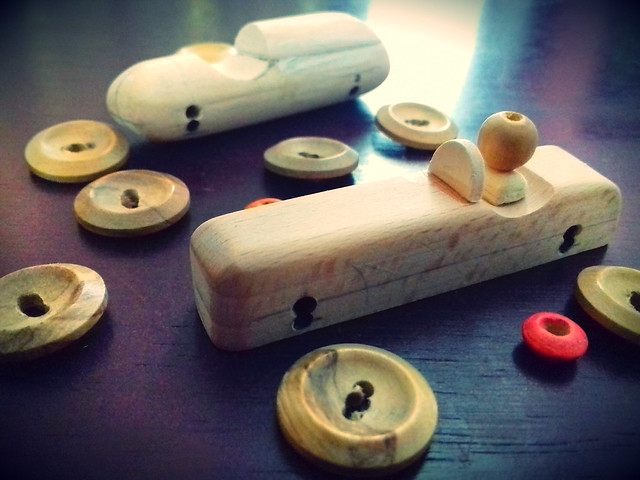
Peg Racers
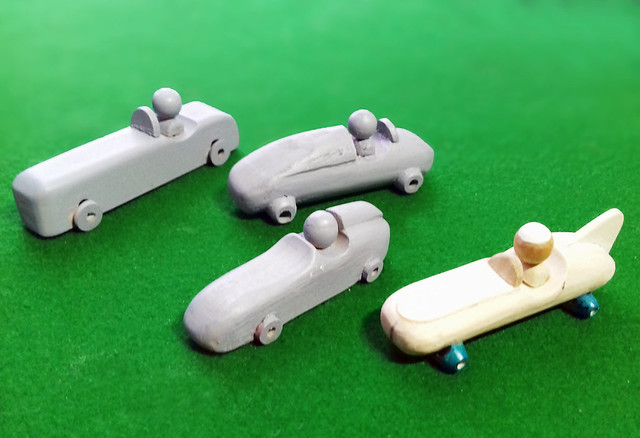
The other little job I'm tinkering with is my little set of 1930's style toy racing cars. Just a bit of fun, but also a useful learning experience. I'm interested to see what I can make from wood.
I'm keeping the construction and painting very simple.
Well, that's it for now - I'm sorting out my backlog of soldiers to see what I should finish off first. All this practise if building up my confidence.
Wednesday, 27 June 2018
Production Post - Paint Pens
I didn't know there was such a thing as 'paint pens', but there is!
Why this is of relevance to me and my figure painting is that you may remember the problems I had when I tried out 'permanent markers' for drawing on fine detail. The issue seemed to be the type of varnish I prefer to use for glossing my soldiers, it's an aerosol spray which I believe contains a propellant which contains some form of spirit...The result was that my pen ink lines bled! :(
Anyway, I happened to be talking to a fellow 'creative' (who also paints on wood) and she used a brand of pen called Posca and suggested that I give them a try. I was skeptical, but painting on fine lines on my peg figures by brush is such a pain - especially as I'm getting older and my line painting is getting wobbly - that I thought it was worth a punt.
The slight downside is that the Posca pens are a wee bit expensive (£2.99 a pop) but in for a penny in for a pound, so I painted up a test piece of wood...
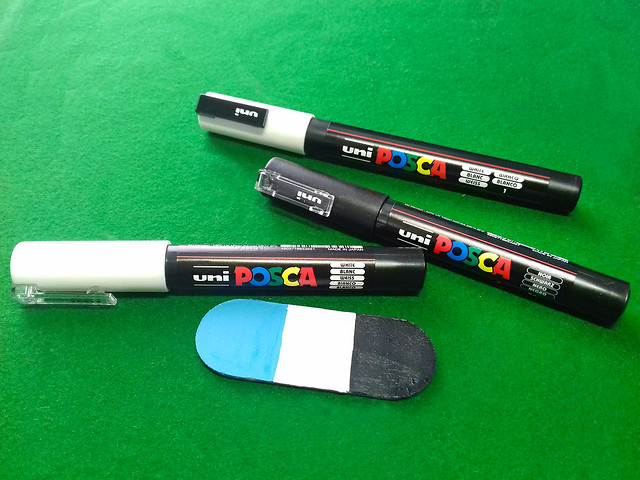
I managed to afford two 'extra-fine' nibbed pens (a black and a white) and a 'fine' white as well. White is quite important for contrast outlining on dark colours, but pens are also great for doing dots!
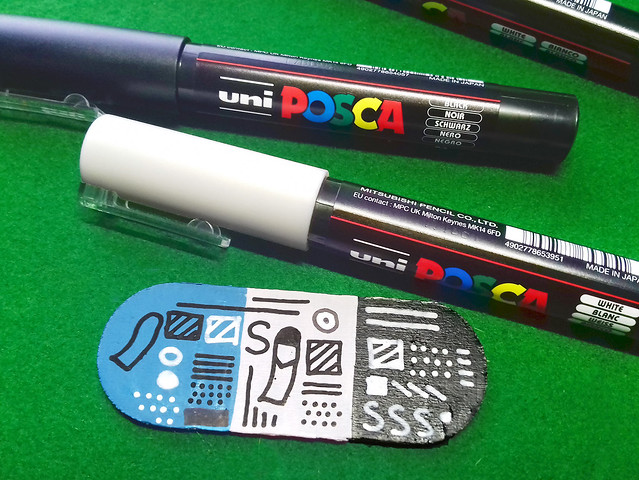
For a test, I just scribbled some lines and squiggles (and dots) on the board...
And now the tense bit...The varnishing.
I should explain, I do like using aerosol lacquer as it give a nice smooth thin and even coat. However, there is a downside - apart from this pen problem - and that is spraying is a little wasteful as about half your spray doesn't hit your model and ends up in the back of your spray booth.
There is a forthcoming test using some brush on varnish, but liquid varnish has it's own drawbacks. We shall see.
But, in the meantime, my spray test had me holding my breath as I sprayed...
No bleed! Very good news.
Were I picky (and I am) I would say that the lines aren't quite as opaque as using normal acrylic paint with a brush - the black looks a little faded - but this is a minor point compared to the convenience of drawing lines with a pen.
Now, I think I should try out a these pens on a live project and I think I have the ideal model for trying them out on!
Why this is of relevance to me and my figure painting is that you may remember the problems I had when I tried out 'permanent markers' for drawing on fine detail. The issue seemed to be the type of varnish I prefer to use for glossing my soldiers, it's an aerosol spray which I believe contains a propellant which contains some form of spirit...The result was that my pen ink lines bled! :(
 |
| The result of using 'permanent' ink pens in combination with my usual spray on gloss lacquer. |
Anyway, I happened to be talking to a fellow 'creative' (who also paints on wood) and she used a brand of pen called Posca and suggested that I give them a try. I was skeptical, but painting on fine lines on my peg figures by brush is such a pain - especially as I'm getting older and my line painting is getting wobbly - that I thought it was worth a punt.
The slight downside is that the Posca pens are a wee bit expensive (£2.99 a pop) but in for a penny in for a pound, so I painted up a test piece of wood...
I managed to afford two 'extra-fine' nibbed pens (a black and a white) and a 'fine' white as well. White is quite important for contrast outlining on dark colours, but pens are also great for doing dots!
For a test, I just scribbled some lines and squiggles (and dots) on the board...
And now the tense bit...The varnishing.
I should explain, I do like using aerosol lacquer as it give a nice smooth thin and even coat. However, there is a downside - apart from this pen problem - and that is spraying is a little wasteful as about half your spray doesn't hit your model and ends up in the back of your spray booth.
There is a forthcoming test using some brush on varnish, but liquid varnish has it's own drawbacks. We shall see.
But, in the meantime, my spray test had me holding my breath as I sprayed...
No bleed! Very good news.
Were I picky (and I am) I would say that the lines aren't quite as opaque as using normal acrylic paint with a brush - the black looks a little faded - but this is a minor point compared to the convenience of drawing lines with a pen.
Now, I think I should try out a these pens on a live project and I think I have the ideal model for trying them out on!
Monday, 25 June 2018
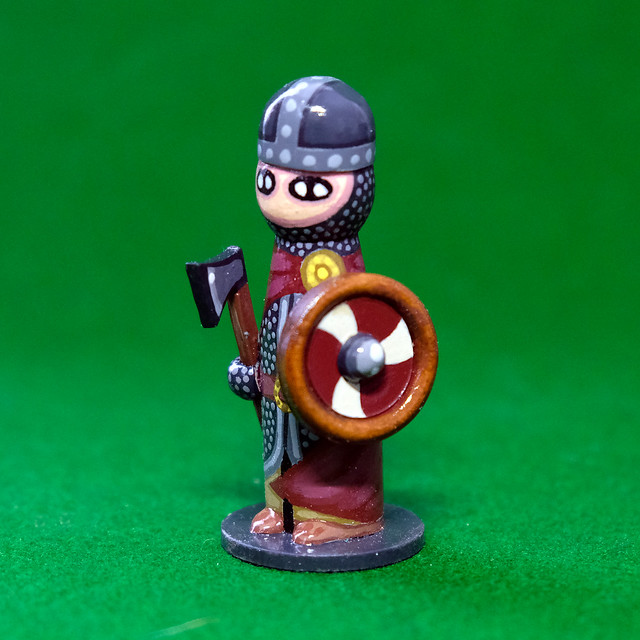
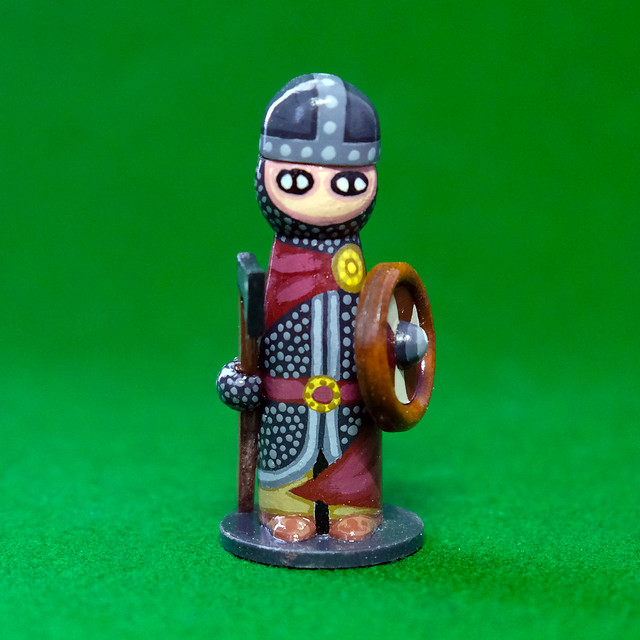
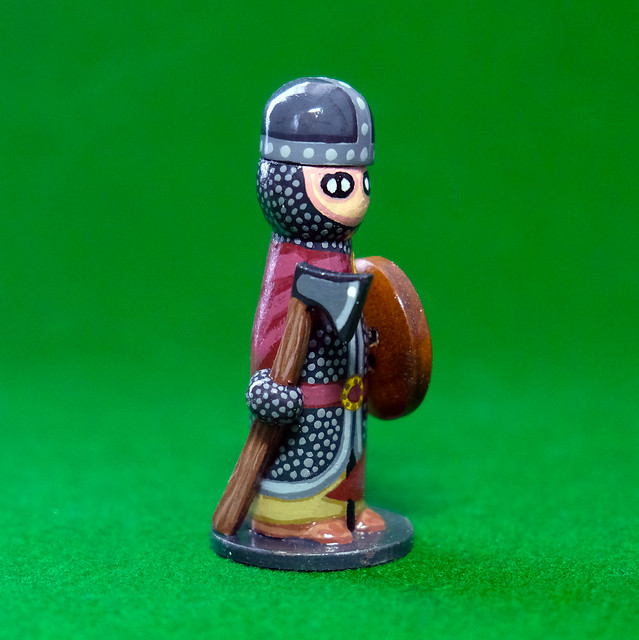
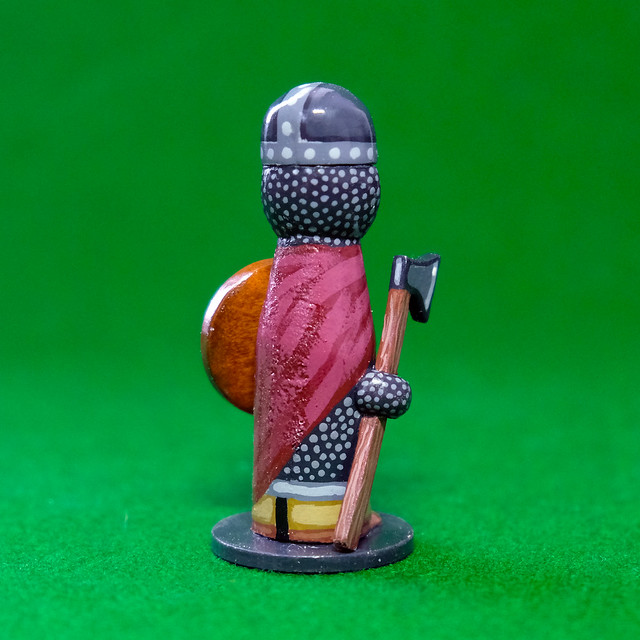
Peg Saxon (or D&D) Warrior
Managed to knock one off my cue of unfinished models this morning! This is the prototype peg model I did to explore how I would go about creating fantasy D&D figures.
However, I am more of a fan of Tolkien's vision of a fantasy world than I am of the normal Heroic Sword & Sorcery ideal. I like Tolkien's (and Jackson's interpretation in his movies) use of Anglo-Saxon mythology and social history rather than a completely fanciful 'look'. Giving a fantasy world the semblance of some real historical background - to my mind - makes that world more believable.
Anyway, so my little D&D warrior turned out very Saxon looking...Though it is very stylistic...
Aside from the Saxon influence for the clothing and equipment I took a lot of my design cues from Graymouser65 over at the Wooden Warriors blog. Indeed, this is where I got the idea to try out a fantasy peg figure in the first place.
As mentioned in my previous post, I will be following this idea up with a small series of figures representing my D&D group.
Sunday, 24 June 2018
A Slow Weekend
Not much to report this weekend, between the World Cup, shopping and dog sitting I've been otherwise occupied. I still managed to get my next peg figure project underway, though.
I've just started playing Dungeons & Dragons and although I've only a couple of games under my belt I have been bitten and thought it would be great to do a set of peg figures representing our little group of adventures. Here's the start of the first three (of five)...
These will end up being a Barbarian (me), a Druid and a Wizard. I've perhaps gone to town on my barbarian's headgear, but I was so pleased to have dispatched a lion in our last session that I thought I would award myself this trophy headdress!
Aside from this new set of figures I only managed to get some of my peg racing cars primed...
So, not a very productive weekend, but I hope to get a bit more knocked out next week. (Part of the problem being that I have a small, but growing, cue of projects all needing finishing off!)
Thursday, 21 June 2018
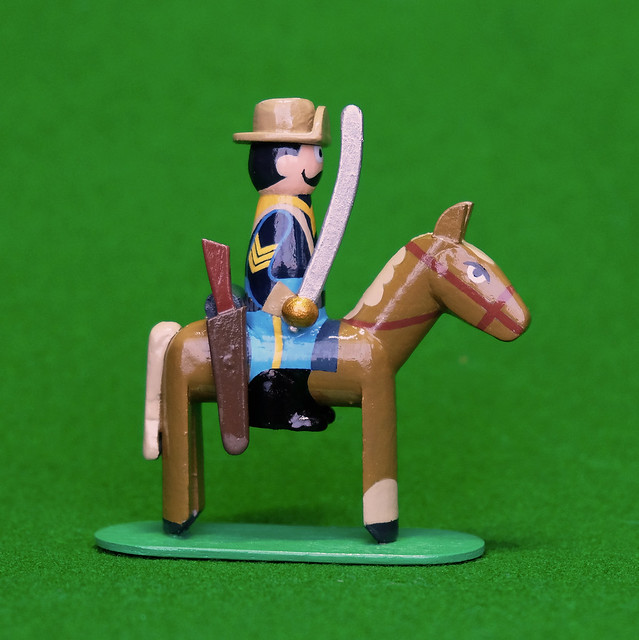
He Wore a Yellow Ribbon.
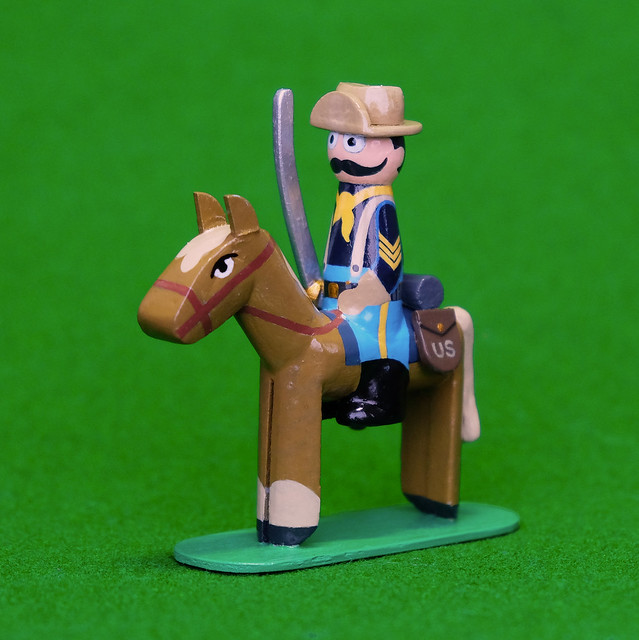
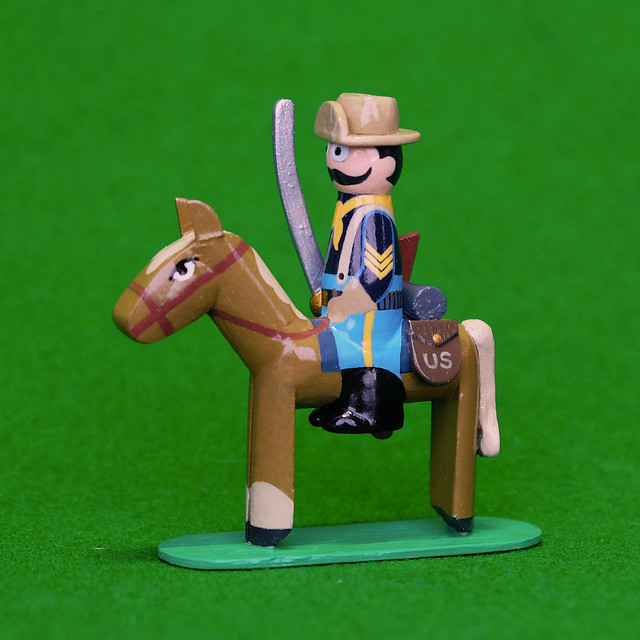
I couldn't resist doing this model...Absolutely, nothing to do with anything, except a bit of nostalgia about Tempo plastic soldiers (if you remember them)!
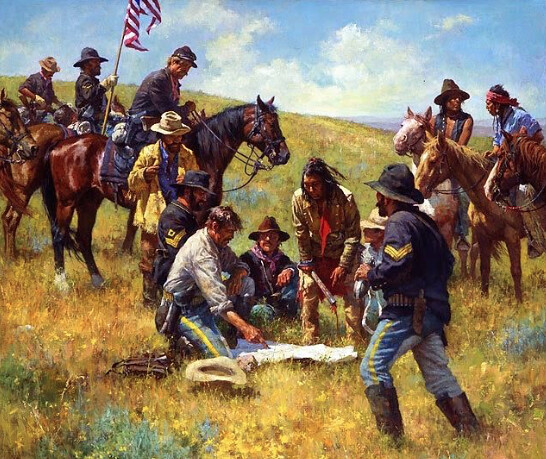
As inspiration, I guess I have fond memories of that old 1947 John Wayne movie 'She Wore a Yellow Ribbon'. But, I also recently bought a copy of G.I.'s 'Sound the Charge: The U.S. Cavalry in the American West, 1866-1916'.
I'm a bit happier with the way I did the rider's legs with this model, but there's still room for improvement (as usual).
Enjoy!
Tuesday, 19 June 2018
Trying Something New (Painting Style)
I'm playing about with a different painting style (with gratitude to 'Graymouse65' of the excellent 'Wooden Warriors' blog for the inspiration), it's a lot looser and brash than my usual 'tight' technique that I've been using for my peg soldiers thus far.
I guess you might say that it's a little cartoony, but this is a fantasy figure for a D&D game so I guess this style is in keeping with the spirit of the game...
Anyway, it's taking be time to 'loosen up' and get the 'deliberately sloppy' look with my brush. I don't want straight and even lines and I don't want evenly spaced patterns. This is hard work for me!
I reckon it will take me three or four practise figures to get into this style (and to work out how to shade and highlight things properly).
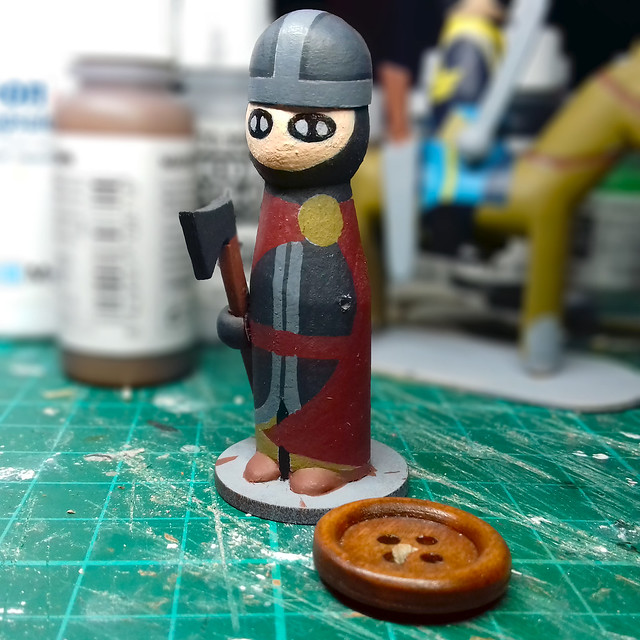 |
| I begin with flat colour blocks, just like my other peg figures. |
I guess you might say that it's a little cartoony, but this is a fantasy figure for a D&D game so I guess this style is in keeping with the spirit of the game...
Anyway, it's taking be time to 'loosen up' and get the 'deliberately sloppy' look with my brush. I don't want straight and even lines and I don't want evenly spaced patterns. This is hard work for me!
 |
| By the way, the button will be the warrior's shield! |
I reckon it will take me three or four practise figures to get into this style (and to work out how to shade and highlight things properly).
Sunday, 17 June 2018
Relaxing Weekend, Peg Fun
I'm having a rest from peg soldiers this weekend as I don't want to do my usual thing, which is to obsessively work on a particular project until I burn out and get bored! So, I've been deliberately working at a couple of things completely unrelated to my usual stuff (although, still in wood).
First off, in the same vein as my little peg bi-plane I decided to explore what else I could make from small pieces of wood and peg related parts! I have always liked traditional 1930s toys and so racing cars quickly came to mind...
I have actually gotten a bit further on than the basic work seen in the above snap and reckon I will have these banged out by mid-week. I'm keeping the modelling very simple and stylised in keeping with the 'toy car' idea.
Next, I have been getting interested in RPG game like Dungeons & Dragons (in fact, I attended my first game of D&D just last Thursday) and so I thought it would be nice to see if I could make something 'Tolkien-esque' looking out of pegs. My first attempt is a little basic (most of the wok will be in the painting)...
And that's it really, a bit Molatero un-related, but it's all good practise for working with wood.
Hope you all had a nice weekend (now that the World Cup has started)!
Wednesday, 13 June 2018
More Peg Prototypes - June Part 1
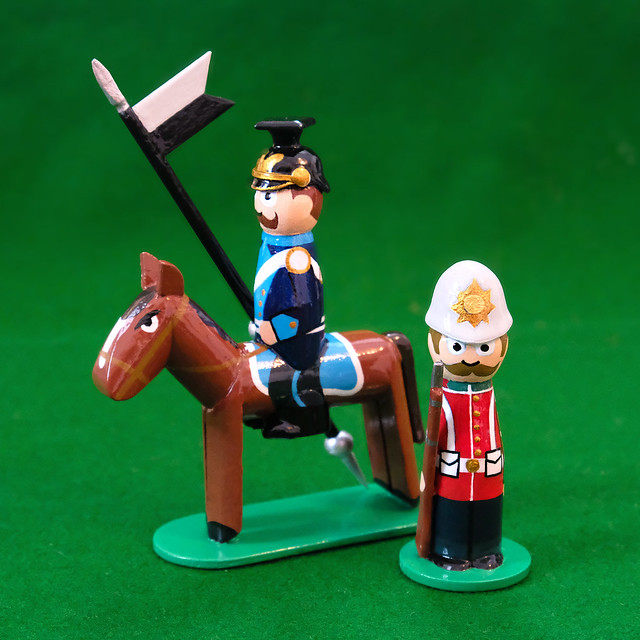
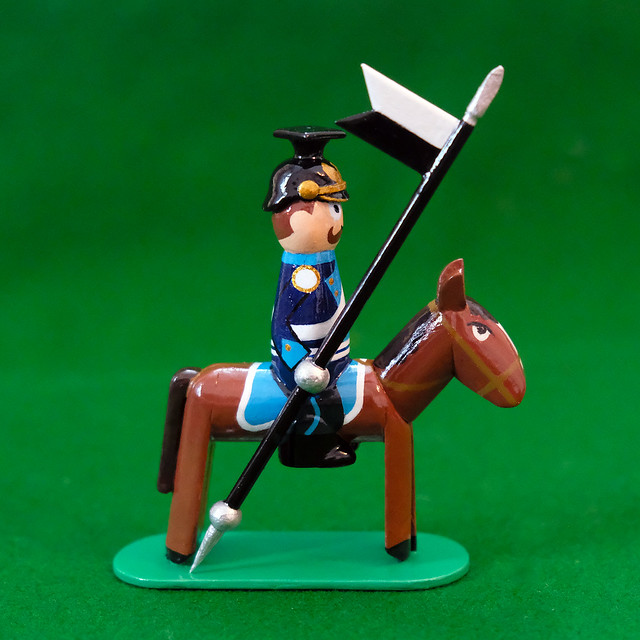
I'm still trying to hone my skill and style for making my little peg soldiers. Here's my latest prototypes, an 1870 Prussian Uhlan (lancer) and an 1900 British Infantryman...
I'm still learning lots as I go along but I feel I'm making some headway. The infantryman seems about there as a template for the proportions and style of painting the peg 'body'. But, I still have a little way to go with my cavalryman. Still not 100% sure about the way I model the rider's legs.
Another concern is that I'm still using aerosol spray lacquer (Wilko's brand rattlecan) and this is very wasteful. Spray-on gloss does give a lovely even coat, but it's very indiscriminate and despite the fact I use a small spray both (with extractor fan) I can fell the stickiness of the varnish on my skin when I'm done. I'm guessing about 40% or maybe even more of the varnish doesn't go on the model at all!
I've ordered a can of paint-on varnish and will knock up yet another prototype this week to test this brush on varnishing technique - will it pool and drip?
(Will have to think about getting a little display cabinet soon as my collection of peg figures is growing rapidly!)
Labels:
19th Century,
British,
cavalry,
Infantry,
peg soldier,
Prussian
Sunday, 10 June 2018
Sunday Update
Another nice and quiet Sunday where I can potter around doing some minor jobs (wife is sunning herself in the garden).
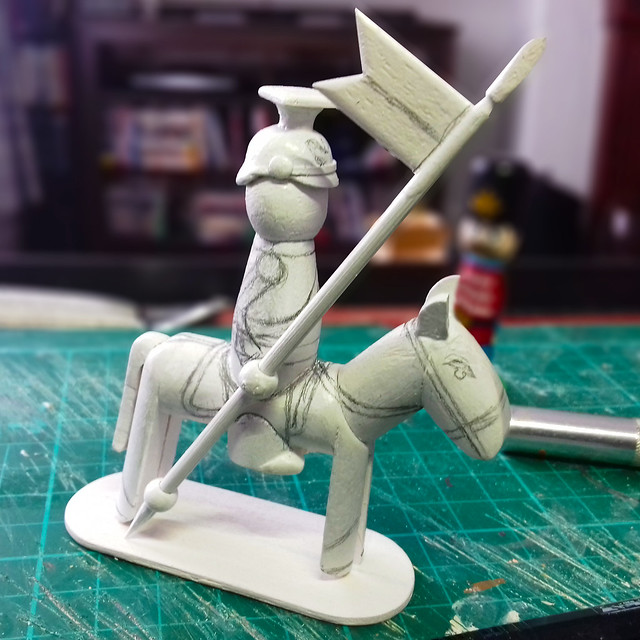
This week I'm hoping to make some headway by finishing off the cue of figures that need painting. So, to begin with here's a couple of primed figures that I've sketched the uniform detail onto ready for slapping some paint on...
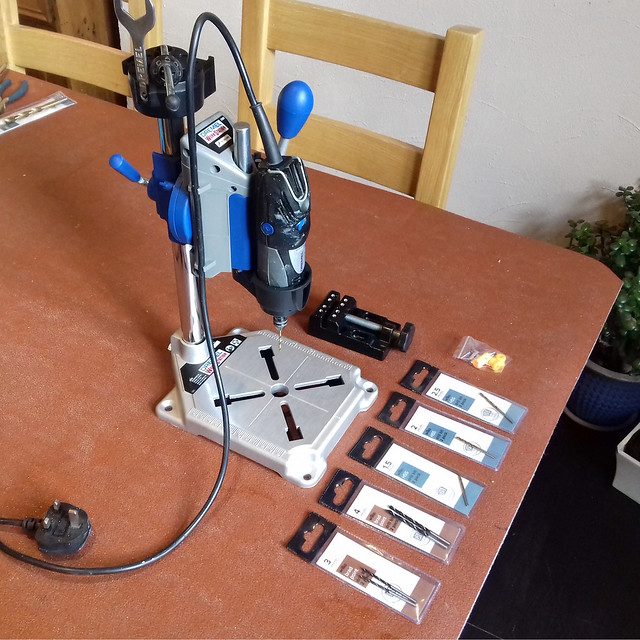
But, mainly, I've been faffing about with my new Dremel drill Press. As I do more and more wooden projects I've ended up expanding the range of small woodworking power tools on my desk.
The Dremel Drill Press seemed a great piece of kits now that I'm trying to work out how to slot wooden components together. Not only is it a stable platform for precise drilling, the whole drill section can be flipped sideways a s neat little disc sanding station. :)
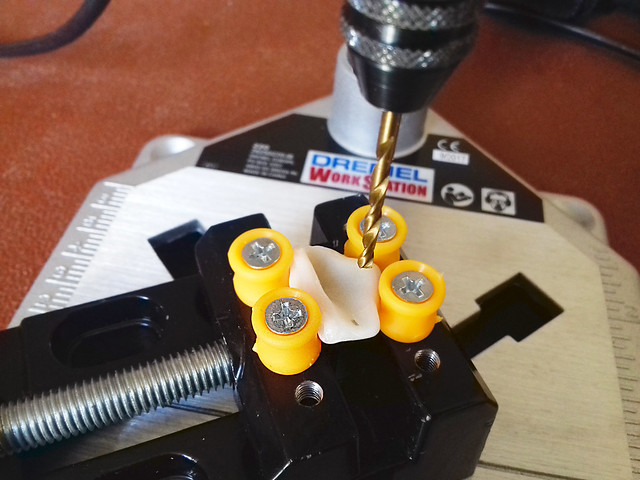
The dining room table isn't it's permanent home, you have to assemble the press and there was more space to do this on our big dinning table. The picture above shows the Dremel tool slotted into it's collar on the press and also a range of new drill bits I bough (cheaply) at Wilkos.
Disappointingly, the one thing the press didn't come equipped with was a clamping system for holding object firmly while drilling. It has slots cut out in the base for some sort of blot clamps but these are not included!
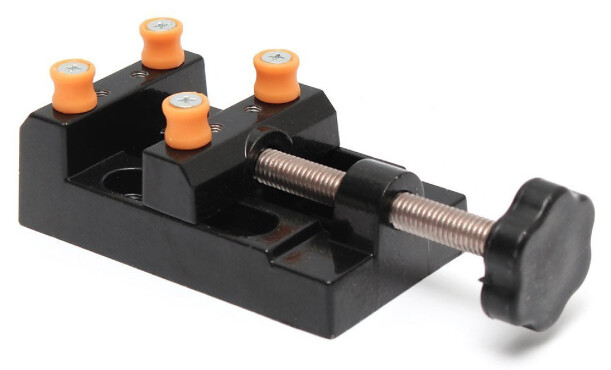
I, therefore, ended up having to fork out some extra cash on a small vice clamp...
This is the Yakamoz Universal Mini Drill Press Vise Clamp and it comes with fours screw in orange plastic pegs for holding irregular shape objects. I got use of this straight away as my daughter asked me to drill a hole in a small shell to make her a necklace...
This addition means that I am only short of two more power tools that I want to add to my modelling 'workshop'. I'd very much like a mini circular table top saw (for cutting precise angles) and a small lathe (for turning my own peg soldiers, etc), but these will have to wait as both items are fairly expensive.
Well, that's my Sunday. I'll get on with a little painting but I'm not rushing as it's back to work tomorrow. I may even join the wife in the garden - as it's sunny - and have a beer! :)
Friday, 8 June 2018
'The Purple Baron'
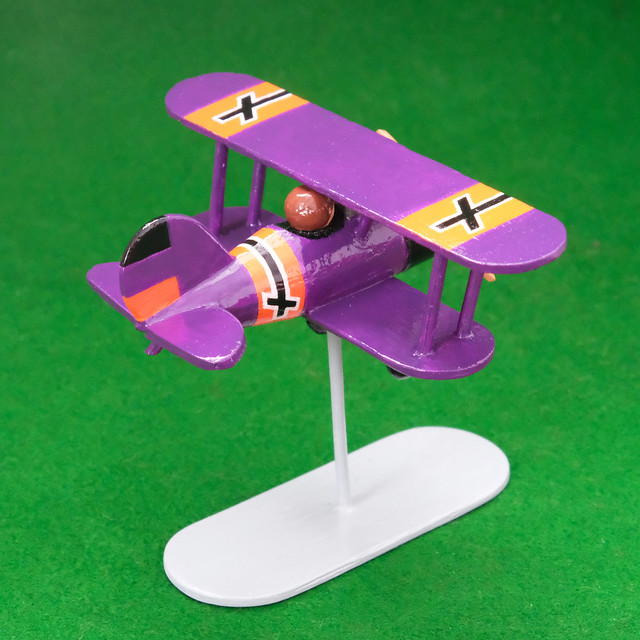
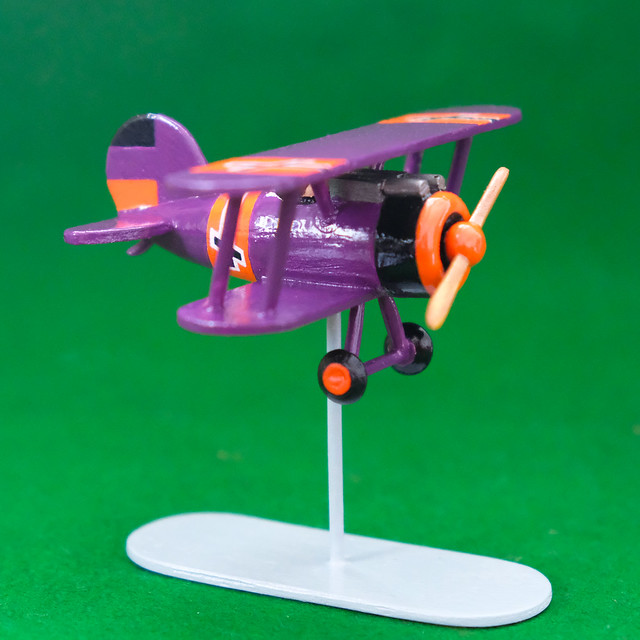
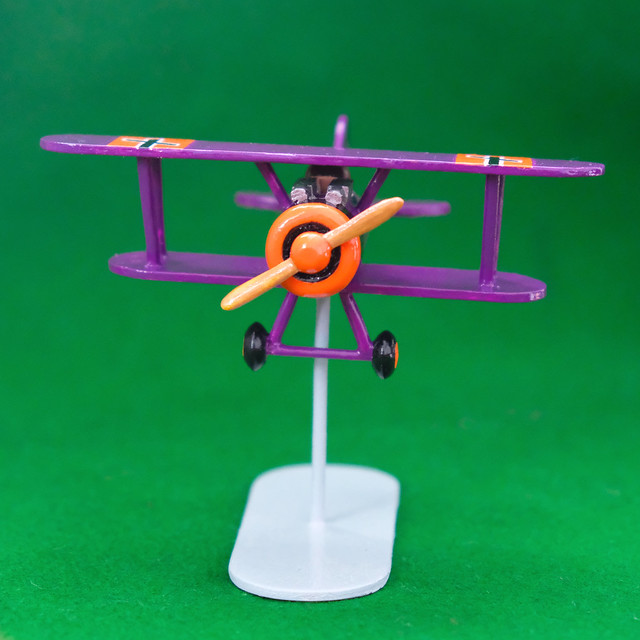
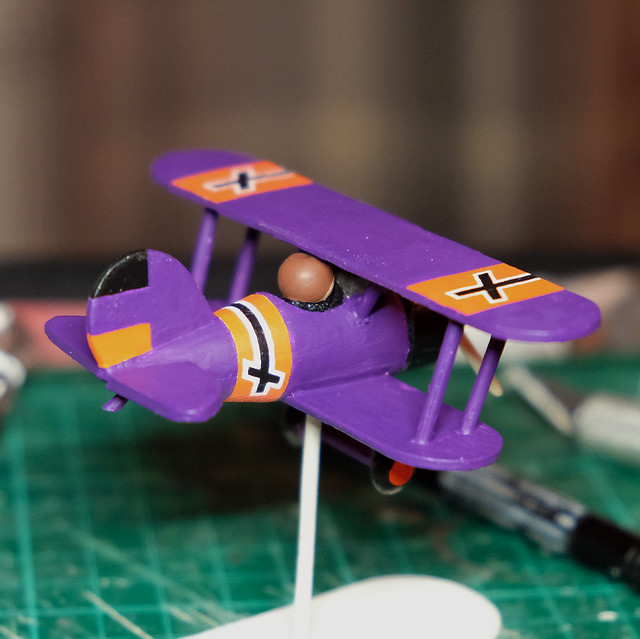
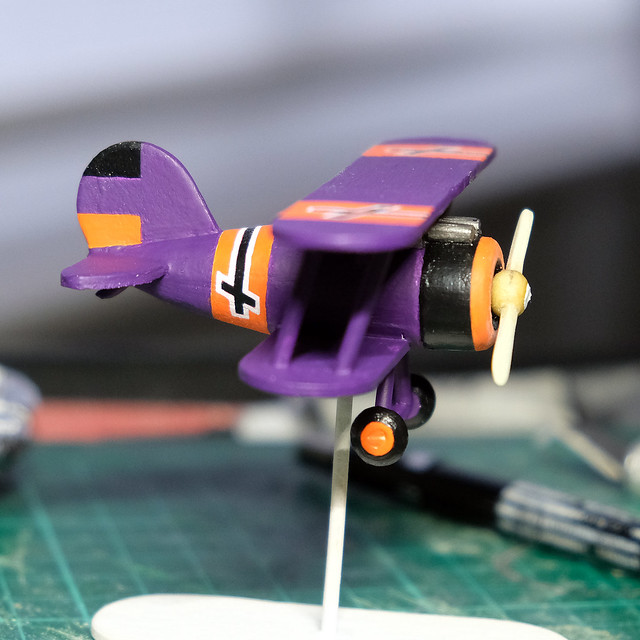
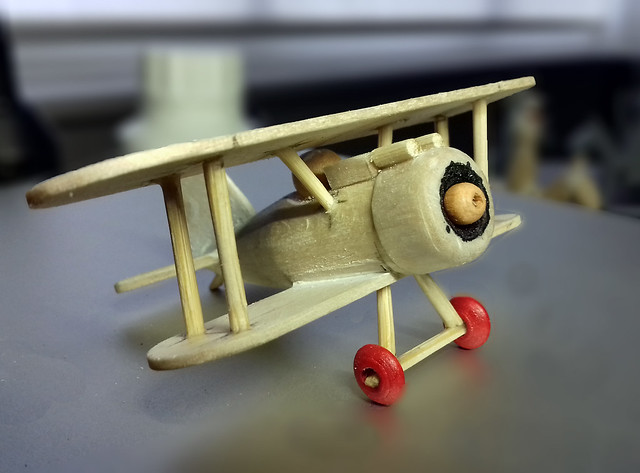
Here's the completion photos for my first peg aeroplane, 'The Purple Baron'. (Click on these to enlarge...)
Very happy with this in the end, despite it starting as just an whim of experimentation. Also, it's rather nice to do something in the Molatero theme again.
This will hopefully be the first of my little Molatarian Air Force collection. The 'Purple Baron' is a character from the 1917 Uprising and he represents a fighter from the Royalist faction in that conflict.
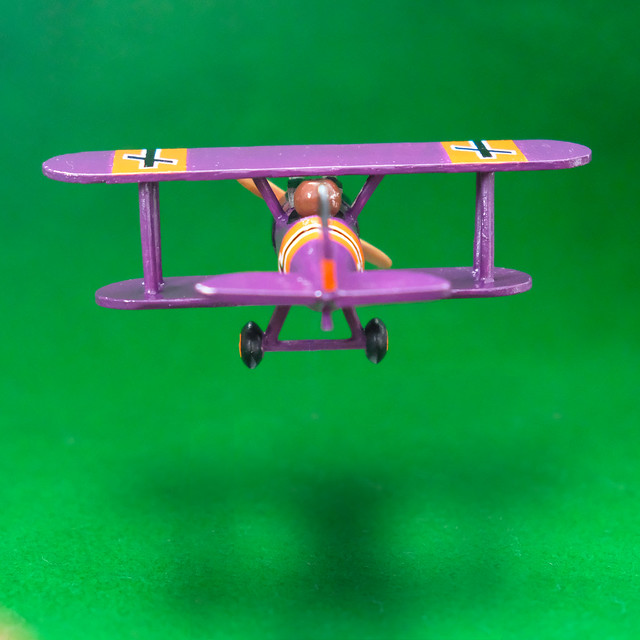 |
| "Rat-tat-tat-tat-tat!" Get that bounder! |
Very happy with this in the end, despite it starting as just an whim of experimentation. Also, it's rather nice to do something in the Molatero theme again.
This will hopefully be the first of my little Molatarian Air Force collection. The 'Purple Baron' is a character from the 1917 Uprising and he represents a fighter from the Royalist faction in that conflict.
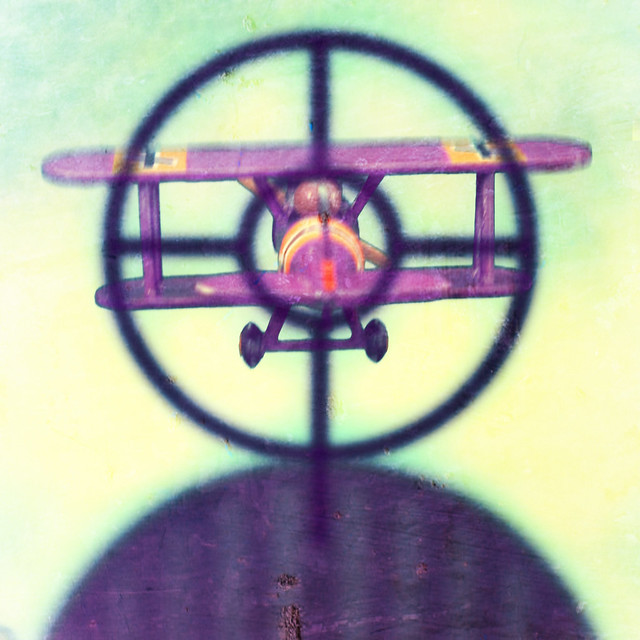 |
| Above: The Purple Baron meets his demise! |
Wednesday, 6 June 2018
First Molatero Warplane Painted
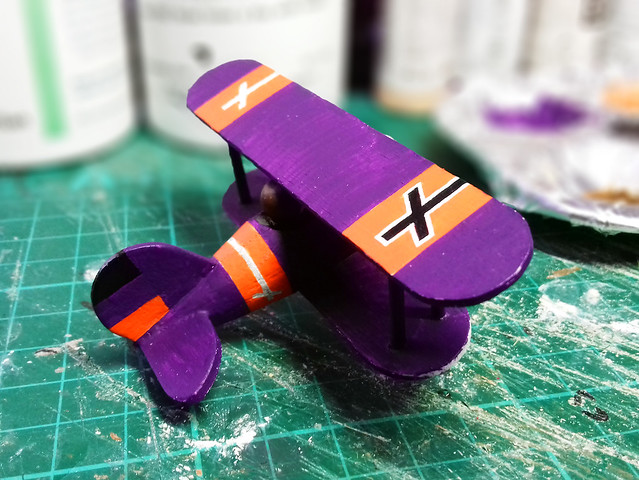
Just some quick snapshots of my little peg bi-plane as it nears completion.
I'm pleased as I thought I might be with the purple colour scheme, though it did take a couple of coats as it's a bitch of a colour to get good opacity. Also, I decided to paint the 'Royalist' emblems (the crosses) freehand, so lots of painting with my tongue out!
You can probably see how streaky the first boat of purple was in the above picture. But it all came together nicely with the application of a second coat...
The photos make the crosses seem neater than it actually is! SO, I'm pleased...Hee hee.
Sunday, 3 June 2018
Sunday Morning Tinkering
...I got a bit sidelined today. I was supposed to be catching up with some of my painting projects, but instead I made a little bi-plane!
The idea was to see what else I could do with wooden pegs as I am really enjoying working with wood. It's a very forgiving medium, but also very warm and organic (it's the 'arty' inner me coming out). I'm also enjoying making my own model designs from scratch (rather than buying someone else's models).
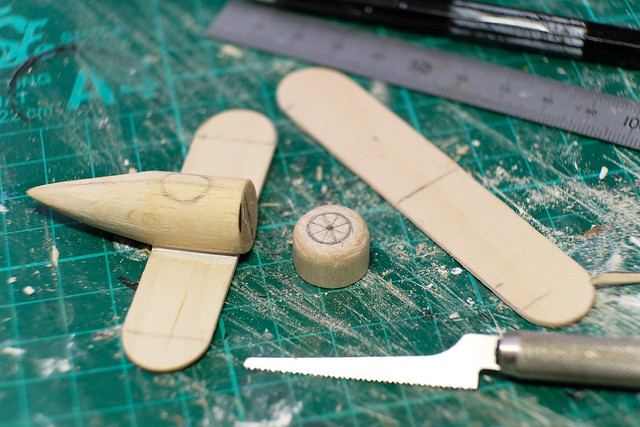
What started as aimless tinkering turned into a days exploration with wood and some of my new woodworking tools. And here's how it went...
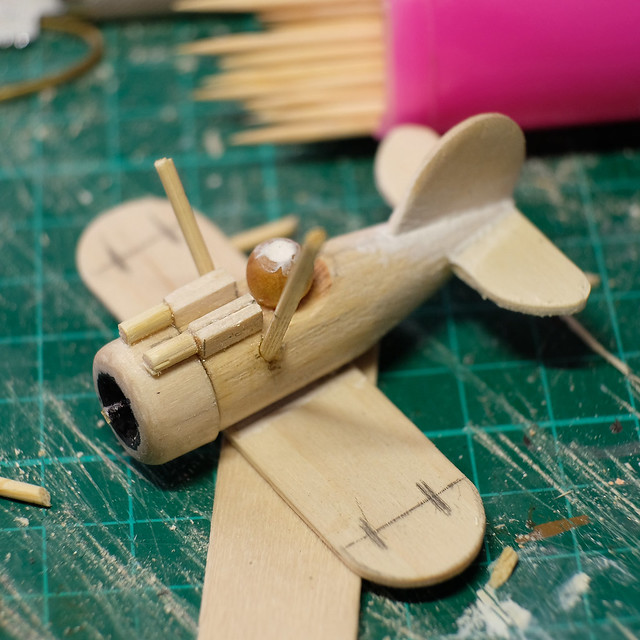
The basic shape of the dolly peg lent itself quite nicely to a fuselage shape. So, the design kind of created itself really - there was no real forward planning...
All the component parts were either pegs, parts of pegs or commonly available wooden craft components (dowelling, beads, 'lolly sticks', cocktail sticks, etc, etc). I'm not as far as fabrication of parts from 'raw' wooden stock yet, but as I get more electric woodworking tools I may explore full-blown wooden toy making.
An amusing day - if a little 'off topic' - but, then I suppose this could be one of the first recruits for the 'Molatarian Air Force'! :D
The idea was to see what else I could do with wooden pegs as I am really enjoying working with wood. It's a very forgiving medium, but also very warm and organic (it's the 'arty' inner me coming out). I'm also enjoying making my own model designs from scratch (rather than buying someone else's models).
What started as aimless tinkering turned into a days exploration with wood and some of my new woodworking tools. And here's how it went...
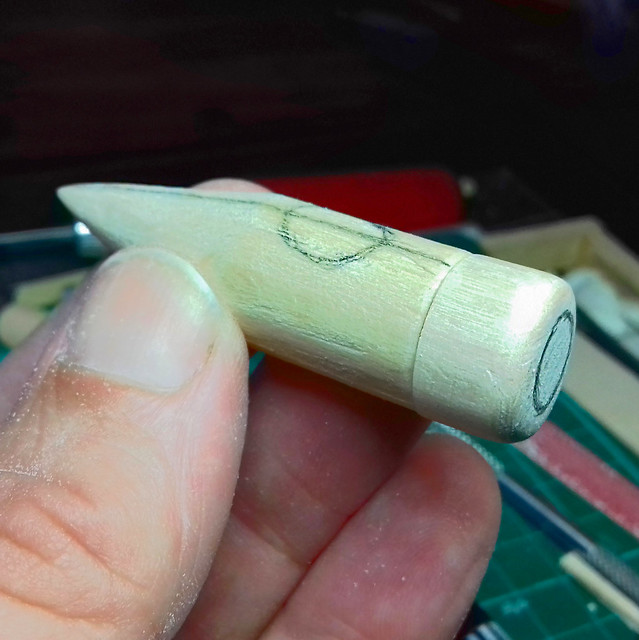 |
| The basic shape of a dolly peg, sanded to a point and a cylinder of wooden dowel stuck on as an engine cowel. |
All the component parts were either pegs, parts of pegs or commonly available wooden craft components (dowelling, beads, 'lolly sticks', cocktail sticks, etc, etc). I'm not as far as fabrication of parts from 'raw' wooden stock yet, but as I get more electric woodworking tools I may explore full-blown wooden toy making.
An amusing day - if a little 'off topic' - but, then I suppose this could be one of the first recruits for the 'Molatarian Air Force'! :D
Saturday, 2 June 2018
Saturday Morning Tinkering
Love Saturday and Sunday morning modelaxing (that should be a real word). Not a lot done but felt great before the craziness of the 'big shop' with the wife begins.
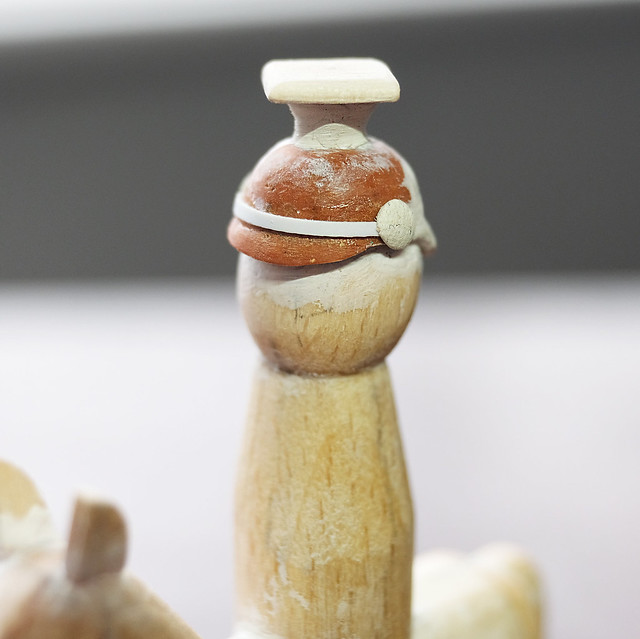
I've been trying to work out how to model the helmet of my peg Prussian 'Uhlan' (lancer). All 19th century lancers from all nations seemed to have a similar style of helmet, with the strange 'mortar board' arrangement on top. It's just so weird to make though, it never looks right even when it is!
I'm also deciding just how much detail to put into my peg cavalry's saddle equipment. I want my peg soldiers to be simple, but at the same time - for gaming purposes - I want to indicate that aside from a sabre or lance these cavalry did carry a carbine. It just seems more 'realistic' when I will be directing them to 'shoot' during a game.
Aside from this, do I include things like saddlebags and blanket rolls, and what about the horse's saddle straps and reigns? Hmmmm...
Maybe I'd best look at other toy soldier cavalry to see how they have simplified the addition of horse accessories and equipment...
Finally, I have to put some thought as to how I will model the lance itself and how I will attach it to the peg soldier without resorting to the inclusion a model hand (my peg soldiers have painted on hands remember).
That will be Sunday morning's puzzle.
I've been trying to work out how to model the helmet of my peg Prussian 'Uhlan' (lancer). All 19th century lancers from all nations seemed to have a similar style of helmet, with the strange 'mortar board' arrangement on top. It's just so weird to make though, it never looks right even when it is!
I'm also deciding just how much detail to put into my peg cavalry's saddle equipment. I want my peg soldiers to be simple, but at the same time - for gaming purposes - I want to indicate that aside from a sabre or lance these cavalry did carry a carbine. It just seems more 'realistic' when I will be directing them to 'shoot' during a game.
Aside from this, do I include things like saddlebags and blanket rolls, and what about the horse's saddle straps and reigns? Hmmmm...
Maybe I'd best look at other toy soldier cavalry to see how they have simplified the addition of horse accessories and equipment...
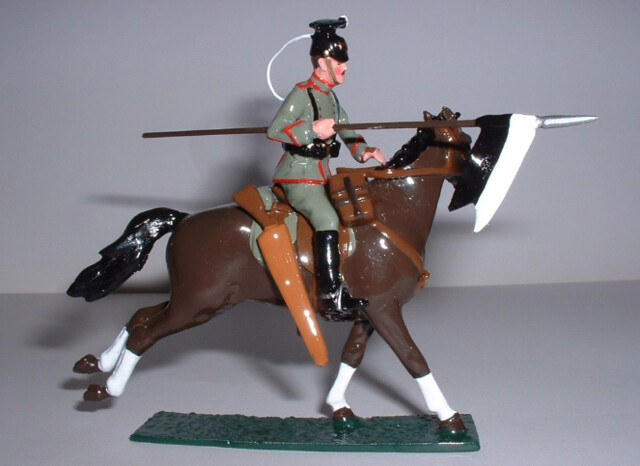 |
| Beautiful traditional toy Uhlan. This leans slightly more to the 'realistic' depiction of horse equipment. |
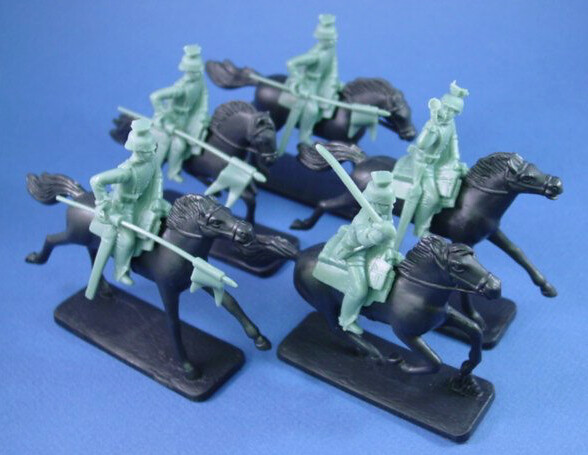 |
| Armies in Plastic Company's Uhlans are a little more simplistic in their approach to modelling the accoutrements. |
Finally, I have to put some thought as to how I will model the lance itself and how I will attach it to the peg soldier without resorting to the inclusion a model hand (my peg soldiers have painted on hands remember).
That will be Sunday morning's puzzle.
Friday, 1 June 2018
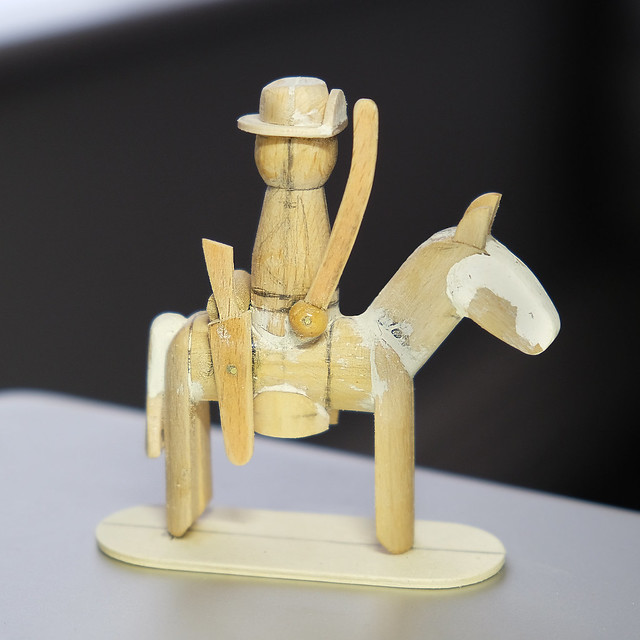
Peg US Cavalry, For Fun
Having worked out the technicalities of putting together a peg horse and rider, it's time to do a painting test. And, as this is just an experiment I thought it would be fun to chose a subject for my painting that's a little different from my usual theme of 19th century European soldiers...
As a kid, I was brought up on Saturday morning picture show re-runs of old Westerns and for young boy at that time the highlight of any 'B' movie Western was when the US Cavalry charged in to the rescue! :)
This coincided with my getting into plastic toy soldiers and a particular favourite of mine was Tempo's strangely creepy US Cavalry. So, as a bit of nostalgia I have had a go at recreating a soldier from the old Wild West...
In practical terms, this model should help me check whether my plan for painting in the rider's legs will work. Fingers crossed!
Subscribe to:
Comments (Atom)
