Anyway, to get me back into the swing of things I've come up with an idea that should reignite my 'toy soldier' activities once more...
Project Peg
I happend to come across a couple of pictures of 'peg dolls' - painted as Vikings - on a wargaming group and I was at once taken with the simplicity of the design (it put me in mind of one of my favourite TV programs when I was young called 'Nogin the Nog')...
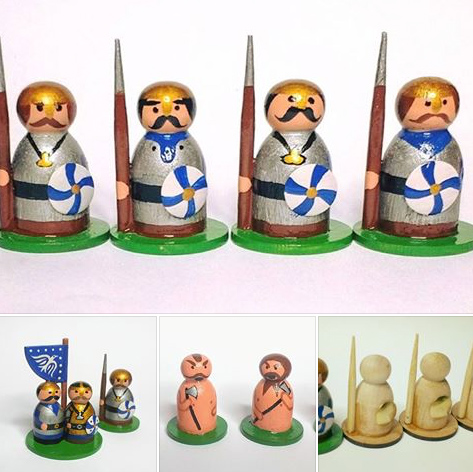
I wondered if I could do something similar in the vein of 19th century uniforms? Something like a miniature version of the traditional wooden Christmas nutcracker soldiers. In fact, I found a design on the internet of just such a peg soldier made up as Christmas tree decorations...

As you can see, in this case, the full 'dolly peg' has been used in the design. Whereas the original design I found was cut down dolly peg (though, I later discovered that you can buy larger sized wooden 'doll peg' blanks just for painting as peg dolls). In any case, I thought that trying out this ideas might be best attempted modestly (and cheaply) at first by using an original doll peg...
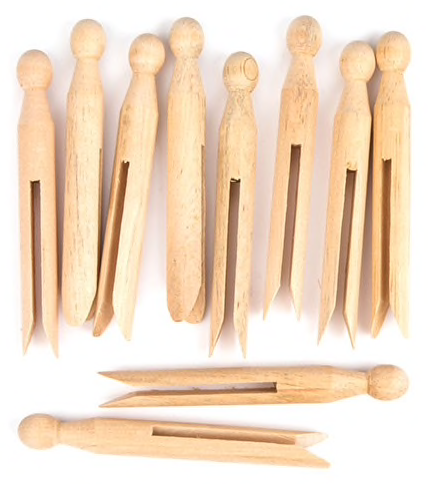
At just £2.50 for a pack of 24 beechwood pegs this would be a very budget-minded experiment where I could try out several different versions of my idea without worrying about wasting expensive materials. (If I do decide I like the results of this test I could always scale the idea up by buying some of the more expensive over-sized 'peg' blanks instead, we shall see).
Let's get to work...
I decided to start by making a version of the original cut-down peg 'doll'. It turns out that beechwood is a bit harder to saw though than I thought (should have used my Dremel)!
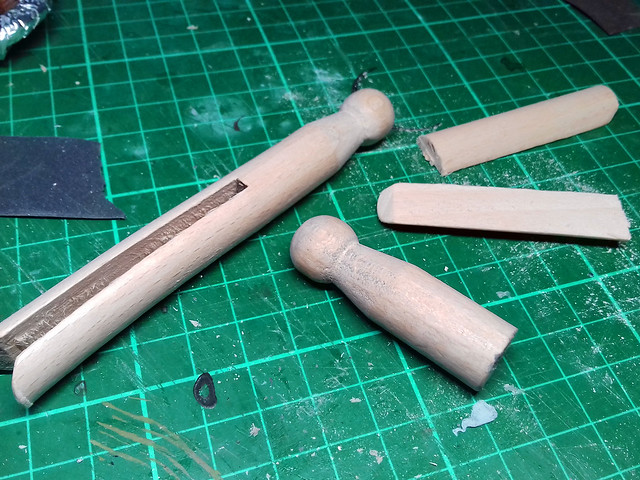
I trimmed the peg just above it's 'legs', which gives you a 'figure' that stands about 49mm tall (though, looking at the Viking models they look like they would be cut a lot shorter). And as I'm making this a small standing figure I mounted the peg on a 25mm diameter MDF wargaming base...
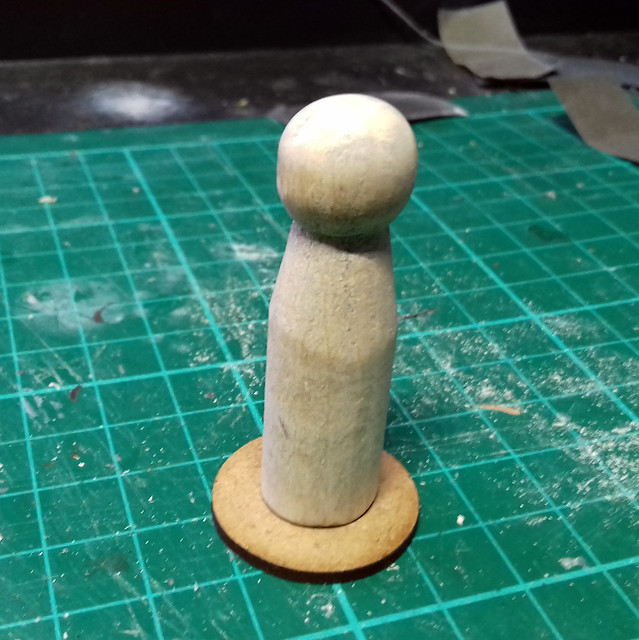
I considered adding arms and maybe a hat, but - for starters - I thought I would keep it simple and concentrate on working out how to paint this little fellow.
Let's start by priming the peg so that we can use acrylic paints. I'm just using acrylics because that's what I happen to have, but I could have gone with hard-wearing enamels or even watercolours which would show the woodgrain. All I happened to have was grey primer at the moment, sooo...
(Important note: IF you are getting into peg dolls as toys for children please take some care in choosing your materials - particularly the paints - to ensure that they are 'child safe'. I won't go into this here but some Googling will give you the information you need about non-toxic paints.)
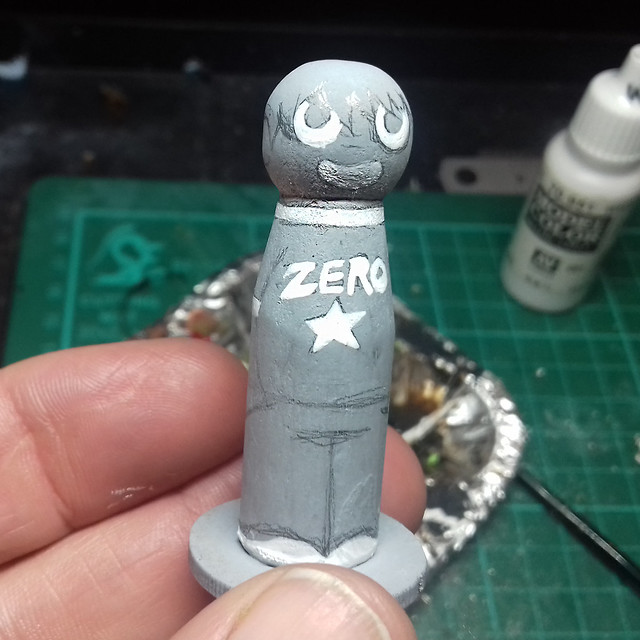
Next, I use the grey primer as a canvas onto which I can sketch my design using pencil (N.B. I'm making this up as I go, I haven't checked other tutorials to see if this is the common way of making these peg dolls). This design will be super simple and I have chosen a cartoon character (Scott Pilgrim) for this test...

So...On with the painting...
Next: I complete the painting of my first test.
Good to have you blogging once more.
ReplyDeleteI look forward to seeing the peg figure completed.
Alan