Showing posts with label cartoon character. Show all posts

Friday, 14 May 2021

The Curse of Being 'Creative'!

 I'm gone a bit 'off-piste' over the past week or so (not by choice really). I have had to comply to a few friend & family requests and this has cut into my valuable toy soldier making schedule.

However, you have to look on the bright side and think of these unrelated project as 'opportunities for good practice' (I say that through gritted teeth). 😒

So, what have I been up to? And here, I'm not going to try and fool you into believing they were all relatable to my toy soldier hobby...

First of all, I was given a stone garden ornament that the mother-in-law wanted painting up to look like their pet dog. Somehow because I 'paint models' that means I am an expert in doing anything vaguely 'creative'...


I could not conceive of any part of this 'project' that could positively impact on my peg model making except that by doing the wife a 'favour' (order) she would cut me some slack for a while. And that's about it, so I did it. 

The second little job was - at least - my idea. I wanted to make a little gift for my work colleague (we are both NHS operating theatre domestics) as she has been very supportive as we have worked throughout this pandemic.

She happens to have a couple of donkeys on her bit of land and when she saw the 3D models I had been making she mentioned she would love to have a 'little donkey'! I was happy to do this as she has really mad a bit of a stressful 12 months bearable and has got me through the times when my own health issues have plagued me at work. So, I made her a little Eeyore (from 'Winnie the Pooh')...


This was definitely worth taking the time away from toy soldiers to do, especially when she was so pleased when I presented it to her! 😁

And finally...

Now, this was very useful! I've been wanting to have a go at 3D modelling slightly more feature detailed figures which would involve some slightly more complicated 3D modelling using the TINKERCAD software I have been using lately.

Along-side my super simple 'pegs' I wanted to experiment with the possibility of making larger one-off display models of historic soldiers but which would still be modelled in a cartoon format. Trouble is that I needed some sort of initial project idea to spur me on to trying out the idea...

As it happened, another work colleague asked me whether I could 'make one of these' and showed me a blurry photo of his football team's mascot! He supports Barnsley FC and they have a mascot called 'Tony Tyke' (really) and so after doing a bit of research I had a play with TinkerCad and knocked up a rough approximation of Toby!

I decided to start with the head as that was the most identifiable part of the mascot and feature rich element of a model...


It took a while but I managed to put together something that looked a little like Toby, well dog-like anyway! My friend was very happy with this design so I forged on with the rest of the body...


Getting the right pose was a bit fiddly as this was the first time I had tried anything like this, but after several iterations and modifications I managed to come up with a pose I was happy with...

Now, how does this relate to toy soldiers? Well, having worked out a fairly OK anatomy of a cartoon figure - albeit a footballer, in this case - I could now see how I might further modify this into any other figure that I might like. I reckon it might be an easy project to alter this into a uniformed mascot, varying the head into something appropriate for a particular regiment - a bulldog for a US Marine, for example, or a French Bulldog for a Foreign Legionnaire!

You see where I'm going?

Again, I apologise that this post seems a little left field BUT these distractions - particularly Toby - have given me some ideas for future toy soldier projects that I think will be very interesting indeed!

Saturday, 17 February 2018

Peg Doll Test - Part 3

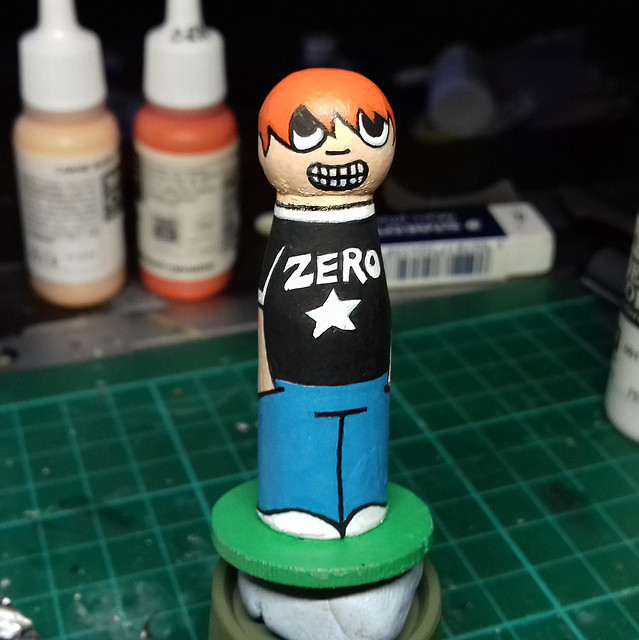
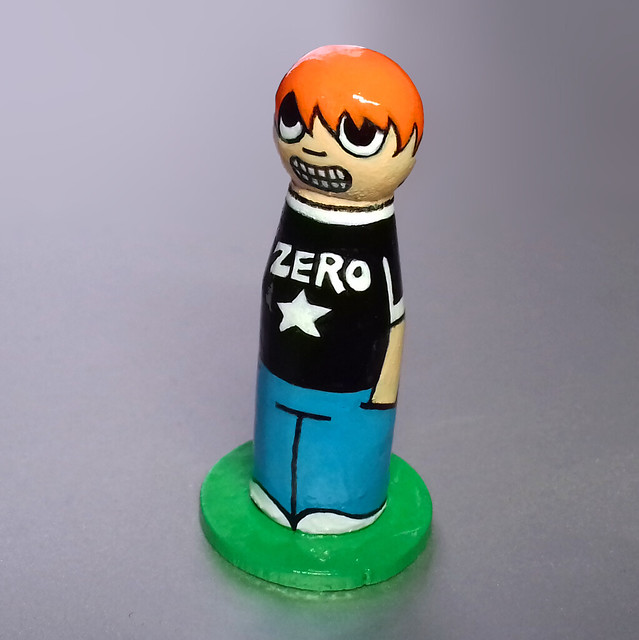
Thought I'd post up the vanished test model...Actually, varnishing does make a difference and has improved (or literally 'glossed over') some of my dodgy line drawing!


I only used a cheap Wilko's spray lacquer, but it seems to have worked OK (not sure if it will yellow more quickly than more expensive artist's varnish).

Friday, 16 February 2018

Peg Doll Test - Part 2

Nice to get painting larger scale figures again and because this is a simple cartoon design it's been very relaxing too. However, there was a serious purpose to this test and that was to work out whether acrylic paints were the best medium to use to get that wooden toy, high-gloss look.

I blocked out the main colour areas and that was enough to give me some worries about the acrylics I was using. These were my normal Vallejo modelling acrylics, but at times I found them too thin to cover well on the porous wood of the peg, some colours requires two or three coats to get the flat opaque colours I wanted...


So, I will try out another test with a more craft orientated acrylic paint (which seem to be a little thicker). The up side of this is that craft acrylics are a lot cheaper.

Anyway, I still have things I want to try out on this figure. chief among these is the outlining of the colour blocks - cartoon style - with a thick black Sharpie marker...


Actually...I didn't have a Sharpie thin enough so stupidly used a normal marker which proceeded to bleed and run when it hit the acrylic paint!!!

I had to go over several bit repeatedly to hit the runny felt-tip so this isn't quite as neatly drawn and painted as I had hoped. But, there again, this is why we do test models isn't it? (Now I know.)

All I need to test now is how the figure looks with a coat of gloss varnish and if all goes well I can start planning a proper peg doll project...I have several ideas! ;)

Thursday, 15 February 2018

Huzzah! I have returned!

Life can be something of a pain in the posterior at times (to say the least). I am not going to go into the reasons that this blog has been dreadfully neglected for the past year, but it's suffice to say that 'life' is generally looking up and 'normal service will be resumed'...It is hoped.

Anyway, to get me back into the swing of things I've come up with an idea that should reignite my 'toy soldier' activities once more...

Project Peg
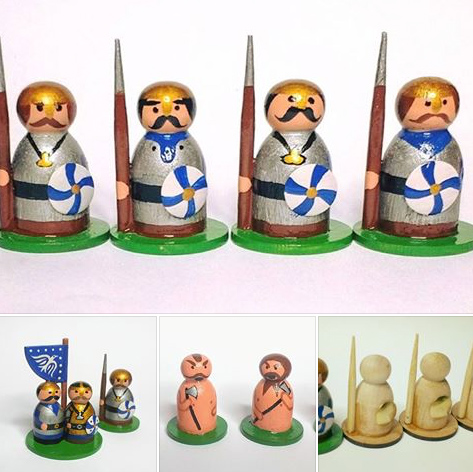
I happend to come across a couple of pictures of 'peg dolls' - painted as Vikings - on a wargaming group and I was at once taken with the simplicity of the design (it put me in mind of one of my favourite TV programs when I was young called 'Nogin the Nog')...


I wondered if I could do something similar in the vein of 19th century uniforms? Something like a miniature version of the traditional wooden Christmas nutcracker soldiers. In fact, I found a design on the internet of just such a peg soldier made up as Christmas tree decorations...


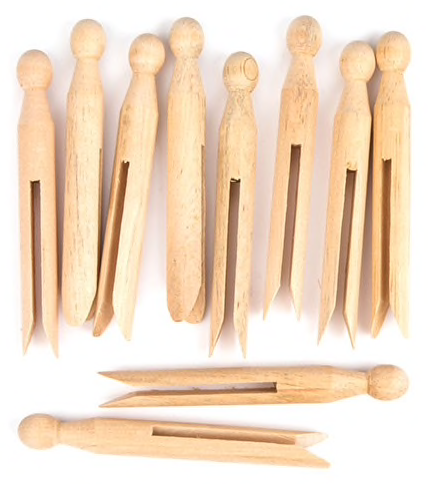
As you can see, in this case, the full 'dolly peg' has been used in the design. Whereas the original design I found was cut down dolly peg (though, I later discovered that you can buy larger sized wooden 'doll peg' blanks just for painting as peg dolls). In any case, I thought that trying out this ideas might be best attempted modestly (and cheaply) at first by using an original doll peg...


At just £2.50 for a pack of 24 beechwood pegs this would be a very budget-minded experiment where I could try out several different versions of my idea without worrying about wasting expensive materials. (If I do decide I like the results of this test I could always scale the idea up by buying some of the more expensive over-sized 'peg' blanks instead, we shall see).

Let's get to work...
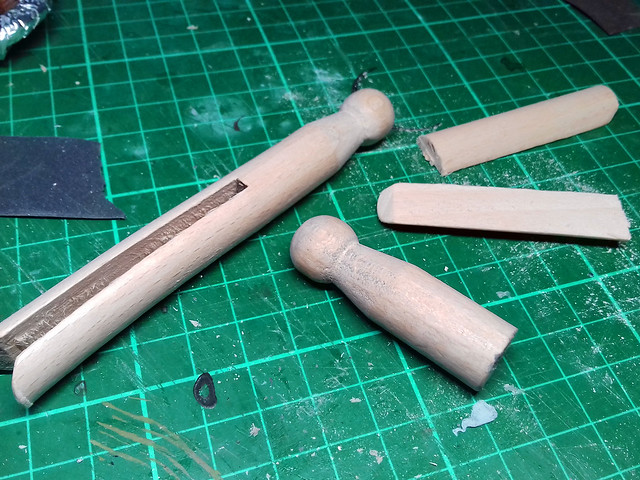
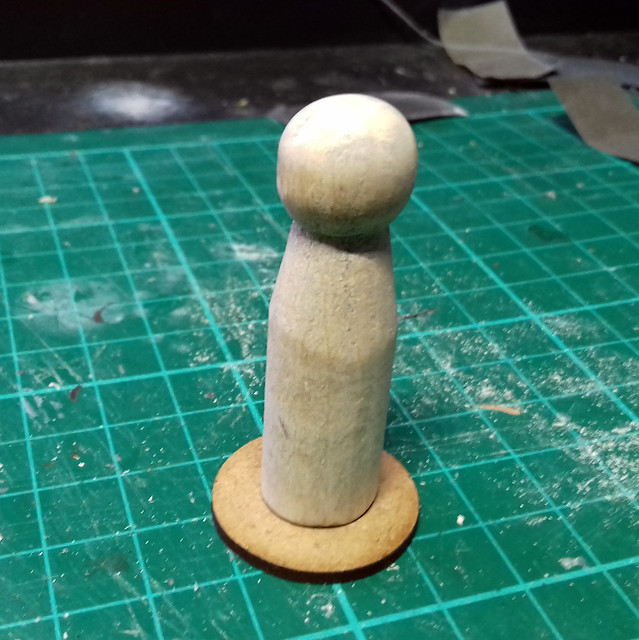
I decided to start by making a version of the original cut-down peg 'doll'. It turns out that beechwood is a bit harder to saw though than I thought (should have used my Dremel)!


I trimmed the peg just above it's 'legs', which gives you a 'figure' that stands about 49mm tall (though, looking at the Viking models they look like they would be cut a lot shorter). And as I'm making this a small standing figure I mounted the peg on a 25mm diameter MDF wargaming base...


I considered adding arms and maybe a hat, but - for starters - I thought I would keep it simple and concentrate on working out how to paint this little fellow.

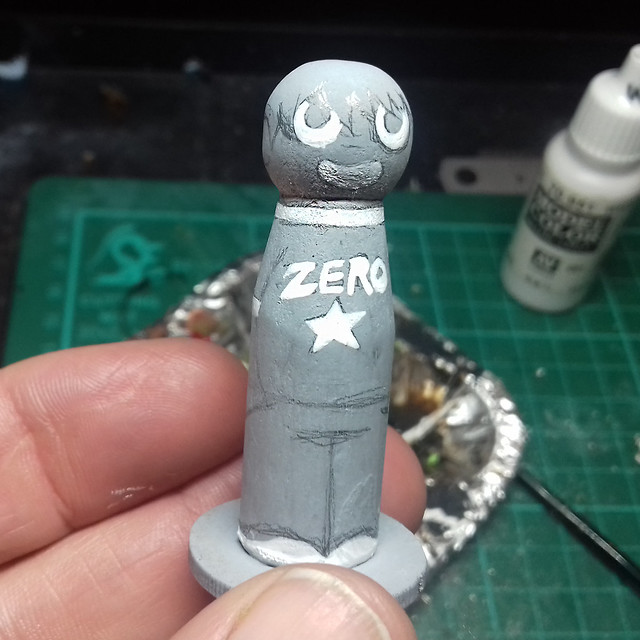
Let's start by priming the peg so that we can use acrylic paints. I'm just using acrylics because that's what I happen to have, but I could have gone with hard-wearing enamels or even watercolours which would show the woodgrain. All I happened to have was grey primer at the moment, sooo...

(Important note: IF you are getting into peg dolls as toys for children please take some care in choosing your materials - particularly the paints - to ensure that they are 'child safe'. I won't go into this here but some Googling will give you the information you need about non-toxic paints.)

Next, I use the grey primer as a canvas onto which I can sketch my design using pencil (N.B. I'm making this up as I go, I haven't checked other tutorials to see if this is the common way of making these peg dolls). This design will be super simple and I have chosen a cartoon character (Scott Pilgrim) for this test...


I didn't want to get into making things like arms and hats and weapons for a soldier model until I see how a painted figure would look. I want to make sure that acrylics work out the way I imagine they will before putting a lot of work into the modelling work.

So...On with the painting...


Next: I complete the painting of my first test.