Ok, so a bit of a talking point came up after I posted up my intension to 3D print some of my toy soldiers rather than my 'usual' technique of crafting the peg soldiers out of wooden dolly pegs. Some people were clearly not entirely happy about the idea! 😕
 |
| A couple of my early 3D printed prototypes, one of my 'nutcracker' full-sized peg bodies and one of my '50mm' half-sized bodies. |
Typical of the comments was something along the lines of "...but if you 3D print them instead of crafting them out of real wood they will lose their charm!"
I was a bit taken aback, I didn't realise my toy soldiers were a thing that had 'charm'. I thought they were just daft little fun toys! But apparently, to some people, I'm somewhat spoiling part of the attraction of my peg soldiers. 😦
...My first though was along the lines of 'I didn't realise I had an obligation to others to maintain some sort of standards'! I thought I was just making these things to amuse myself. But, that's a bit ingenuous as I do get a kick from other peoples appreciation of what I do - that's why I post pictures on social media after all.
[Edit: Just read this back and it sounds like a bit of a moan! LOL But it's not, really. I like to hear other peoples' point of view.]
So, after pondering the issue I realised that some of these people had missed the point - I had never said I was replacing my original wood crafting technique of making peg soldiers with plastic 3D versions. I simply said that I would be investigating the possibilities that 3D might afford me for making prototyping easier PLUS I am thinking of making a range of easily duplicated plastic soldiers for war gaming where laborious wood crafting would be a bit of a hinderance.
I will still be making my wood crafted soldiers - but mainly for gifts, display and commissions! DON'T PANIC!
Phew! Anyway, I have begun my experimentation which involves learning how to 3D design the models, prepare them for printing and then learning how best to print them. This is not at all straight for ward as just pushing a 'PRINT' button and out would pop a finished model! 😁
I've certainly had a few minor print disasters! Luckily my printer allows me to monitor the printing remotely - via it's built-in camera - so I am able to hit the brakes if the print goes pear-shaped...
So, there's a learning curve which has to be overcome with 3D printing - it isn't such a hands-on 'build it and it will work out' experience that crafting with wood can be. But once this initial technical mechanics of building models in 3D and then printing them is understood - at least the basics - I should be able to do what I like to do best, tinker! 😁
In fact, this uneducated messing about started in earnest from day one of getting the printer, but now I am trying to get myself on a rather more methodical and formalised track, starting with the software.
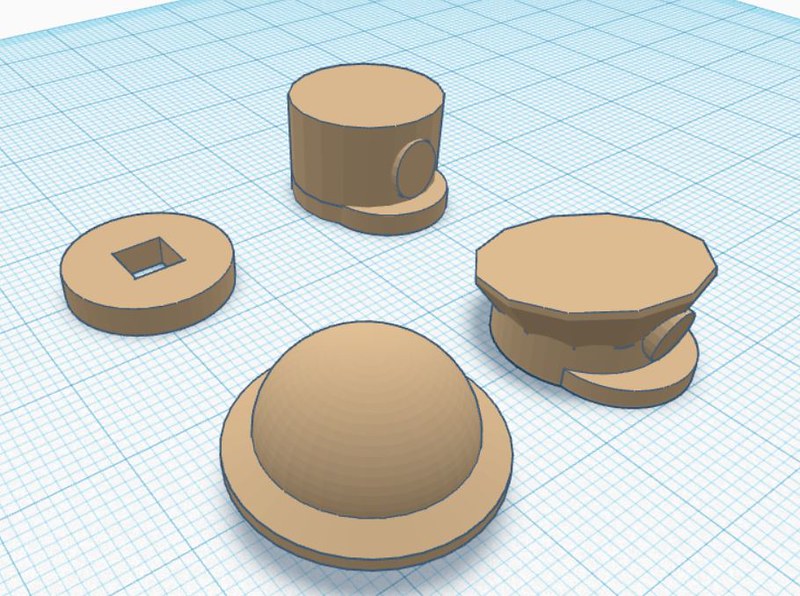
I am starting with an easily accessible piece of software called (suitably enough) TINKERCAD, which is perfectly suited to my simple geometrically shaped figures...
At this stage I am just trying to understand how to combine primitive shapes - spheres, cubes, cones, tubes, etc - to recreate my 50mm wooden peg figure design.


I really like the ideas behind the 3d versions - looking forward to seeing them printed.
ReplyDeleteThese look brilliant, can't wait to see them painted up
ReplyDelete