 |
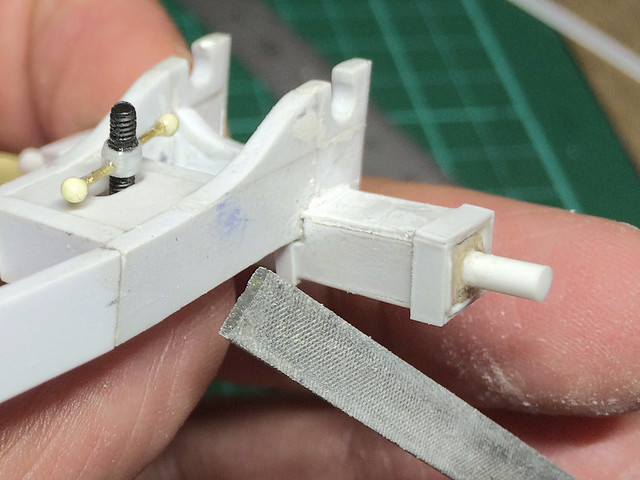
| There were a lot of sloppy joins to fix...At least I have a template for any further gun carriages I make. |
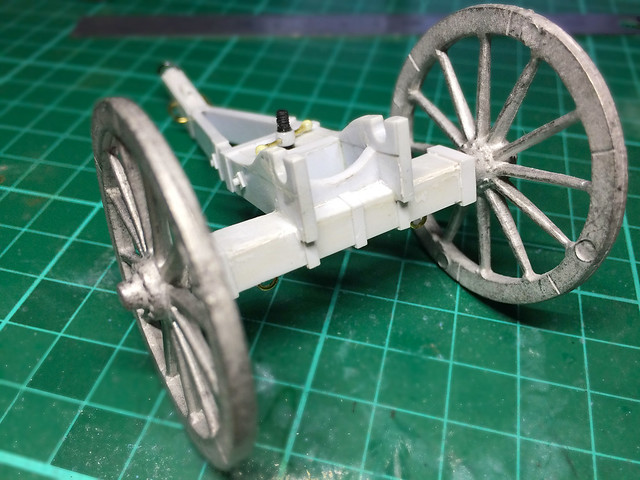
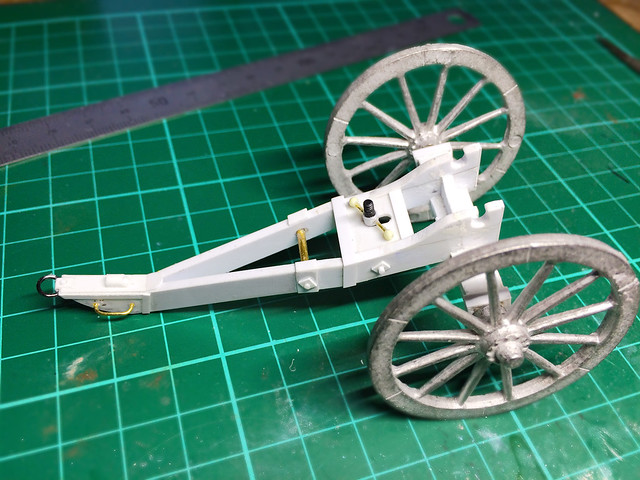
Having gotten the house keeping out the way I started adding some extra detail to the front end of the carriage. It's all very cosmetic, I'm not basing my additions on any particular historic reference...
Just enough extras to make the carriage look as if it might be based on something real! (Which it isn't. Any resemblance to something real is purely coincidental.)
It's all going to be painted black anyway (more about the colour scheme in a minute) so I didn't go wild with the amount of detail that I added. But I think it looks OK?
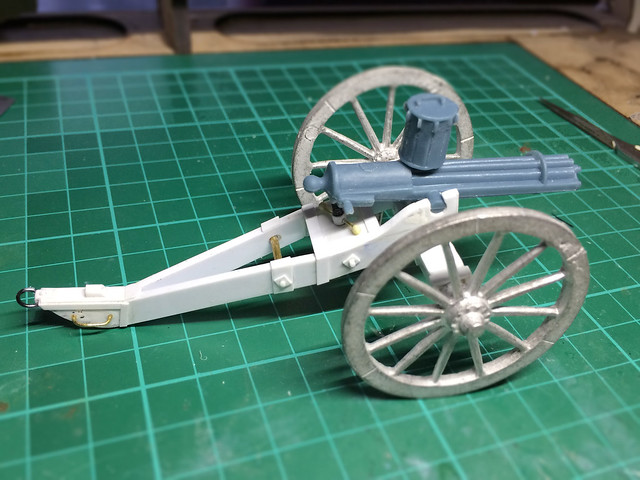
Quick check to get a feel for how it'll look like when done...
The carriage paint scheme
I had a good think and I decided I wanted something that stood out a little and would be uniquely 'Moletarian'. I didn't want something bland like field grey or natural bare wood and metal so I picked a colour scheme for my Molatarian artillery pieces that would look smart and unique.
I toyed around with colour combinations based on the national colours of Molatero - black, purple, orange and white - and out of these I decided black was a good choice for the main base colour. It's a practical choice, quite 'tactical' and seems a feasible in the context of late 19th Century military artillery. But what colour to choice for the contracting colour? (Plain black would be a bit boring.)
Purple was a immediate 'no' for me (yuck), and orange didn't seem right either. Which left white. Hmmm, black with white detailing - that sounded pretty attractive and sort of believable for a circa 1870 military artillery scheme.
So, I'll start with a base coat of Humbrol black matt acrylic...
Next: Carriage painting completed and onto the painting of the Gatling Gun itself.


No comments:
Post a Comment