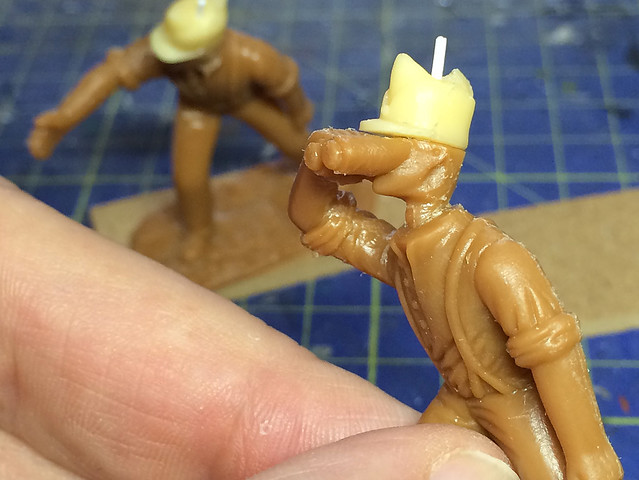
 |
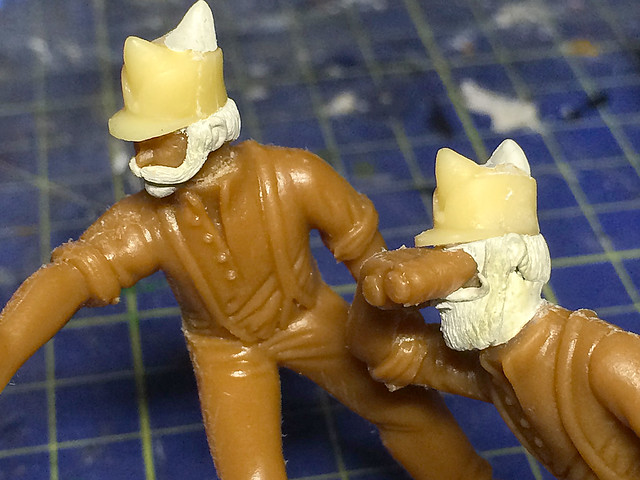
| "Oh gov! Me neck's so skinny and me ears have shrunk!" |
Not great! But I feel a little better - plus it's given them 'the personal touch' so they are a little unique (even if it's not in a good way). :)
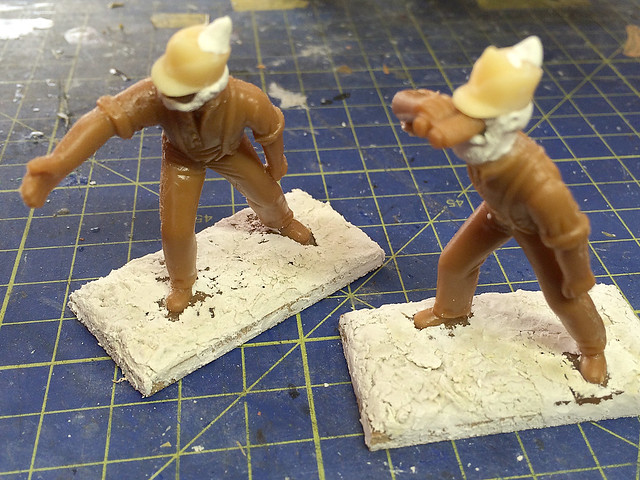
Just a minor point, I'm using (Quick Drying) Pollyfilla for the bases now. It's quick and easy to apply, dries quickly (naturally) and creates an interesting texture. Obviously this does make my bases quite thick (or is it deep?) as I already mount my figures on 3mm MDF bases, but I prefer the extra weight and stability this gives. It does mean my figures might be slightly taller on the game table than other peoples' though.
Link to UK MDF figure bases: Warbases
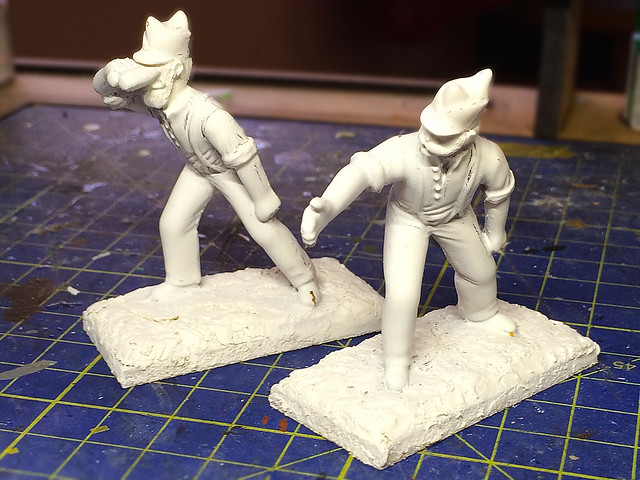
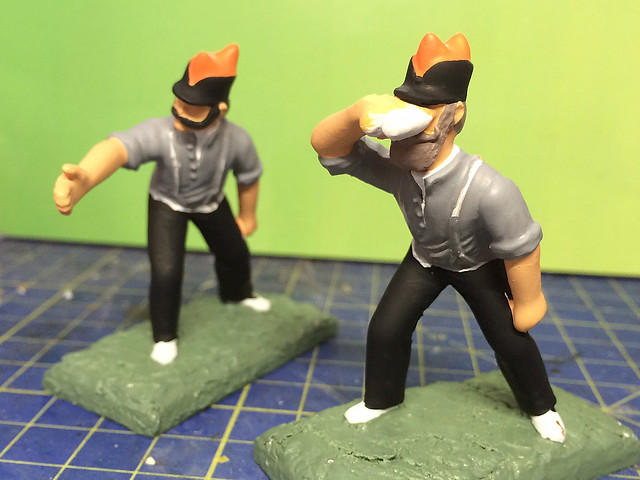
Well, that's the 'hard' work done, and so it's on to the paint preparation process. As before I used some spray on lacquer (Wilko's cheapest) just to smooth out the surface of the figures and help give them some rigidity. Then it was a quick spray of some white automotive primer...
The primer actually serves to highlights any overly rough areas that might need some additional attention. So it's out with the scalpel again to do some remedial work and then another quick squirt of white!
Satisfied with this, I move on to the base painting. As on my test I tend to do the first coat with my Vallajo Model Color paints before moving on to the more expensive and tricky Tamiya paints for the final coat...
The Vallejo colours are a bit flatter but help provide a good base for the bright Tamiya colours, which need help to create a good opaque coverage. I admit this is - by the end - a lot of coats of different types of paint, but you are looking for that 'traditional toy soldier' look which is epitomised by flawless and flat colour coverage. So it's worth going the extra yard to achieve this.
Well, that's these chaps well on their way to being finished so we will turn our attention to the Gattling Gun itself now.
NEXT: Head scratching about the AiP 'Gatling' and how to approach this model.
No comments:
Post a Comment